|
|
Posted By RCI,
Tuesday, November 28, 2017
Updated: Monday, April 27, 2020
|
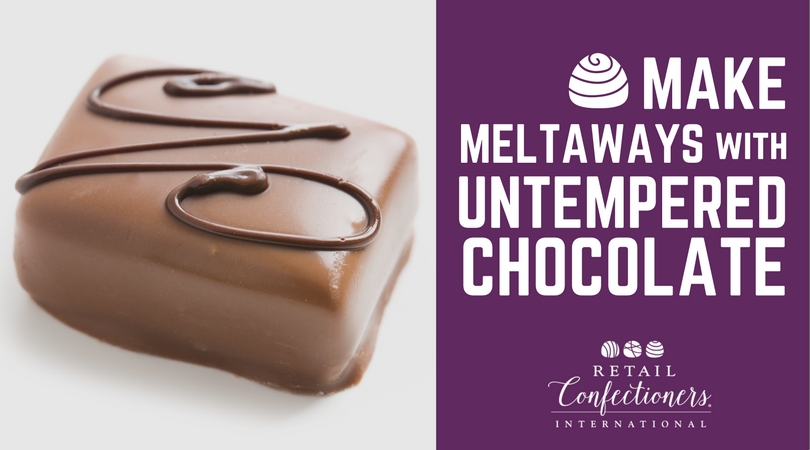
The most common way to make a meltaway is to combine tempered chocolate with melted coconut oil until it is smooth. Because coconut oil is a lauric fat, it must be added at a lower temperature so not to throw the chocolate out of temper. If the chocolate becomes untempered (or was never tempered to start with) the nice, smooth texture of the meltaway will eventually be replaced with an unpleasant mouthfeel due to the formation of fat globules.
Mixing Things Up
Consider this alternative method to making stable, smooth-textured meltaways with untempered chocolate. Instead of adding fat to tempered chocolate, combine untempered chocolate and coconut oil in a mixer. Mix at a slow speed until the temperature is below 78º F and has visibly thickened. Referred to as the “mixer method” in curriculum shared at RCI’s Chocolate Boot Camp®, it achieves the same desired stability and texture the meltaway is revered for, without the hassle of keeping temper.
Newcomers and veterans alike are invited to learn techniques of chocolate making, like this, during RCI’s Chocolate Boot Camp February 19-22, 2018 in Waterbury, CT at Fascia’s Chocolates. This popular hands-on course covers topics such as:
- Tempering
- Moulding
- Enrobing
- Chocolate Artistry
- and more!
SPACE IS VERY LIMITED! This course is expected to sell out! For complete information and to register online, visit retailconfectioners.org/bootcamp.
Tags:
Candy Hacks
Candy Making
Chocolate
Chocolate Boot Camp
Coconut Oil
Meltaways
temper
Permalink
| Comments (0)
|
|
|
Posted By RCI,
Tuesday, May 23, 2017
Updated: Wednesday, April 29, 2020
|
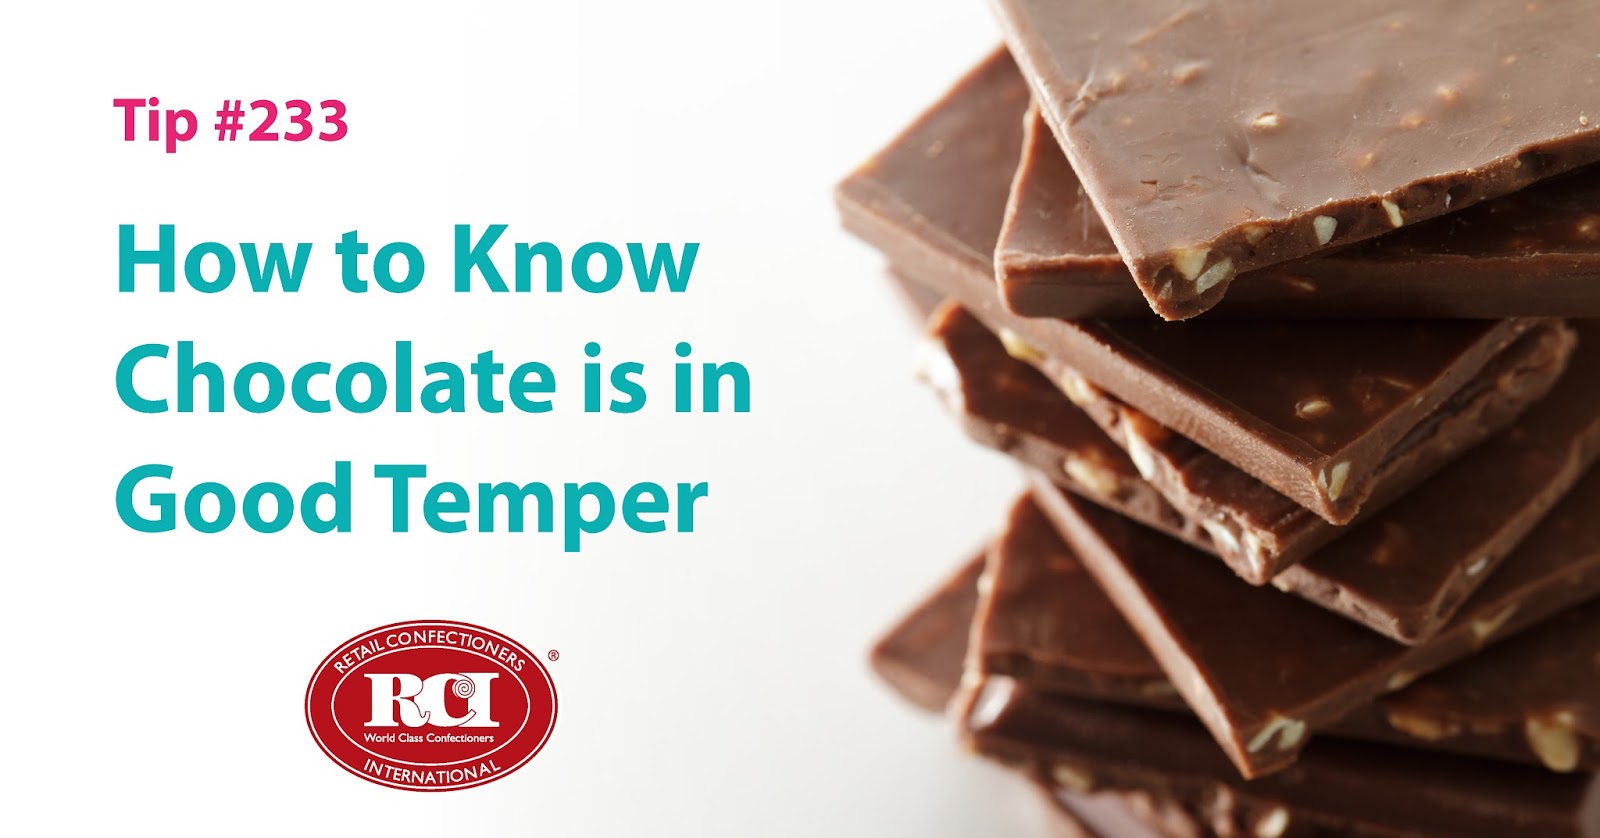
Checking your temper is an important step to ensure you aren’t surprised by unsightly bloom or dull or tacky chocolates.
Chocolates that have a dull appearance may be over tempered, while rapid bloom or a tacky, greasy surface are indicators that chocolate is under tempered. Quit guessing and rest assured your chocolate is always in good temper with these two methods for checking your temper.
- The Blade Test: This method is quick, easy and budget friendly, however the results could vary on the temperature of the room.
Simply dip a metal spatula or knife blade into the chocolate and leave a small film on the blade. At room temperature (65-68° F), well-tempered chocolate should be firm, not tacky, after just five minutes.
- Tempermeter: Although more costly, this method will most accurately measure the degree of tempering, indicating the quality and quantity of stable crystals that have been formed.
Tempermeters produce a temperature versus time curve, resulting from uniform cooling of a chocolate sample over a specified period of time.
It may be easy to assume your chocolate is well tempered and ready to move into the assembly line, however, skipping this step could result in a costly mistake.
Choose a testing method that works best for you and put a plan in place to ensure your chocolate is being checked on a regular basis. Many of our candy maker members have a system in place to verify their chocolate’s temper every hour.
Connect with fellow confectioners and industry suppliers at RCI's Annual Convention & Industry Expo next month! Register online now and join us in Chicagoland June 12-16, 2017!
Tags:
bloom
Chocolate
Chocolate Production
dull finish
Quality Control
temper
troubleshooting
Permalink
| Comments (0)
|
|
|
Posted By RCI,
Tuesday, May 2, 2017
Updated: Wednesday, April 29, 2020
|
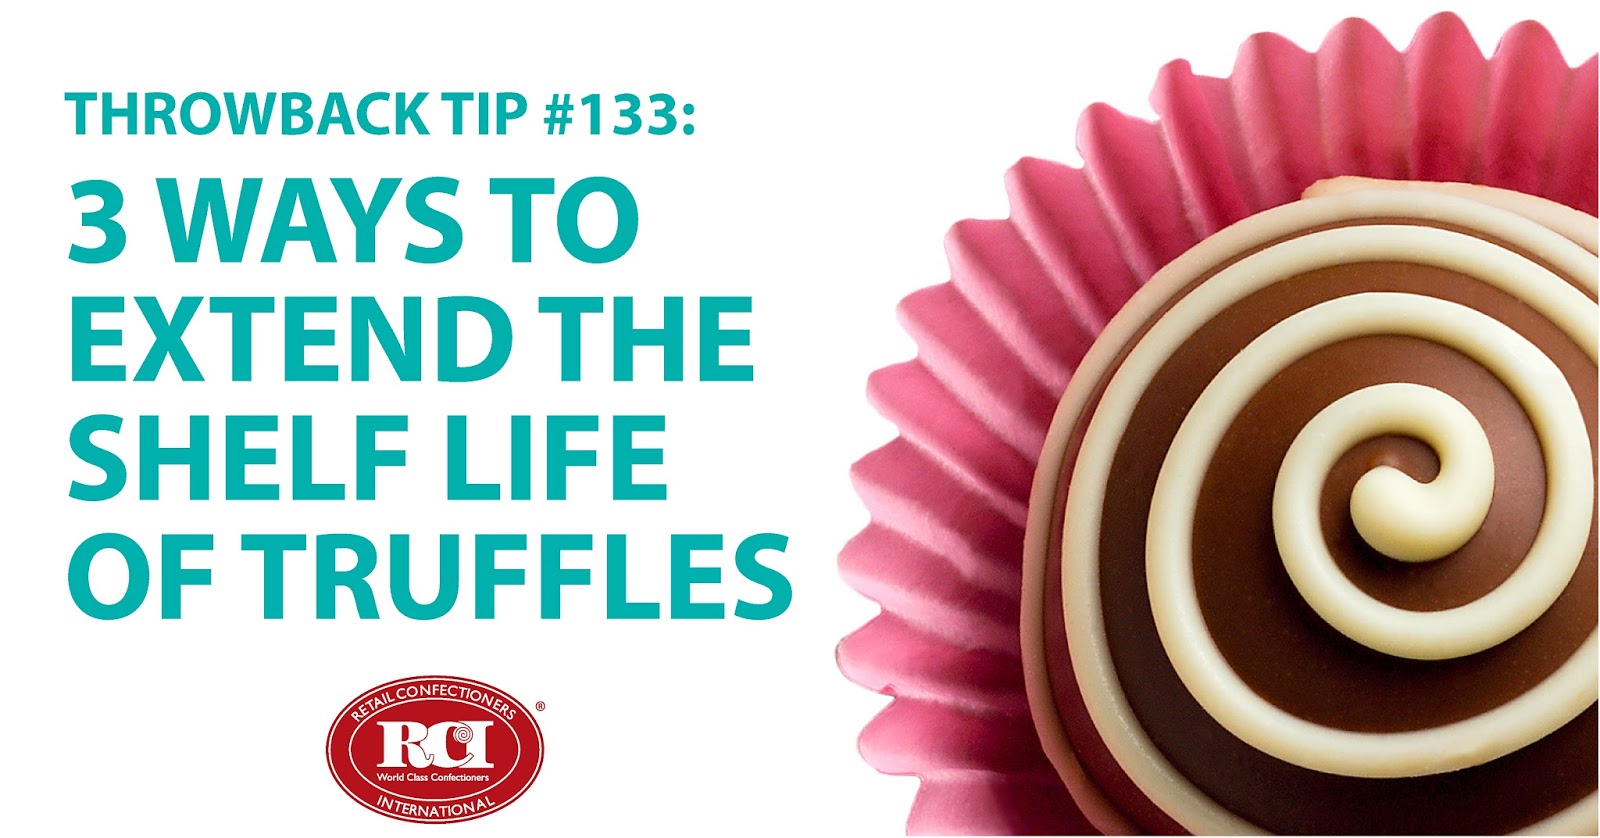
Today is National Truffle Day! Often considered the highest expression of a quality confection and often commands the highest price when purchasing, there’s no question why these little morsels are good cause for celebration.
A decadent truffle made with high-quality ingredients is a welcome surprise to chocolate lovers around the world, however, the surprise appearance of mold could ruin your sweet reputation. Keep reading for three ways to extend the shelf life of your truffles.
Reduce Water Activity
The high moisture of cream is often the cause of microbial growth in truffles. While cream arrives pasteurized, it is usually scalded to 190°F to ensure there’s no yeast and mold.
Reducing water activity will reduce the microbial growth and can be accomplished by:
- Replacing a portion of the cream with corn syrup
- Adding invertase (an enzyme derived from yeast)
- Increasing fat percentage
- Increasing chocolate solids
Use of Preservatives (including natural preservative options)
Preservatives can also control microbial growth. Potassium sorbate is one of the most effective options, however it is not usually considered natural. Natural preservatives might include cultured dextrose. Other preservatives can include reducing the pH of the ganache or the addition of alcohol. Legal and flavor considerations, however, must be addressed before using these methods.
Reduce Storage Temperature
A rule of thumb is that reducing the temperature by 18°F (10°C) will double the shelf life. Freezing truffles can substantially increase their shelf life, however, this must be done properly. Click here to view previous blog post on freezing truffles.
A truffle’s short shelf-life is a major challenge for many confectioners. With these tips from RCI’s Chocolate Boot Camp you can effectively extend the shelf-life of your truffles and avoid any unwanted surprises.
Get solutions to your problem candies from fellow confectioners and industry suppliers at RCI's Annual Convention & Industry Expo next month! Register online now and join us in Chicagoland June 12-16, 2017!
Tags:
Candy Holidays
Candy Making
Chocolate
Chocolate Boot Camp
Chocolate Production
Problem Candy
Truffles
Permalink
| Comments (0)
|
|
|
Posted By RCI,
Tuesday, March 7, 2017
Updated: Wednesday, April 29, 2020
|
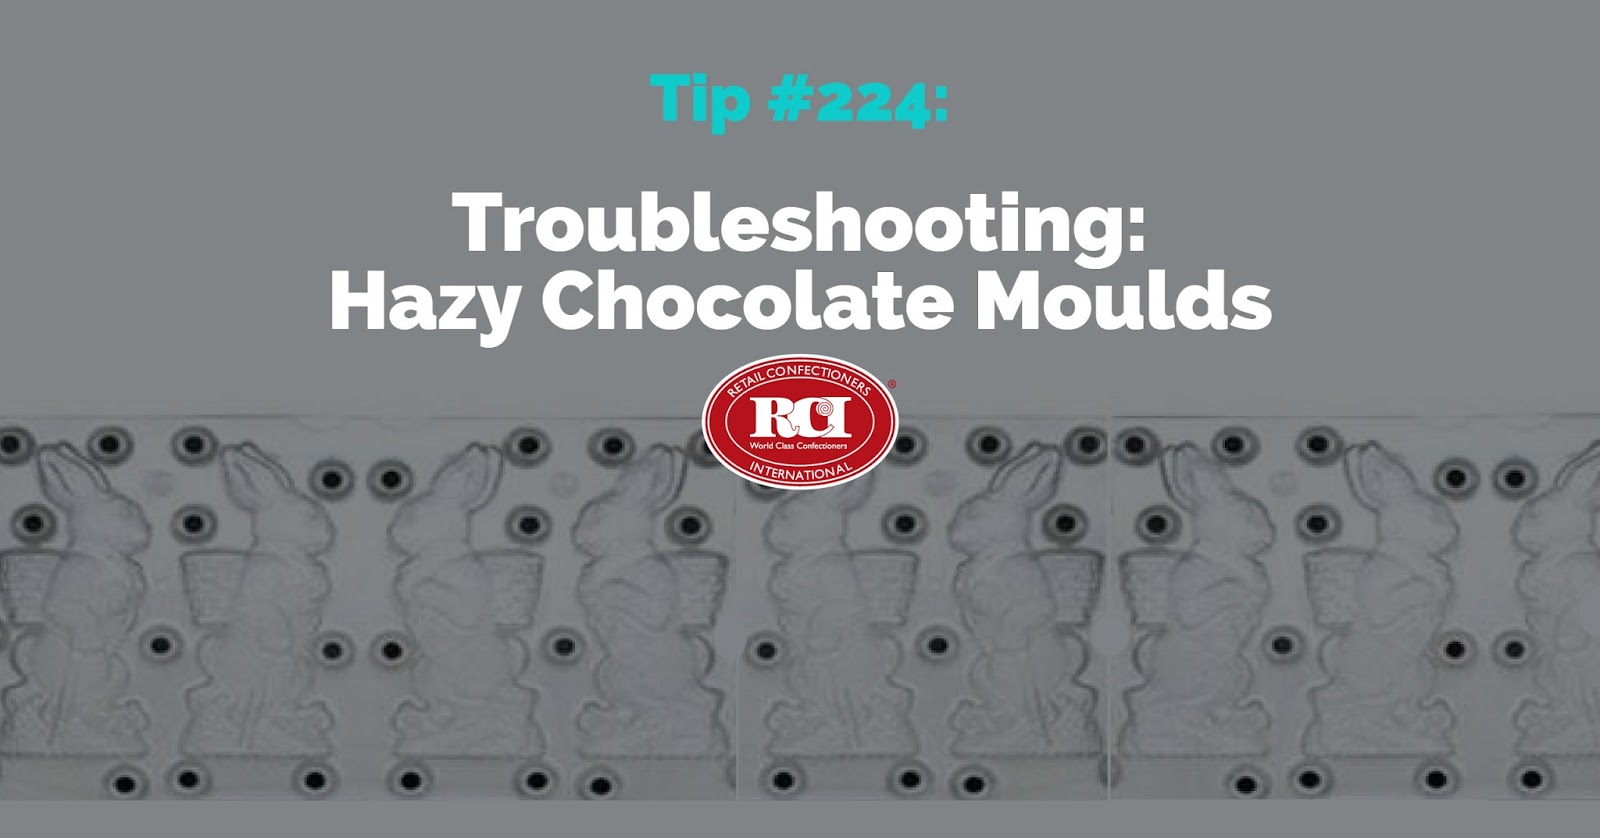
Are you a little hazy on what’s causing the buildup of a film on the surface of your chocolate moulds? You’re not alone. Learn what causes this common problem and get preventative tips on how to avoid it in this excerpt from RCI’s Mechanics of Chocolate Moulding course.
We all know the temperature of chocolate and, even, your workspace is important, but did you know the temperature of your moulds could also be affecting the quality of your chocolate?
Cold moulds can cause chocolate to stick to the surface of a mould because the chocolate has not had time to grow the proper crystals and shrink free of the surface. Moulds should be 75-80° F before coming into contact with chocolate. And, bonus, the solution to this problem is easy, because moulds within this temperature range will self clean. Repeated deposits will remove the buildup from the surface of the moulds.
Although cooking spray can work wonders for baking pans, never coat chocolate moulds with vegetable oil to prevent sticking. This may appear to help prevent buildup; but it will create early bloom on the surface of a moulded piece because of the incompatibility of the vegetable oil and the cocoa butter in chocolate. Compound coatings made with lauric fats, such as palm kernel oil, are even more susceptible to bloom than chocolate, if incompatible fats are mixed with them.
Now that you know your chocolate moulds like to be kept at a cozy 75-80° F, how do you check the temperature of a mould? An infrared thermometer "gun" will do the trick and can be found at any of your local home improvement stores. Click here to view best-selling infrared thermometers on Amazon. Prices range from $16 to $130.
Happy Moulding!
Tags:
Chocolate
Chocolate Production
Cleaning
Moulds
Problem Candy
troubleshooting
Permalink
| Comments (0)
|
|
|
Posted By RCI,
Thursday, February 9, 2017
Updated: Wednesday, April 29, 2020
|
Did you know chocolate moulds that aren’t cleaned properly can cause chocolates to lose their desired smooth and glossy shine? Follow these five easy steps from Tomric Systems, Inc. to ensure your plastic moulds are cleaned properly and produce perfectly glossy chocolate masterpieces every time.
- Wipe moulds with a soft cloth in clear, warm water.
- DO NOT use an abrasive cleanser. If moulds become coated with cocoa butter, wash with a mild, grease-cutting detergent. Use detergent sparingly and avoid scratching the inside surface of the moulds.
- Rinse in clear, cool water.
- Dry and store in a cool location.
- Use moulds at room temperature.
Although maintenance is minimal for plastic moulds, it is important to perform these simple steps at the end of each holiday season to get the most out of your chocolate moulds.
Tags:
Chocolate
Cleaning
Moulds
Permalink
| Comments (0)
|
|
|
Posted By RCI,
Tuesday, January 17, 2017
Updated: Wednesday, April 29, 2020
|
Randy Hofberger of R&D Candy Consultants, LLC, is an active member of RCI and the lead instructor for RCI’s Chocolate Boot Camp®. This week’s post is an excerpt from his article “Crunch Without the Cracks,” which offers eight tips to reduce cracking in chocolate-covered pretzels, cookies and crackers.
Texture is so very important in our foods and is a large part of the eating experience. Many of our most popular confections have a crunchy texture and using baked goods such as cookies, crackers and pretzels is one way to provide this. When coated with chocolate, however, there is a chance the finished product will crack, making it less appealing to consumers.
What cause these fissures to develop? While it may seem that there are little micro earthquakes occurring on your pretzels or gremlins attacking the chocolate-covered cookies, one of the main culprits can be moisture entering these dry baked goods and causing them to expand. To prevent moisture from coming in contact with the finished product, one of the most obvious solutions is to use packaging with a good moisture barrier. While this will solve many of the cracking problems, there are other factors that can cause cracking. Also, this will not help any of your products that are open to the atmosphere in your display cabinets.
Other suggestions to reduce cracking in chocolate covered pretzels, cookies and crackers include the following:
- Have a uniform coating. Unequal coverage will cause different contraction rates and, thus, cracking.
- Thicker coating is a stronger coating and a better moisture barrier. Coverage should be complete without pin holes, air bubbles or thin spots.
- Using a chocolate formulated to be softer will be less prone to cracking.
- Enrobed baked goods will generally have less of a heat load and will require a gentler (less) cooling. Good cooling tunnel conditions will have little or no air movement at the tunnel entrance and a temperature of approximately 65ºF. Air velocity may be gradually increased to about 700 CFM until the chocolate is set – at which time velocity may be increased to 1200 CFM. Coldest tunnel temperatures exceed the low 50sºF. Total tunnel time should be a minimum of eight minutes, but 12 minutes is better.
If your operation requires you to maintain consistent tunnel settings because of various product mixes, increasing the tunnel belt speed will give less total cooling and more line production.
- Enrober/tunnel/feeding area relative humidity should not exceed 55%.
- Pieces to be enrobed should be room temperature or warmer (up to 78ºF).
- Pretzel and cookie packages can be opened the evening prior to enrobing. This will help them equilibrate to the atmospheric conditions.
- Rough-surfaced centers reduce cracking and the loss of the chocolate shell, e.g., salted pretzels are better than unsalted pretzels.
Tags:
Candy Hacks
Candy Making
Chocolate
Chocolate Boot Camp
Chocolate Production
crack
Problem Candy
Permalink
| Comments (0)
|
|
|
Posted By RCI,
Tuesday, December 27, 2016
Updated: Wednesday, April 29, 2020
|
We've curated the most-read tips from 2016, to pinpoint topics that are most important to candy makers.
From troubleshooting tips to sky-high merchandising inspiration, plus a customer service must-read, the following posts deliver quick and easily executed tips to simply the lives of confectioners, like you!
Suffer from sweaty sea salt caramels? Take tips from fellow candy makers and RCI members on how to avoid this common problem.
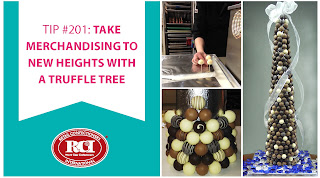
Get step-by-step instructions for creating this eye-catching truffle tree.
RCI MEMBER BONUS: Click here to login to RCI’s member site and snag three variations of ganache recipes on page 9 of RCI’s Kettle Talk magazine.
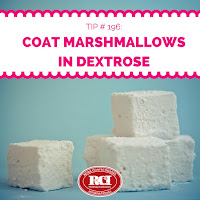
Nobody likes hard, dried-out marshmallows! Keep your ‘mallows soft and pillowy all year long with this popular tip of the week.
An oldie, but a goodie, this throwback from 2012 covers four customer service basics that are too important not to review with your team on a regular basis.
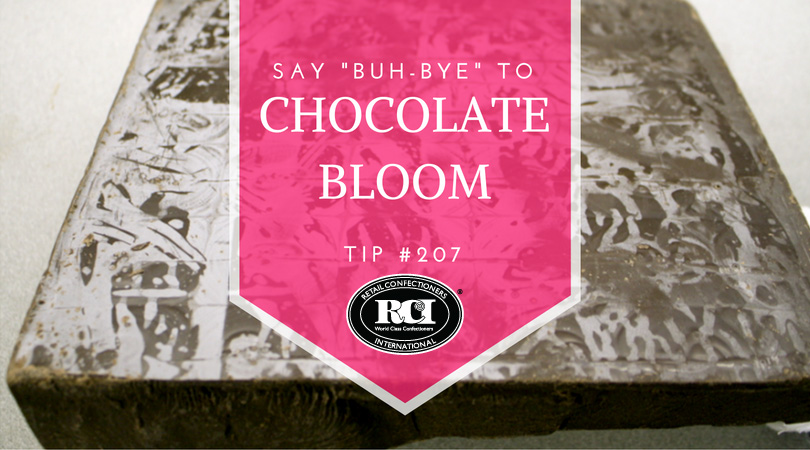
Bloom is easily identified as one of the most common problems facing candy makers. No surprise, this post tops the list with common causes of chocolate bloom, as well as simple solutions.
Tags:
bloom
Candy Hacks
Candy Making
Caramel
Chocolate
Chocolate Production
Customer Service
Employee Management
Idea Sharing
Marshmallow
Merchandising
Problem Candy
Recipe
temper
Truffles
Tutorial
Permalink
| Comments (0)
|
|
|
Posted By RCI,
Tuesday, December 13, 2016
Updated: Wednesday, April 29, 2020
|
The mention of freezing chocolate products not too long ago was looked upon by candy makers as taboo. The two main concerns were “the product will bloom” or “the taste will be lost.”
Today, with new freezing systems and a better understanding of how to freeze products, it has become commonplace in the industry. Some of the largest manufacturers freeze products to keep up with seasonal demands.
In this excerpt from RCI’s 2010 spring regional conference, RCI member Mike Koch, of Morely Candy Makers/ Sanders Candy, offers 4 simple steps for successfully freezing and thawing chocolate, plus maximum storage times for both filled pieces and solid chocolates.
Freezing:
1. Prepare the product
· Shrink wrap or wrap as tight as possible, making the package air tight.
· Double shrink wrapping stock boxes is the best method if you use that type of packaging.
· If you don’t have a shrink wrapper, a double layer of plastic wrap will work.
2. Maintain a stable freezing and thawing process.
· Most household or small commercial freezers can consistently maintain temperatures with short thaw cycles, if any.
· Opening and closing freezers increases humidity in the units, thus the need for defrosting.
· Larger operations should utilize freezers that have defrosting cycles.
· Proper freezer drainage and regular maintenance is key to ensuring stability.
· Evaluate defrosting time regularly. If this process takes too long, product packaging could get wet. If it is too short, the cost of freezing will increase due to the use of power.
Thawing:
This may be the most important part of freezing.
1. Remove product from the freezer
· When removed from the freezer, product should be stored at 60 degrees Farenheit, with limited humidity.
2. Create air movement around the thawing package
· Smaller operations can remove a stock box from the freezer and place it on a counter with a small fan blowing on the package.
· Larger operations can put a pallet on a rack with a fan blowing on one end.
· Do not open the package or remove the wrap until the product temperature rises up to the room temperature.
· When opened at room temperature, the product will look and taste the same as it did before freezing.
For best results, thaw and sell frozen products within the recommended times below.
· Filled pieces and truffles should be 3-4 months.
· Solid chocolate pieces should be 6-8 months
Freezing is not for everyone, but for the companies that do freeze and do it right, it is a major part of their planning and operations. You cannot cut corners or hurry this process. It is a way for smaller confectioners to purchase products and reach the minimum manufacturer requirement. It will increase your shelf life a few months and will not harm the products.
Tags:
bloom
Candy Making
Chocolate
Chocolate Production
Freeze
Holidays
Shelf Life
Storing
Thaw
Permalink
| Comments (0)
|
|
|
Posted By RCI,
Tuesday, November 8, 2016
Updated: Wednesday, April 29, 2020
|
Add a little holiday “cheers” to your confections this season. Perfect for holiday parties and gifts, we’ve curated three ideas from RCI members that incorporate beer, wine and spirits into their confections.
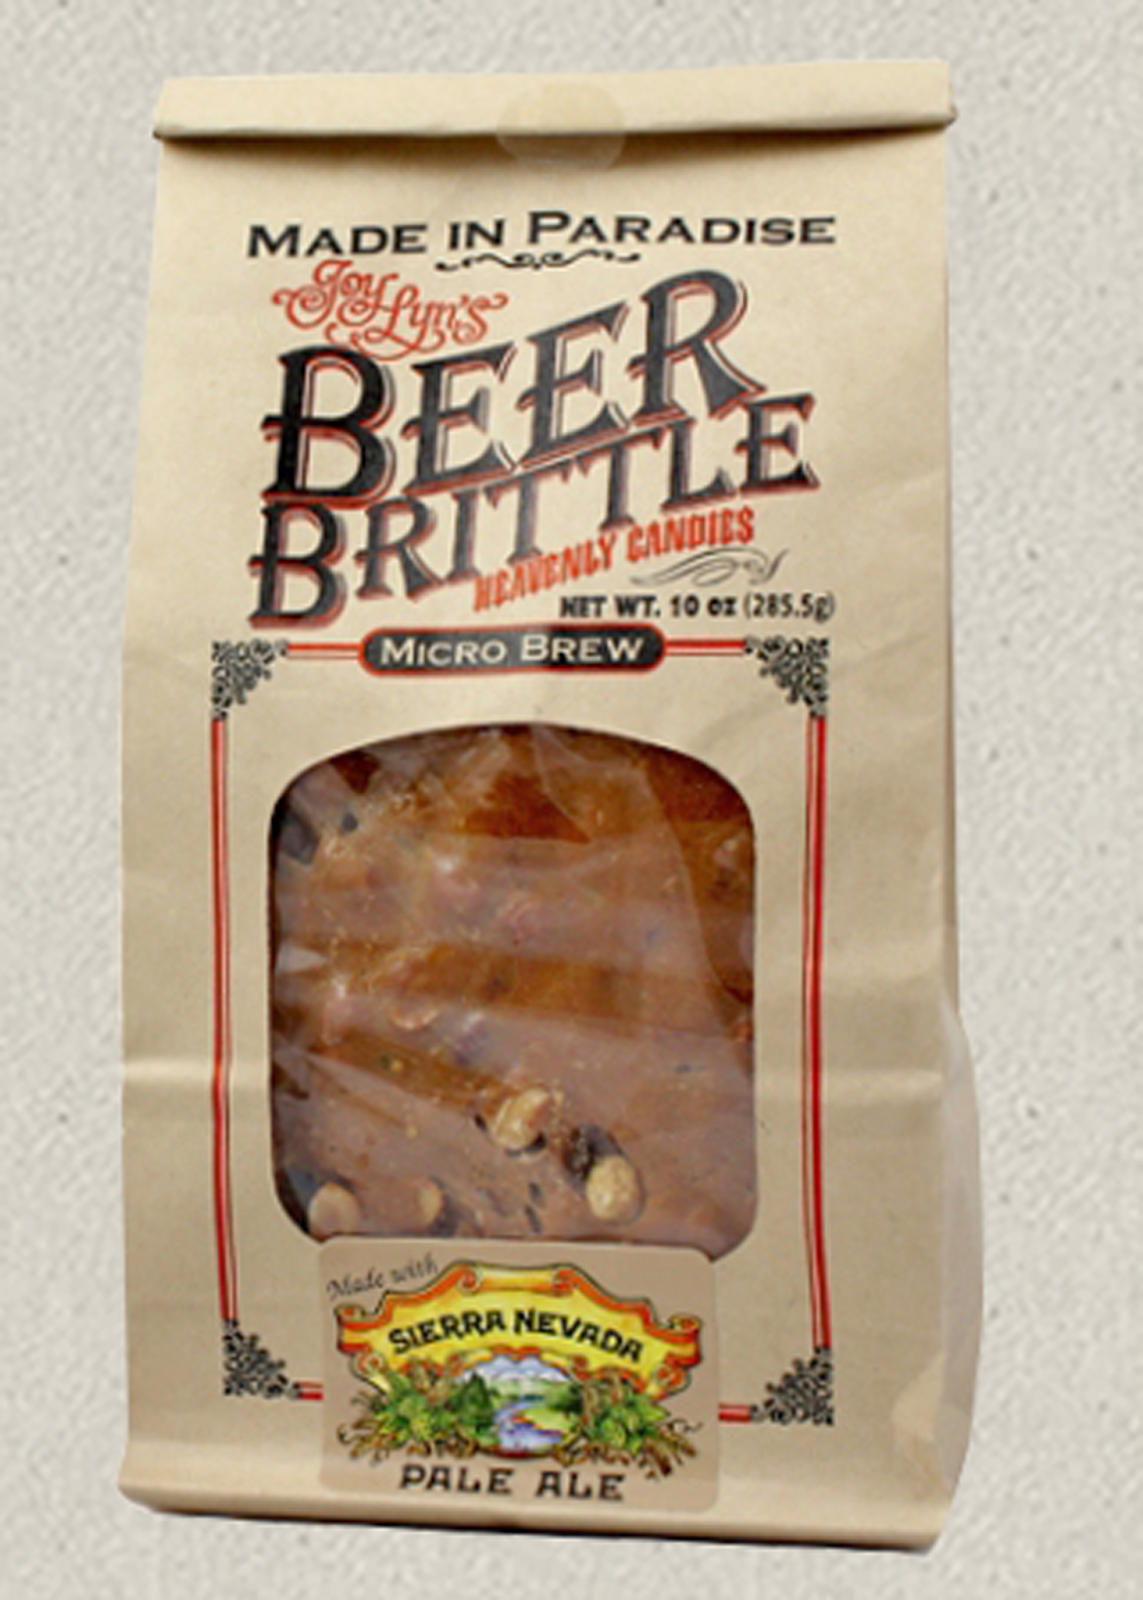
Beer Brittle
Joy Lyn’s Candies of Paradise, California partners with a local brewery to create a peanut brittle made with Sierra Nevada’s Pale Ale. Coined as “Beer Brittle,” this popular confection is made in small batches and offers a subtle hint of hops and malt. Given the popularity of the product, Sierra Nevada has allowed Joy Lyn’s to display their logo prominently on the front of the brittle packaging. Joy Lyn’s continues to expand their line of Sierra Nevada flavored products, including a jalapeno beer brittle and a Hop Salt Sout Caramel, as its name suggests, the caramels are sprinkled with salt infused with hops.
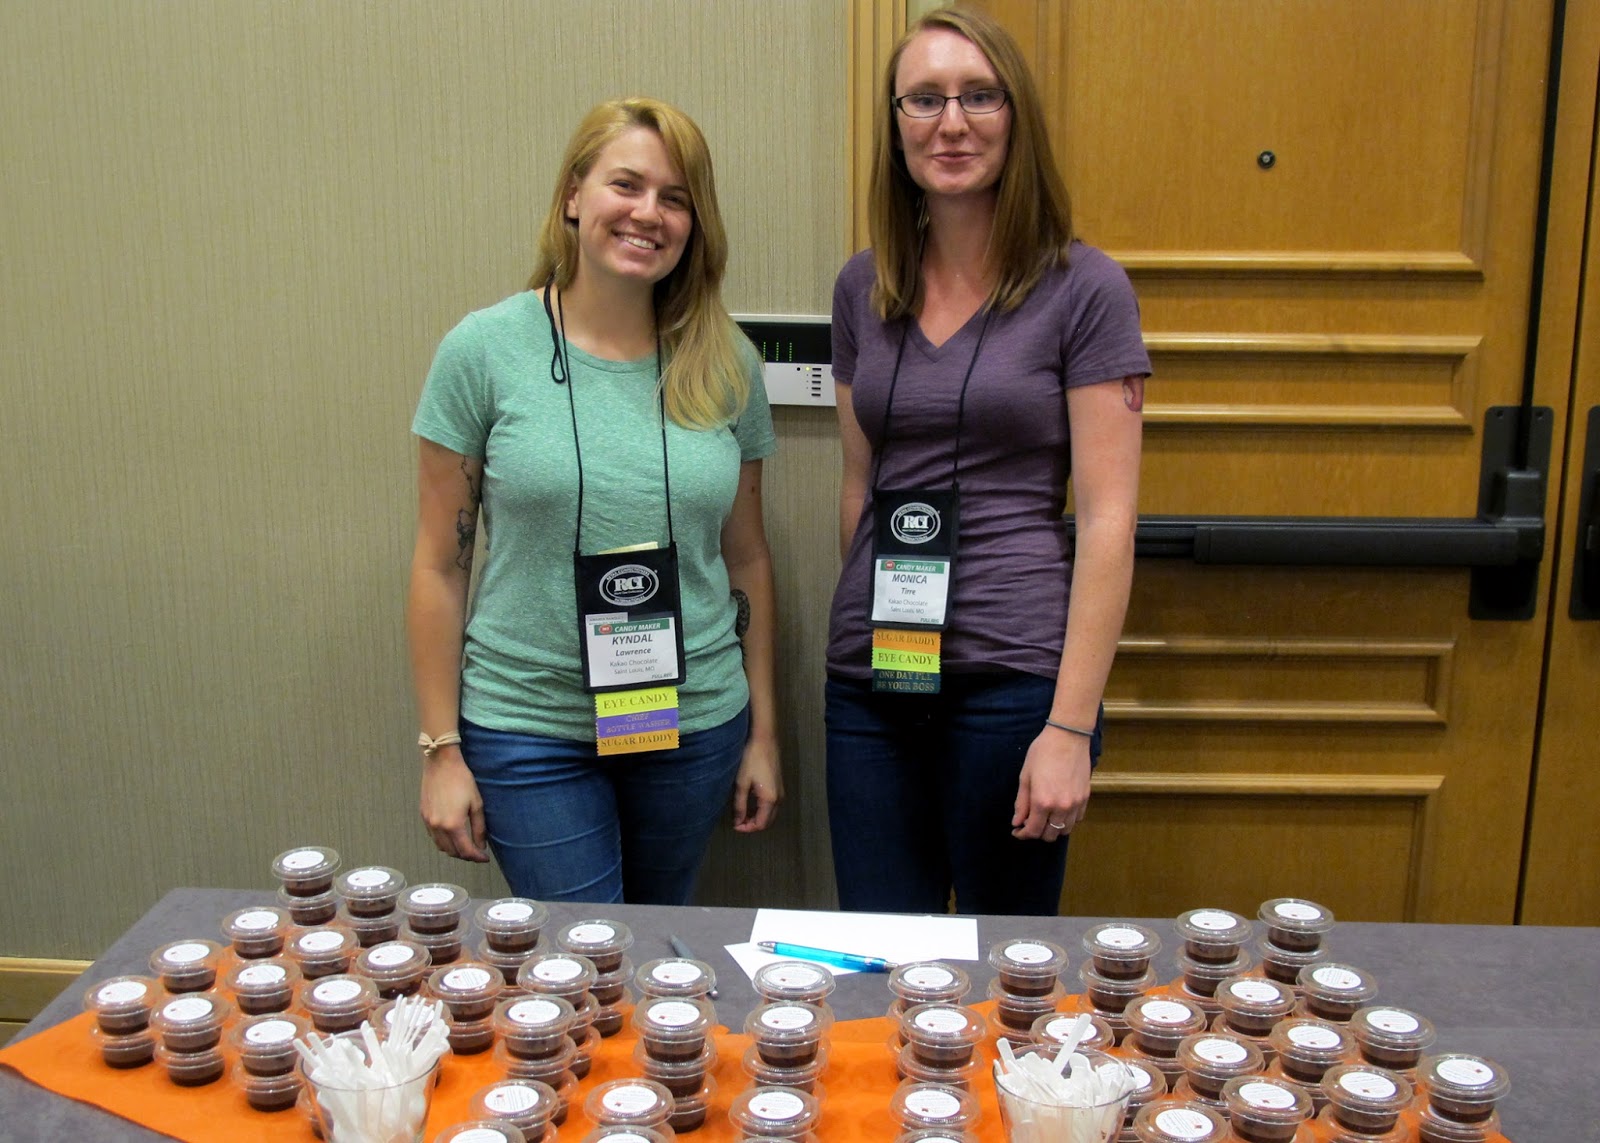
Irish Whiskey Truffle Shots
 |
KakaoChocolatepresented their Irish whiskey truffle shots
toRCI members during Candy Clinic at the 2016
Annual Convention in Indianapolis.
|
Kakao Chocolate of St. Louis, Missouri has developed an indulgent Irish Whiskey Truffle Shot, by piping Irish whiskey ganache into recyclable sample cups and topped with cocoa nibs. When making the ganache, they add the whiskey at the end so the alcohol doesn’t cook out. If your store hosts a holiday open house, this would be a fun and unexpected treat for adult guests.
 |
Elevated Candy Co.sharedtheir black currant brandy-infused truffles
withRCI members during Candy Clinic at the 2016
Fall Conference in Vancouver, BC. |
Black Currant Brandy-Infused Truffles
Elevated Candy Co. of Port Townsend, Washington took the popular pairing of wine and chocolate to create the Black Currant Truffle. This popular confection is made by incorporating a local black currant-infused brandywine into their ganache and finishing the piece with a dash of red Hawaiian alea sea salt.
If you decide to incorporate beer, wine or spirits into your confections, know that regulations vary from state to state. Check with your local liquor control commission and familiarize yourself with regulations put in place by your state, as many prohibit the sale of confections that contain alcohol.
Tags:
Beer
Candy Making
Caramels
Chocolate
Christmas
Creative Flavors
Flavors
gifts
Idea Sharing
Liquor
Marshmallow
Peanut Brittle
Recipe
Thanksgiving
Truffles
Wine
Permalink
| Comments (0)
|
|
|
Posted By RCI,
Tuesday, October 25, 2016
Updated: Wednesday, April 29, 2020
|
Simply put, chocolate is awesome. Consistently voted as most everyone’s favorite indulgence, it rarely fails to delight our customers. However, chocolate doesn’t always cooperate in the production of confections. Joe Sofia with Cargill Cocoa & Chocolate identifies one of the most common problems encountered with chocolate: bloom!
It can appear as spots, streaks, or a homogenous film, and can range from a dull white to a severe white discoloration, it’s bloom! The most common source is fat bloom, which is literally cocoa butter fat that has migrated to the chocolate's surface and recrystallized. While fat bloom has a negative effect on appearance, the product remains perfectly safe to eat. Pure chocolate that contains fat bloom can be remelted and retempered to reach the desired appearance. Unfortunately, finished confections that have fat bloom are more difficult to repair, since they contain fillings or inclusions and cannot be remelted.
EXCESSIVE HEAT
Fat bloom can develop for a few different reasons. Excess heat (from sunshine or warm temperatures) can cause perfectly good chocolate to bloom. The heat melts some or all of the cocoa butter, and when it recrystallizes it lacks the proper stable cocoa butter crystal nuclei and cooling for proper recrystallization. The best way to avoid fat bloom is to keep your chocolates away from heat!
POOR TEMPER
Another source of fat bloom is poorly tempered chocolate. The use of a tempermeter, or other means of optimizing your tempering step, will maximize bloom resistance in your chocolates. Both under-tempered and over-tempered chocolates will bloom faster than well-tempered ones.
INCOMPATIBLE FATS
A third source of fat bloom is the mixing of incompatible fats. If you use compound coatings, which are usually palm kernel oil based, these should not be mixed with cocoa butter based chocolate. The incompatibility of these fats can lead to inefficient crystallization and eventual fat bloom.
SUGAR BLOOM
Sugar bloom is a different type of bloom, resulting from exposure to moisture. It is formed by the dissolution and subsequent crystallization of sugar on the chocolate’s surface. It generally appears as droplets of sugar crystals on the surface of the product. If sugar bloom is moderate to severe, most likely the product will contain coarse sugar crystals and should be discarded. Sugar bloom can be avoided by keeping your refrigerated or frozen chocolates packaged and sealed until they equilibrate to ambient temperature.
Tags:
bloom
Chocolate
Chocolate Boot Camp
Chocolate Production
Education
Problem Candy
Quality Control
Permalink
| Comments (0)
|
|