|
|
Posted By RCI,
Tuesday, January 5, 2021
Updated: Thursday, January 21, 2021
|
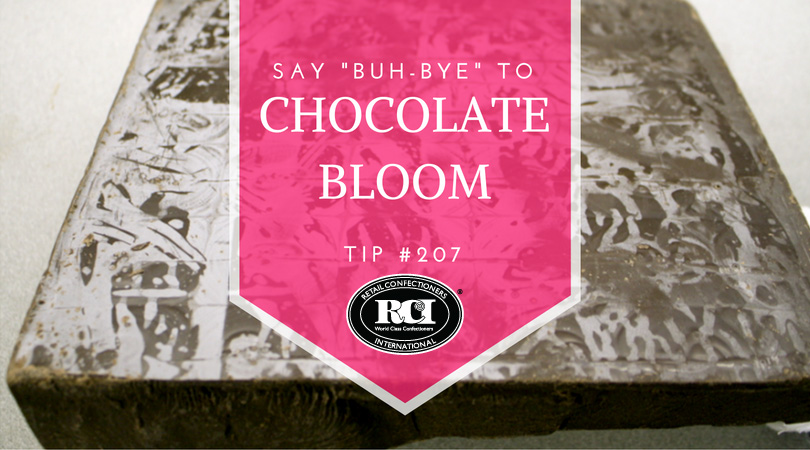
As consumers, we love chocolate-covered nuts because they represent multiple craveable characteristics. Crunchy—check! Sweet and salty—check! Plus, as a good source of protein and healthy fats, they are often categorized as being a healthier and more satisfying treat! However, when combining nuts and chocolate in confections fat bloom often presents problems caused by oil migration. Oil migration between the chocolate and nut or nut paste leads to changes in the quality of the confection, such as visible surface bloom, hardening of the filling and softening of the chocolate.
While oil migration is inevitable when pairing chocolate and nuts together, the following techniques will help avoid or slow oil migration, pulled from past education led by Guittard Chocolate Company and the Oregon Hazelnut Marketing Board at RCI’s Fall Regional Conference in Portland, Oregon. - If using roasted hazelnuts, use a two-step roasting process.
- Select a chocolate with a fine particle size.
- Ensure the chocolate is well-tempered.
- When adding hazelnuts or hazelnut paste to tempered chocolate, the temperature of the hazelnuts should be within 1-2˚F of the temperature of the tempered chocolate.
- A thicker layer of chocolate around a hazelnut or hazelnut filling slows oil migration, bloom formation and textural change.
- Double enrobing with cooling between layers.
- Consider the shape and design of the confection to limit thin spots of coating.
- During storage, limit temperature fluctuations.
With these expert tips for fighting bloom caused by oil migration, you can create truly craveable treats using hazelnuts and other nuts. RCI members: Login at retailconfectioners.org/pasteducation to access this and other education recordings from past RCI events. Crave more? If you like what you read here, look for the "Subscribe now" box on the right to enter your email address and start receiving weekly tips, like this, delivered straight to your email inbox. RCI's Tip of the Week blog is just one of the many resources we offer to help candy makers refine their craft and build upon their business and marketing practices. Follow us on Facebook for even more sweet inspiration.
Tags:
bloom
Nuts
Oil Migration
Permalink
| Comments (0)
|
|
|
Posted By RCI,
Tuesday, April 16, 2019
Updated: Monday, April 27, 2020
|
As consumers, we love chocolate-covered nuts because they represent not one, but multiple craveable characteristics. Crunchy – check! Sweet and salty – check! Plus, as a good source of protein and healthy fats, they are often categorized as being a healthier and more satisfying treat!
However, when combining nuts and chocolate in confections oil migration often presents problems. Oil migration between the chocolate and nut or nut paste leads to changes in the quality of the confection, such as visible surface bloom, hardening of the filling and softening of the chocolate.
While oil migration is inevitable when pairing chocolate and nuts together, the following techniques will help avoid or slow oil migration, pulled from education led by Guittard Chocolate Company and the Oregon Hazelnut Marketing Board at RCI’s 2018 Fall Regional Conference in Portland, Oregon last fall.
- If using roasted hazelnuts, use a two-step roasting process.
- Select a chocolate with a fine particle size.
- Ensure the chocolate is well-tempered.
- When adding hazelnuts or hazelnut paste to tempered chocolate, the temperature of the hazelnuts should be within 1-2˚F of the temperature of the tempered chocolate.
- A thicker layer of chocolate around a hazelnut or hazelnut filling slows oil migration, bloom formation and textural change.
- Double enrobing with cooling between layers.
- Consider the shape and design of the confection to limit thin spots of coating.
- During storage, limit temperature fluctuations.
With these expert tips for fighting oil migration, you can create truly craveable treats using hazelnuts and other nuts. RCI members: Login at retailconfectioners.org/pasteducation to access this and other education recordings from past RCI events.
Crave more? If you like what you read here, look for the "Subscribe now" box on the right to enter your email address and start receiving weekly tips, like this, delivered straight to your email inbox. RCI's Tip of the Week blog is just one of the many resources we offer to help candy makers refine their craft and build upon their business and marketing practices.
Tags:
bloom
Chocolate
Chocolate-Covered Nuts
Nuts
Oil Migration
troubleshooting
Permalink
| Comments (0)
|
|
|
Posted By RCI,
Tuesday, January 22, 2019
Updated: Monday, April 27, 2020
|
With a pinch of moisture and a dash of heat, you’ve got the recipe to ruin perfectly good chocolate. But we’re not looking to ruin chocolate here! It may not be easy, but as a chocolatier, you are expected to craft delicious chocolate with a glossy sheen and perfect snap every time, without fail. However, thanks to a myriad of factors that can negatively affect your chocolate at any given point, even the most skilled chocolatiers can have off days in the kitchen. To help, we’ve created this quick-reference guide to pinpoint common mishaps that can occur when working with chocolate so they can be easily corrected.
Chocolate is dry and powdery
When you rub chocolate and it feels dry and powdery, say “hello” to sugar bloom. Sugar bloom is caused by moisture. Dew forms on chocolate and gets absorbed by the sugar, leaving a dusty layer of crystals.
Causes:
- High humidity (50% humidity or less is best)
- Cooling temperature was too low (below 50° F)
- Chocolates with a moist center were stored in a high-temperature room.
Chocolate feels greasy
If your chocolate feels greasy, you've got fat bloom. Fat bloom is caused when cocoa butter separates and moves to the surface of chocolate.
Causes:
- Centers made with soft fats. Many nut centers can also cause fat bloom when in contact with incompatible fats.
- Proper storage temperature was not maintained.
Chocolate doesn't release properly from mould
Are your chocolate moulds putting up a good fight? Learn how to fight back with common causes for sticky moulds.
Causes:
- Mould was too cold or too warm, causing chocolate in contact with the mould to lose temper.
- Mould was not clean.
- Too much or too little seed when tempering.
- Sugar bloom (see above)
- Center was too cool. Center must be close to the temperature of the chocolate.
Cracks in finished product
Sure, that chocolate bunny with a crack down the middle can still taste good, but it doesn't exactly send the right message to customers. Learn what's causing the problem below, so you can avoid it in the future.
Causes:
- Cooling temperature was too low (below 50° F)
- Chocolate was in the cooler too long.
- Low viscosity of the chocolate
Other considerations
If you've covered all the bases above and are still unsure what's wreaking havoc in your candy kitchen, here's a few other common culprits you may have overlooked.
- Local climate conditions can greatly affect the environment of your candy kitchen and, in turn the results of your finished products. Take care to create an ideal environment for working with chocolate.
- Chocolate picks up and holds odor. Be careful when using products with a strong odor near chocolate, such as mint and even cleaning products.
- Be mindful of where air vents are blowing. Avoid air vents blowing directly on product.
- Keep moisture far from your chocolate making areas. A dishwasher giving off a bit of steam can have a negative effect on any product that is near it.
- Do not cook near chocolate. If you make caramel, for example, it should be made in a separate area.
Mistakes happen. Learn from your mistakes and the mistakes of others through education and talking with fellow candy makers. By understanding what could go wrong and how to avoid or correct mistakes, you can avoid a great deal of unnecessary costs and frustration.If you have questions that are not addressed in this post, RCI members can login to pose questions to fellow members on RCI’s online forum, List Serve.
RCI's Tip of the Week blog is just one of the many resources we offer to help candy makers refine their craft and build upon their business and marketing practices. Review past blog posts for quick and actionable tips to apply to your business. Look for the "Subscribe now" box on the right to enter your email address and start receiving weekly tips, like this, delivered straight to your email inbox.
Not a member? Click here to learn how RCI can help you build your sweet business.
Tags:
bloom
Chocolate
Cracks
List Serve
Moulds
Tempering
troubleshooting
Permalink
| Comments (0)
|
|
|
Posted By RCI,
Tuesday, August 14, 2018
Updated: Monday, April 27, 2020
|
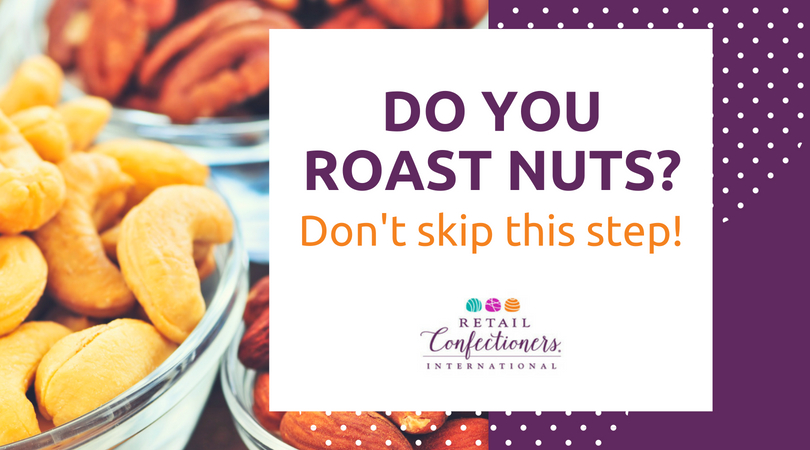
Not only do roasted nuts add satisfying crunch and crave-worthy sweet and salty flavors to chocolate confections, the pungent aroma of freshly roasted nuts, alone, can lure nearby shoppers into your candy store. This week’s brief tip, shared during RCI’s Chocolate Boot Camp®, is a must for candy makers who roast their own nuts.
REDUCE THE RISK OF BLOOM
To reduce the risk of fat bloom, due to fat migration, wait at least 48 hours to coat roasted nuts with chocolate. This practice allows the oils to reabsorb into the nuts. Keep in mind, dry roasted and whole nuts will have less free fat than those that are oil roasted.
STOP CRACKS IN THEIR TRACKS
Waiting to enrobe roasted nuts will also help lessen the chances of unwanted cracks in these chocolate-covered morsels. Quick and easy tips like these will help ensure your nutty delights look and taste as good as they smell!
Tags:
bloom
Candy Hacks
Chocolate Boot Camp
Chocolate-Covered Nuts
Cracks
Nuts
Permalink
| Comments (0)
|
|
|
Posted By RCI,
Tuesday, May 23, 2017
Updated: Wednesday, April 29, 2020
|
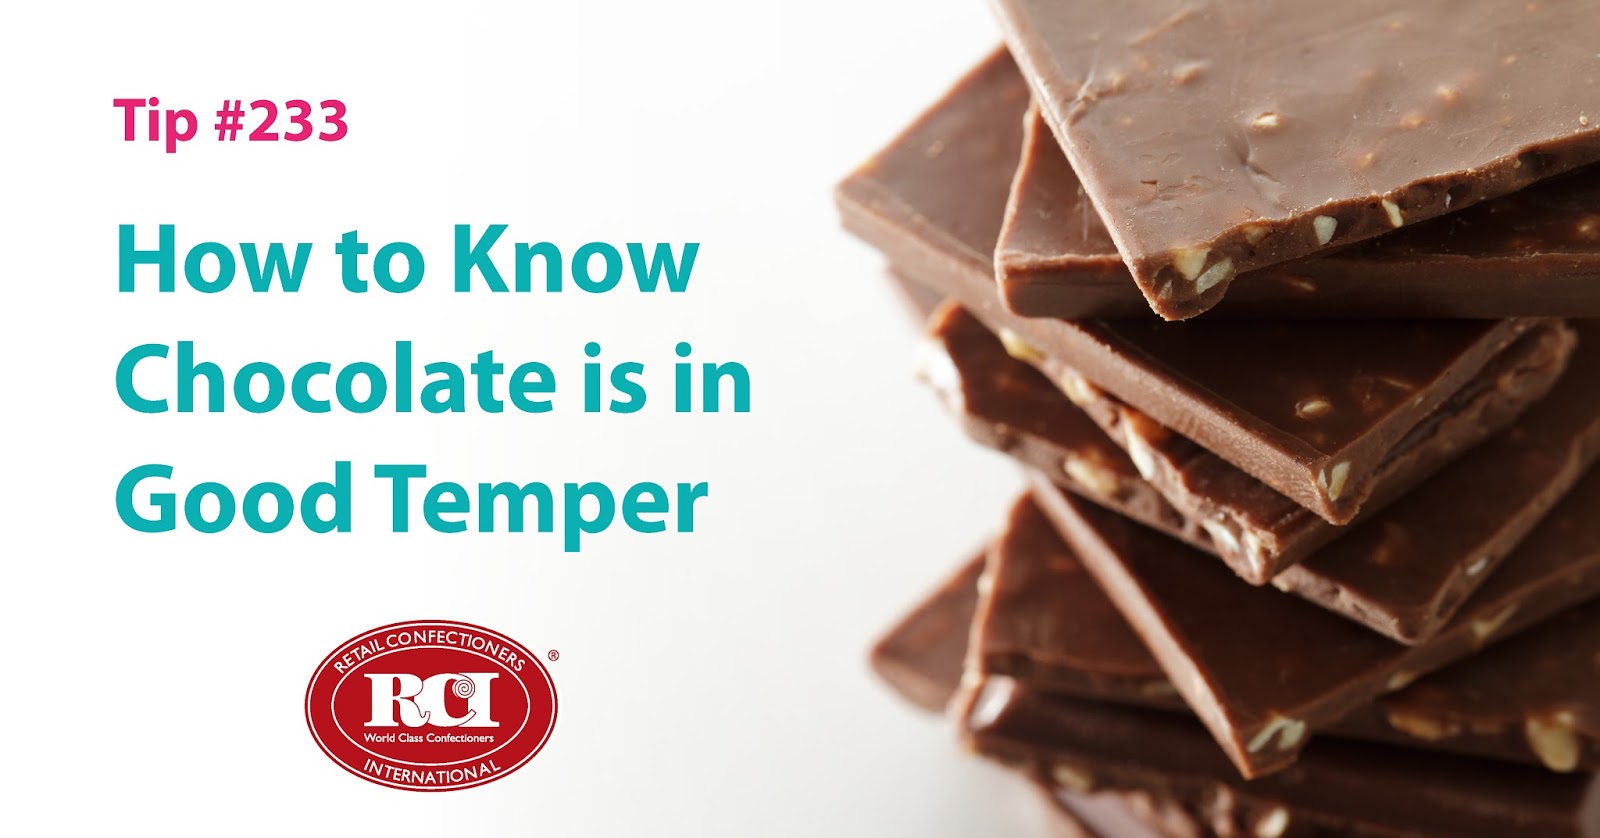
Checking your temper is an important step to ensure you aren’t surprised by unsightly bloom or dull or tacky chocolates.
Chocolates that have a dull appearance may be over tempered, while rapid bloom or a tacky, greasy surface are indicators that chocolate is under tempered. Quit guessing and rest assured your chocolate is always in good temper with these two methods for checking your temper.
- The Blade Test: This method is quick, easy and budget friendly, however the results could vary on the temperature of the room.
Simply dip a metal spatula or knife blade into the chocolate and leave a small film on the blade. At room temperature (65-68° F), well-tempered chocolate should be firm, not tacky, after just five minutes.
- Tempermeter: Although more costly, this method will most accurately measure the degree of tempering, indicating the quality and quantity of stable crystals that have been formed.
Tempermeters produce a temperature versus time curve, resulting from uniform cooling of a chocolate sample over a specified period of time.
It may be easy to assume your chocolate is well tempered and ready to move into the assembly line, however, skipping this step could result in a costly mistake.
Choose a testing method that works best for you and put a plan in place to ensure your chocolate is being checked on a regular basis. Many of our candy maker members have a system in place to verify their chocolate’s temper every hour.
Connect with fellow confectioners and industry suppliers at RCI's Annual Convention & Industry Expo next month! Register online now and join us in Chicagoland June 12-16, 2017!
Tags:
bloom
Chocolate
Chocolate Production
dull finish
Quality Control
temper
troubleshooting
Permalink
| Comments (0)
|
|
|
Posted By RCI,
Tuesday, December 27, 2016
Updated: Wednesday, April 29, 2020
|
We've curated the most-read tips from 2016, to pinpoint topics that are most important to candy makers.
From troubleshooting tips to sky-high merchandising inspiration, plus a customer service must-read, the following posts deliver quick and easily executed tips to simply the lives of confectioners, like you!
Suffer from sweaty sea salt caramels? Take tips from fellow candy makers and RCI members on how to avoid this common problem.
Get step-by-step instructions for creating this eye-catching truffle tree.
RCI MEMBER BONUS: Click here to login to RCI’s member site and snag three variations of ganache recipes on page 9 of RCI’s Kettle Talk magazine.
Nobody likes hard, dried-out marshmallows! Keep your ‘mallows soft and pillowy all year long with this popular tip of the week.
An oldie, but a goodie, this throwback from 2012 covers four customer service basics that are too important not to review with your team on a regular basis.
Bloom is easily identified as one of the most common problems facing candy makers. No surprise, this post tops the list with common causes of chocolate bloom, as well as simple solutions.
Tags:
bloom
Candy Hacks
Candy Making
Caramel
Chocolate
Chocolate Production
Customer Service
Employee Management
Idea Sharing
Marshmallow
Merchandising
Problem Candy
Recipe
temper
Truffles
Tutorial
Permalink
| Comments (0)
|
|
|
Posted By RCI,
Tuesday, December 13, 2016
Updated: Wednesday, April 29, 2020
|
The mention of freezing chocolate products not too long ago was looked upon by candy makers as taboo. The two main concerns were “the product will bloom” or “the taste will be lost.”
Today, with new freezing systems and a better understanding of how to freeze products, it has become commonplace in the industry. Some of the largest manufacturers freeze products to keep up with seasonal demands.
In this excerpt from RCI’s 2010 spring regional conference, RCI member Mike Koch, of Morely Candy Makers/ Sanders Candy, offers 4 simple steps for successfully freezing and thawing chocolate, plus maximum storage times for both filled pieces and solid chocolates.
Freezing:
1. Prepare the product
· Shrink wrap or wrap as tight as possible, making the package air tight.
· Double shrink wrapping stock boxes is the best method if you use that type of packaging.
· If you don’t have a shrink wrapper, a double layer of plastic wrap will work.
2. Maintain a stable freezing and thawing process.
· Most household or small commercial freezers can consistently maintain temperatures with short thaw cycles, if any.
· Opening and closing freezers increases humidity in the units, thus the need for defrosting.
· Larger operations should utilize freezers that have defrosting cycles.
· Proper freezer drainage and regular maintenance is key to ensuring stability.
· Evaluate defrosting time regularly. If this process takes too long, product packaging could get wet. If it is too short, the cost of freezing will increase due to the use of power.
Thawing:
This may be the most important part of freezing.
1. Remove product from the freezer
· When removed from the freezer, product should be stored at 60 degrees Farenheit, with limited humidity.
2. Create air movement around the thawing package
· Smaller operations can remove a stock box from the freezer and place it on a counter with a small fan blowing on the package.
· Larger operations can put a pallet on a rack with a fan blowing on one end.
· Do not open the package or remove the wrap until the product temperature rises up to the room temperature.
· When opened at room temperature, the product will look and taste the same as it did before freezing.
For best results, thaw and sell frozen products within the recommended times below.
· Filled pieces and truffles should be 3-4 months.
· Solid chocolate pieces should be 6-8 months
Freezing is not for everyone, but for the companies that do freeze and do it right, it is a major part of their planning and operations. You cannot cut corners or hurry this process. It is a way for smaller confectioners to purchase products and reach the minimum manufacturer requirement. It will increase your shelf life a few months and will not harm the products.
Tags:
bloom
Candy Making
Chocolate
Chocolate Production
Freeze
Holidays
Shelf Life
Storing
Thaw
Permalink
| Comments (0)
|
|
|
Posted By RCI,
Tuesday, October 25, 2016
Updated: Wednesday, April 29, 2020
|
Simply put, chocolate is awesome. Consistently voted as most everyone’s favorite indulgence, it rarely fails to delight our customers. However, chocolate doesn’t always cooperate in the production of confections. Joe Sofia with Cargill Cocoa & Chocolate identifies one of the most common problems encountered with chocolate: bloom!
It can appear as spots, streaks, or a homogenous film, and can range from a dull white to a severe white discoloration, it’s bloom! The most common source is fat bloom, which is literally cocoa butter fat that has migrated to the chocolate's surface and recrystallized. While fat bloom has a negative effect on appearance, the product remains perfectly safe to eat. Pure chocolate that contains fat bloom can be remelted and retempered to reach the desired appearance. Unfortunately, finished confections that have fat bloom are more difficult to repair, since they contain fillings or inclusions and cannot be remelted.
EXCESSIVE HEAT
Fat bloom can develop for a few different reasons. Excess heat (from sunshine or warm temperatures) can cause perfectly good chocolate to bloom. The heat melts some or all of the cocoa butter, and when it recrystallizes it lacks the proper stable cocoa butter crystal nuclei and cooling for proper recrystallization. The best way to avoid fat bloom is to keep your chocolates away from heat!
POOR TEMPER
Another source of fat bloom is poorly tempered chocolate. The use of a tempermeter, or other means of optimizing your tempering step, will maximize bloom resistance in your chocolates. Both under-tempered and over-tempered chocolates will bloom faster than well-tempered ones.
INCOMPATIBLE FATS
A third source of fat bloom is the mixing of incompatible fats. If you use compound coatings, which are usually palm kernel oil based, these should not be mixed with cocoa butter based chocolate. The incompatibility of these fats can lead to inefficient crystallization and eventual fat bloom.
SUGAR BLOOM
Sugar bloom is a different type of bloom, resulting from exposure to moisture. It is formed by the dissolution and subsequent crystallization of sugar on the chocolate’s surface. It generally appears as droplets of sugar crystals on the surface of the product. If sugar bloom is moderate to severe, most likely the product will contain coarse sugar crystals and should be discarded. Sugar bloom can be avoided by keeping your refrigerated or frozen chocolates packaged and sealed until they equilibrate to ambient temperature.
Tags:
bloom
Chocolate
Chocolate Boot Camp
Chocolate Production
Education
Problem Candy
Quality Control
Permalink
| Comments (0)
|
|
|
Posted By RCI,
Tuesday, March 1, 2016
Updated: Wednesday, April 29, 2020
|
Last week, twenty-seven chocolatiers participated in Retail Confectioners International’s Chocolate Boot Camp®. Although students in the course varied in age and experience, each of them graduated with a better understanding of working with chocolate.
“No matter what size your company is or how long you have been in business, there is always something to learn at Chocolate Boot Camp," says Michael Crudden, Vice President of Operations at Rosalind Candy Castle and 2016 course graduate.
We’ve snagged 3 quick tips from this popular course to share with you! Even if you’re a seasoned vet, you may be surprised to learn something that you can incorporate into your business.
Tip #1: Some centers need to be cooled in order to make them firm enough to hold their shape. If centers are too cold, they will cause the chocolate coating to crack and have a dull finish. Ideally, centers should be between 65-75 degrees Farenheit when coated in chocolate.
Tip #2: When using chocolate moulds, avoid bloom by making sure the moulds are 4 degrees Fahrenheit cooler than the chocolate.
Tip #3: If you don’t have a tempermeter, dip a knife blade into chocolate, leaving a thin film on the blade. If the chocolate is firm and not tacky in 5 minutes, at normal room temperature (65-68 degrees Farenheit), it is in good temper.
Not a member? Click here to learn how RCI can help you build your sweet business.
Tags:
bloom
Candy Hacks
Candy Making
Chocolate
Chocolate Boot Camp
Chocolate Production
crack
dull finish
Education
Moulds
temper
Permalink
| Comments (0)
|
|