|
|
Posted By RCI,
Tuesday, November 8, 2016
Updated: Wednesday, April 29, 2020
|
Add a little holiday “cheers” to your confections this season. Perfect for holiday parties and gifts, we’ve curated three ideas from RCI members that incorporate beer, wine and spirits into their confections.
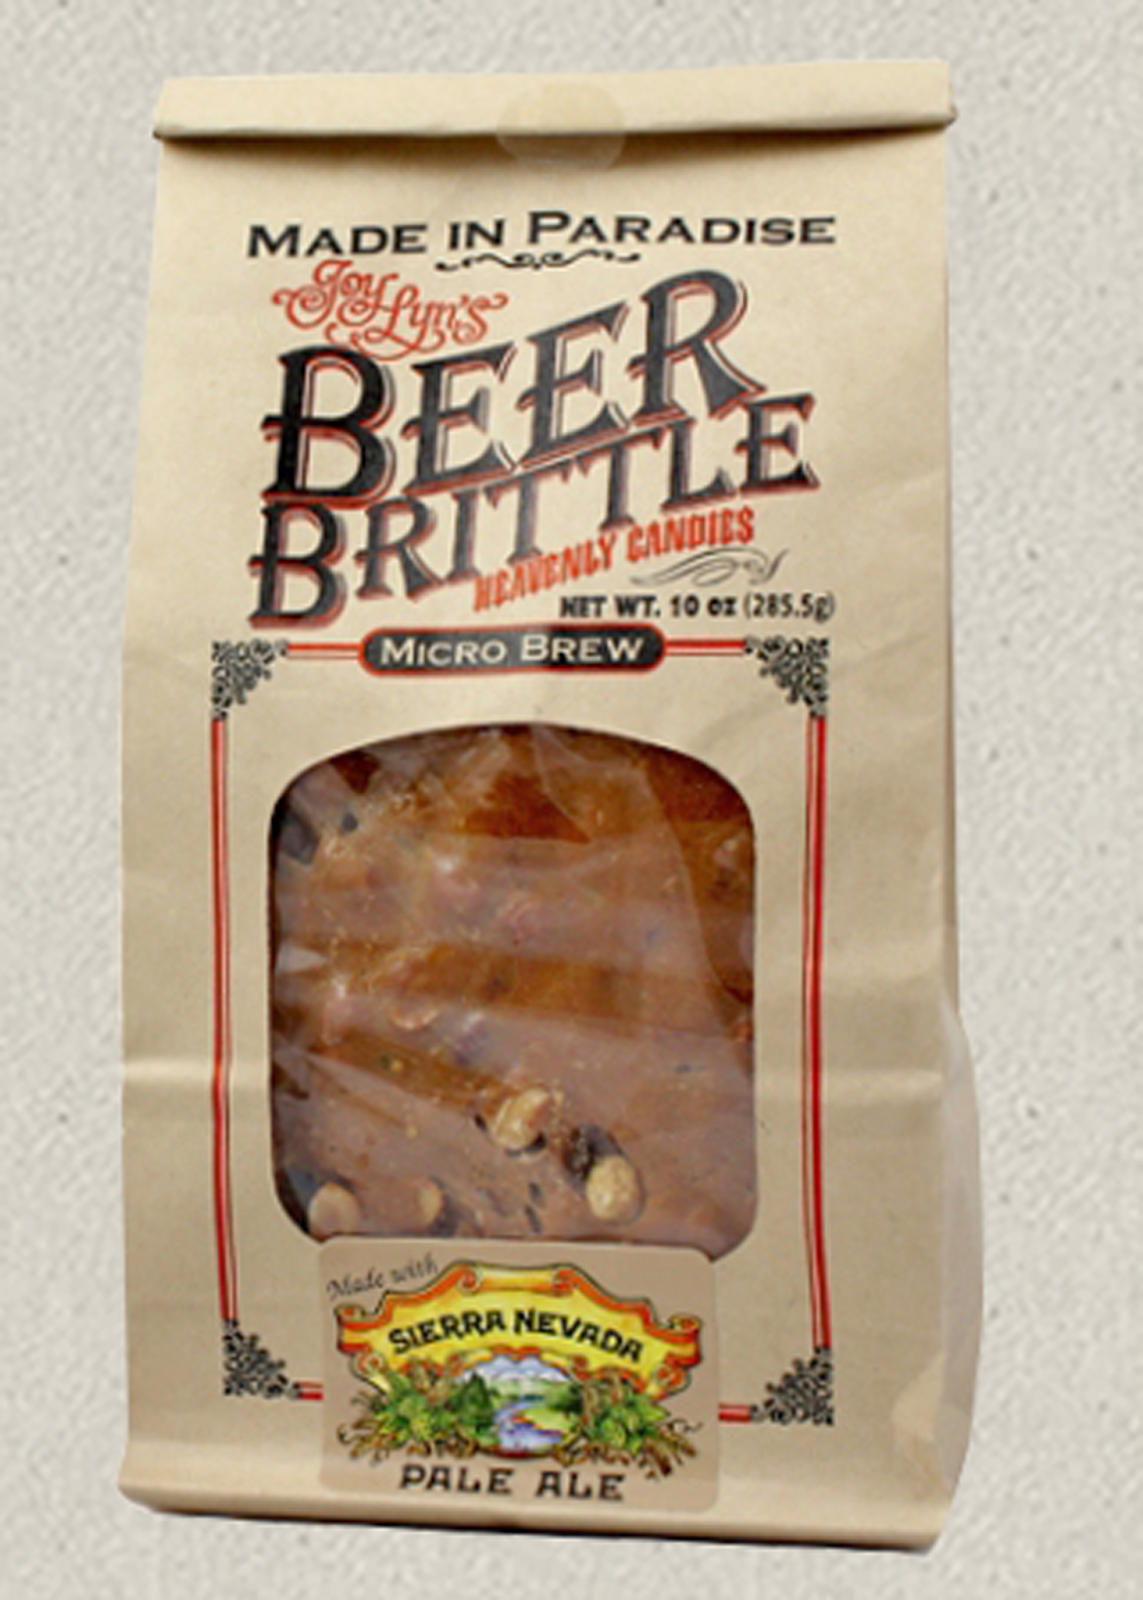
Beer Brittle
Joy Lyn’s Candies of Paradise, California partners with a local brewery to create a peanut brittle made with Sierra Nevada’s Pale Ale. Coined as “Beer Brittle,” this popular confection is made in small batches and offers a subtle hint of hops and malt. Given the popularity of the product, Sierra Nevada has allowed Joy Lyn’s to display their logo prominently on the front of the brittle packaging. Joy Lyn’s continues to expand their line of Sierra Nevada flavored products, including a jalapeno beer brittle and a Hop Salt Sout Caramel, as its name suggests, the caramels are sprinkled with salt infused with hops.
Irish Whiskey Truffle Shots
 |
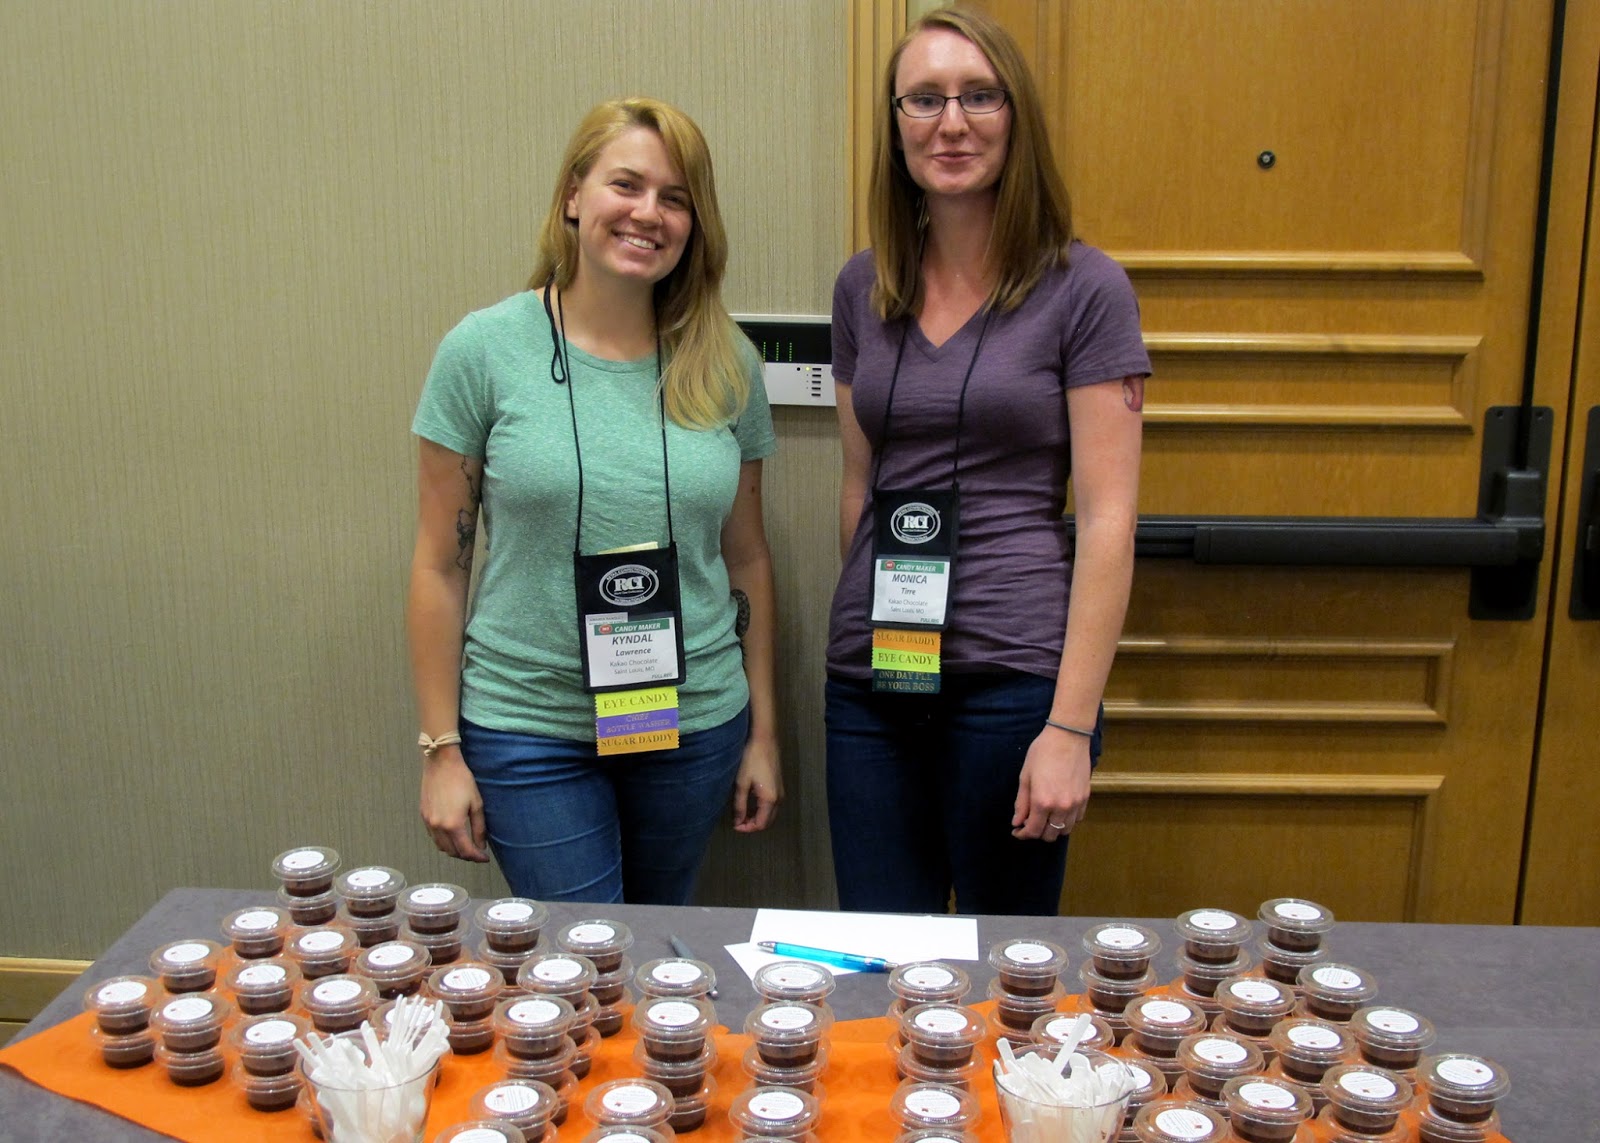
KakaoChocolatepresented their Irish whiskey truffle shots
toRCI members during Candy Clinic at the 2016
Annual Convention in Indianapolis.
|
Kakao Chocolate of St. Louis, Missouri has developed an indulgent Irish Whiskey Truffle Shot, by piping Irish whiskey ganache into recyclable sample cups and topped with cocoa nibs. When making the ganache, they add the whiskey at the end so the alcohol doesn’t cook out. If your store hosts a holiday open house, this would be a fun and unexpected treat for adult guests.
 |
Elevated Candy Co.sharedtheir black currant brandy-infused truffles
withRCI members during Candy Clinic at the 2016
Fall Conference in Vancouver, BC. |
Black Currant Brandy-Infused Truffles
Elevated Candy Co. of Port Townsend, Washington took the popular pairing of wine and chocolate to create the Black Currant Truffle. This popular confection is made by incorporating a local black currant-infused brandywine into their ganache and finishing the piece with a dash of red Hawaiian alea sea salt.
If you decide to incorporate beer, wine or spirits into your confections, know that regulations vary from state to state. Check with your local liquor control commission and familiarize yourself with regulations put in place by your state, as many prohibit the sale of confections that contain alcohol.
Tags:
Beer
Candy Making
Caramels
Chocolate
Christmas
Creative Flavors
Flavors
gifts
Idea Sharing
Liquor
Marshmallow
Peanut Brittle
Recipe
Thanksgiving
Truffles
Wine
Permalink
| Comments (0)
|
|
|
Posted By RCI,
Tuesday, October 18, 2016
Updated: Wednesday, April 29, 2020
|
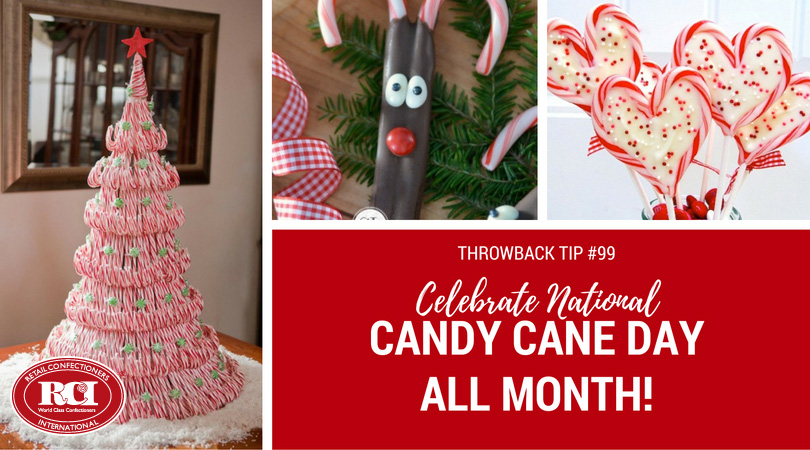
Did you know the day after Christmas is National Candy Cane Day? But don’t wait until December 26, celebrate this iconic holiday treat all month! In this throwback tip from 2013, we’ve shared five creative and easy ways (plus a couple new ideas) to incorporate candy canes into your product mix and presentation for the holidays.
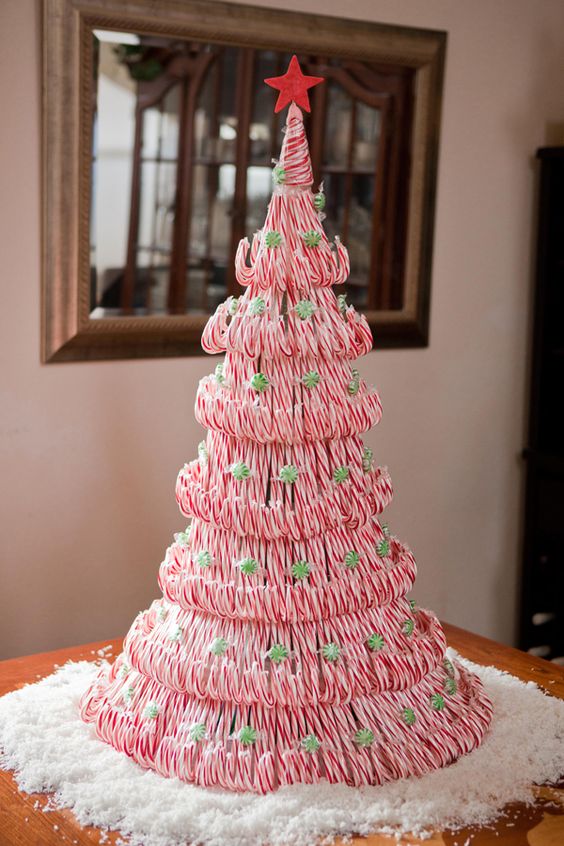
Candy Cane Tree
Forty-four boxes of candy canes were used to make this impressive candy cane tree! Make an impact in your holiday window display or size it down for an eye-catching centerpiece for a tabletop display. Click here to view a step-by-step tutorial.
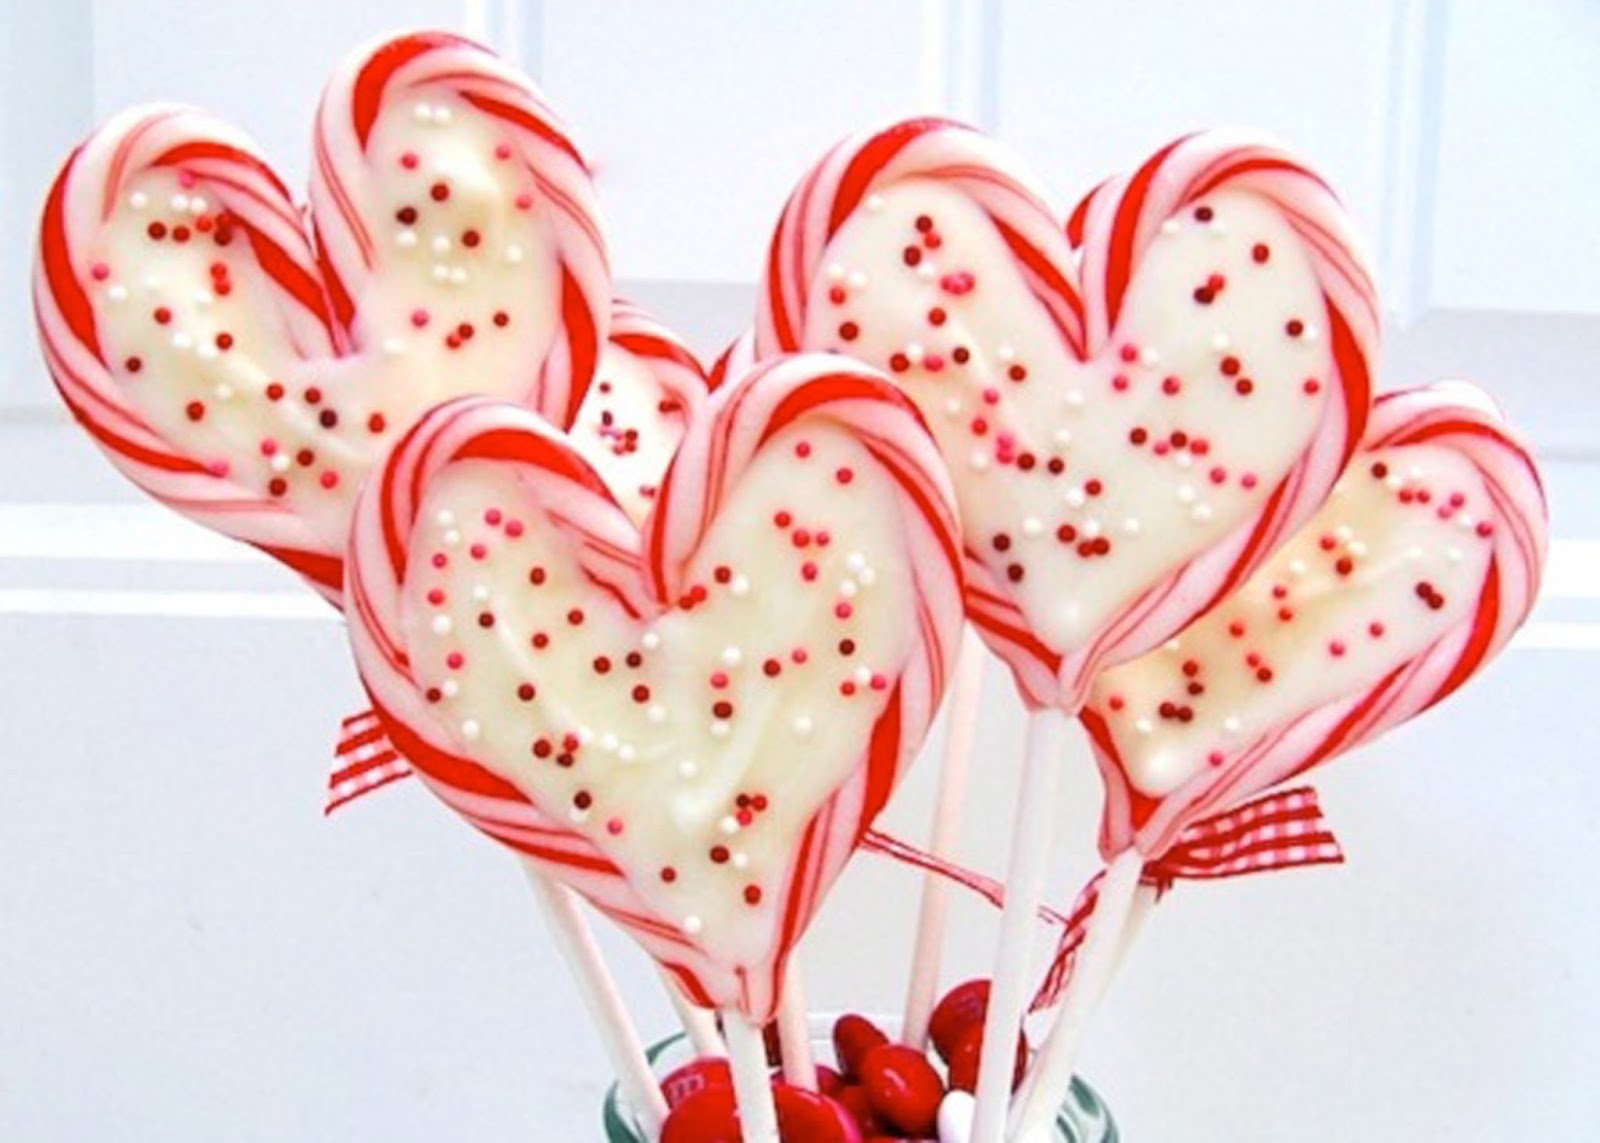
Candy Cane Sweetheart Pops
With a box of mini candy canes, a lollipop stick and a bit of added heat, mould candy canes into hearts to frame your favorite holiday bark or dark chocolate. Plus, with the right color ribbon, this could easily double as a Valentine treat and a good way to use up leftover candy canes. Click here to view recipe.
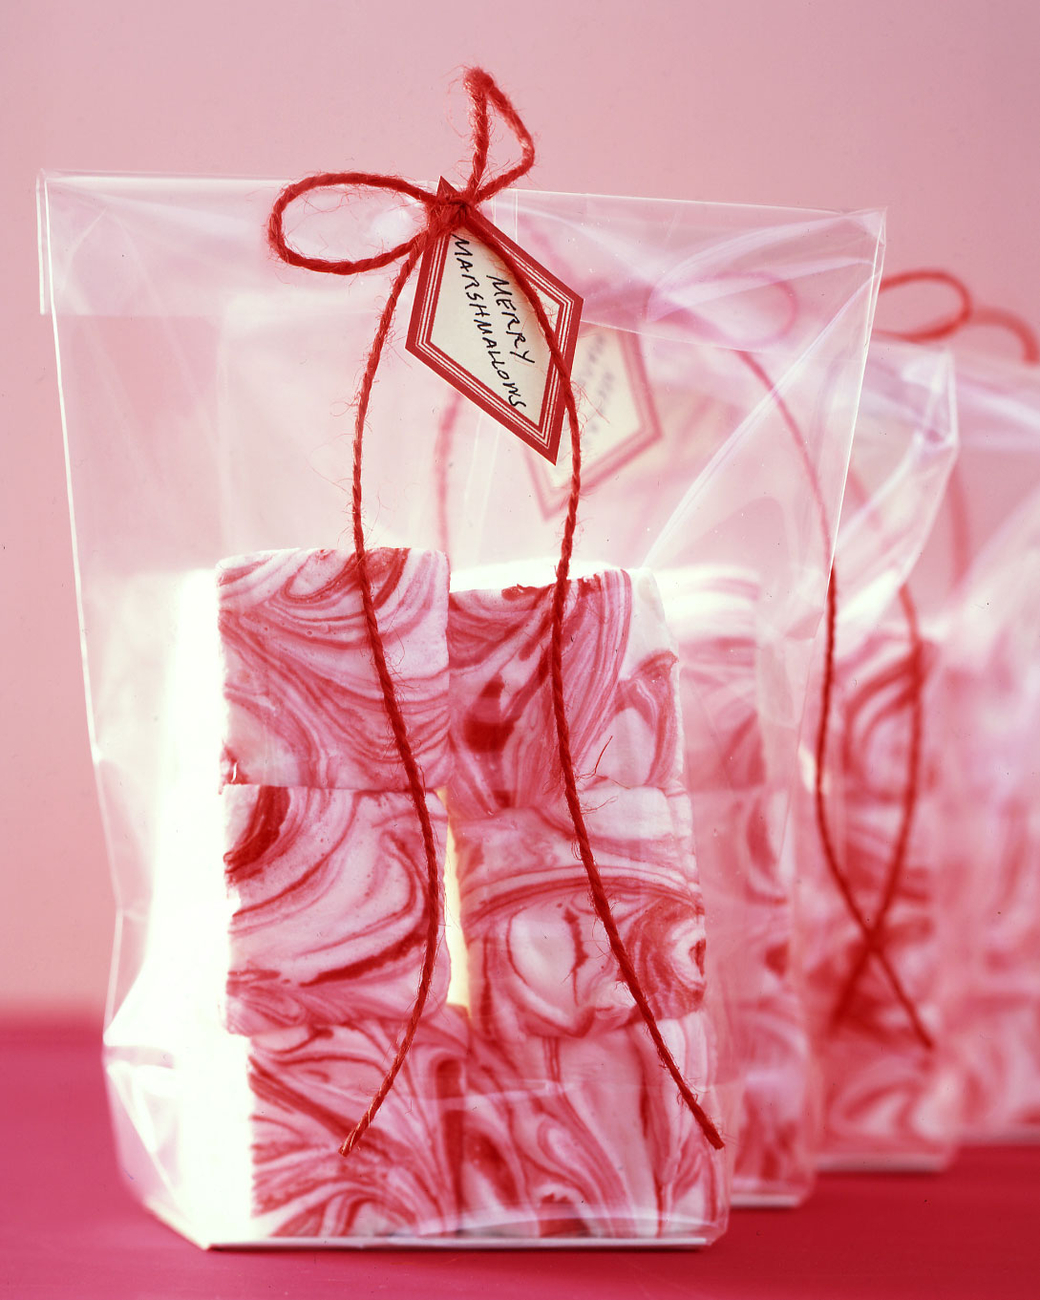
Candy Cane Marshmallow
Sold separately or aside your own blend of hot cocoa mix, these festive peppermint marshmallows would add a pop of color to your shelf when packaged in clear candy bags. Click here to view recipe.
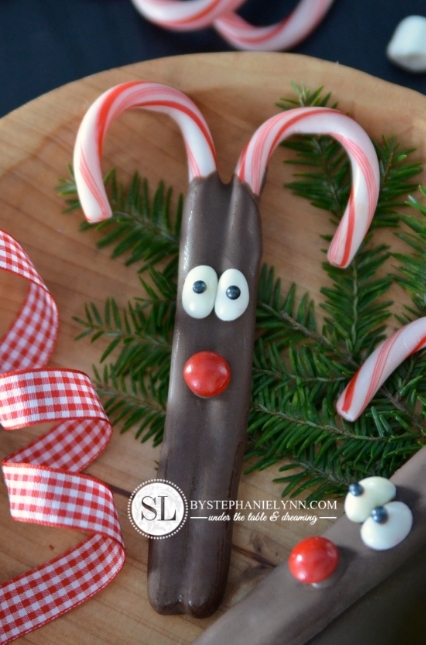
Candy Cane Rudolph
Embellish these antlered treats with white jelly beans and black sugar pearls for eyes and red Skittles for Rudolph’s signature red nose.
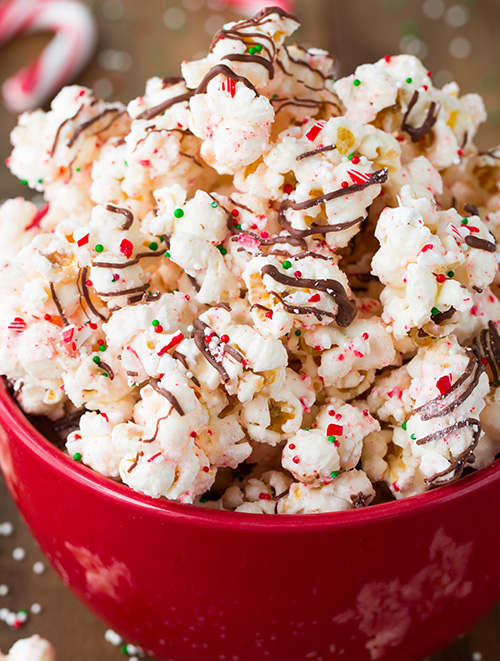
Candy Cane Bark Popcorn
Save the plain popcorn for decorating the Christmas tree! Give out samples of candy-sweet popcorn bark to your guests and watch it pop off the shelf! Click here for more details.
If you have creative candy cane ideas to share, leave us a comment below!
Tags:
Bark
Candy Canes
Candy Holidays
Candy Making
Chocolate
Creativity
Displays
Holidays
Ideas
Marshmallow
Merchandising
Peppermint
Popcorn
Recipe
Seasonal
Permalink
| Comments (0)
|
|
|
Posted By RCI,
Wednesday, July 6, 2016
Updated: Wednesday, April 29, 2020
|
A tower of truffles or “truffle tree” is a stylish way for your customers to serve truffles to a large group. The Truffle Tree also makes for an eye-catching merchandising display for your retail shop. It is a big ticket item that can add nice revenue to your store’s sales. With a little advance planning, building the tree can be relatively easy to execute.
Here you will find a list of materials needed and step-by-step instructions for creating this showpiece as provided by RCI member, Annedore's Fine Chocolates. RCI members: Click here to log on to RCI’s member site and view three variations of ganache recipes on page 9 of 2014’s 3rd quarter issue of Kettle Talk.
For ease of construction, un-dipped ganache balls may be stored in the freezer. Simply follow the instructions below for thawing and dipping the ganache balls and you are ready to build a tree on demand.
Materials Needed:
- Truffles (see recipes below)
- Silicone mats
- Plastic wrap
- Foam block
- Parchment paper or aluminum foil (optional)
- Round toothpicks
- Tempered chocolate
- Foam cone
- Wrapping paper or fabric (preferably coordinating with the color of your truffles)
- Flathead pins
- Scissors
- Ribbon or tree topper (optional)
Step-By-Step Instructions
- Prepare truffle centers using your own ganache recipe or see recipes below. Pipe ganache onto silicone mats. Cover the mats with plastic wrap and refrigerate for 12 hours. Transfer mats to the freezer for 12 hours. Remove mats from the freezer and pop out ganache balls (Note: Balls may be returned to the freezer for future use). Cover balls with plastic wrap and allow them to come to room temperature.
- Cover a foam block with parchment paper or aluminum foil, so it can be reused. Glue a toothpick into each ganache ball by, first, dipping one end of the toothpick into tempered chocolate and then inserting that end into the center of the flat side of the ganache ball. Allow toothpick to set up firmly in the ganache ball.
- Once the toothpick is firmly set in the ganache ball you are ready to dip each ganache ball in tempered chocolate. Dip each ball carefully and then insert tooth-picked end of the ball into the block of foam. This will allow for perfect-looking, uniform truffles to create your truffle tree. Allow chocolate to set up. Truffles may be decorated while standing in the block of foam.
- Before you begin to build your tree, first, wrap the foam cone completely with wrapping paper or fabric – secure with flathead pins, as needed.
- Beginning at the bottom of the cone, push the tooth-picked truffles into the cone working your way around the cone to create the first row. On the second row, stagger the truffles by placing them in the open spaces created by the first row. Carefully work your way up the cone row by row until the entire cone is covered in truffles. Toothpicks may need to be cut as you reach the top of the cone.
- Crown the top of your tree by inserting a tooth-picked truffle vertically on the top of the cone. Experiment with different tree toppers, such as a large bow or a chocolate initial or number (birthday idea). Use your imagination.
Tags:
Candy Making
Chocolate
Creativity
Displays
Idea Sharing
Ideas
Merchandising
Photos
Trends
Truffles
Tutorial
Permalink
| Comments (0)
|
|
|
Posted By RCI,
Tuesday, May 31, 2016
Updated: Wednesday, April 29, 2020
|
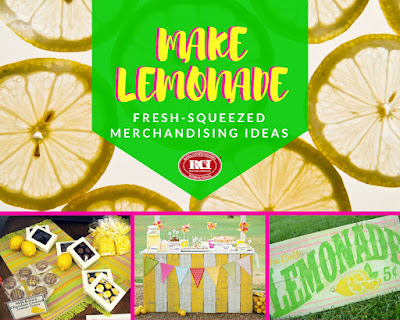 |
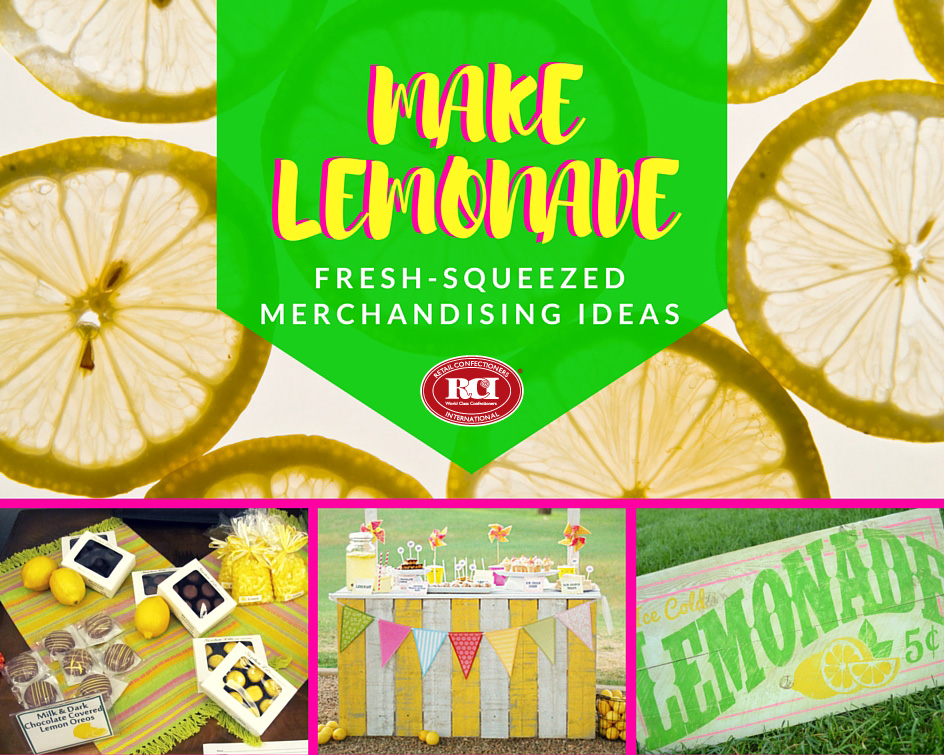
Photo credit (bottom left to right):2015 RCI Fall Candy Clinic,Stephen Libs Finer Chocolates,
DIY Lemonade Stand,LilLuna.com, Lemonade Sign,Burton Avenue
Every kid knows that setting up a lemonade stand in the front yard is an easy way to earn some added spending money for the summer. Why can’t the same idea be incorporated into your retail shop to increase sales this summer?
Draw inspiration from this iconic summer enterprise for your next merchandisingtheme. First, brainstorm ideas to display your lemon-flavored treats. Something as simple as draping one of your existing displaytablewith a swatch of lemon-clad fabric and accessorizing with fresh lemons and a pitcher can set the tone for your lemonade-themed display. If you, or someone you know, is handy with a hammer and nails, erect an actual lemonade stand with scrap wood or old pallets. Don't forget, a hand-painted “lemonade” sign is a must! Click the following links to view DIY tutorials for theLemonade Stand from LilLuna.comand theOld-Fashioned Lemonade Sign from Burton Avenue.
Take your lemonade stand to the next level by inviting a local children’s organization, like the Girl Scouts or Boys & Girls Clubs, to actually sell lemonade at your shop as a fundraiser, alongside your lemon candies, of course. Maximize the opportunity for PR, but submitting a press release to the local media and encourage the kids and their families to invite relatives and friends to visit your shop and support their cause.
RCI member, Stephen Libs Finer Chocolates of Evansville, Indiana shared this great idea, including the products they incorporated into their lemonade stand, atCandy Clinicduring the 2015 Fall Regional Conference in Maine. Members canclick hereto login and view a video of the presentation by Marjorie Libs of Stephen Libs Finer Chocolates on our website.
|
Tags:
Candy Clinic
Candy Making
Creative Flavors
Creativity
Idea Sharing
Lemon
Lemonade
Merchandising
Philanthrophy
Seasonal
Summer
Video
Permalink
| Comments (0)
|
|
|
Posted By RCI,
Tuesday, May 17, 2016
Updated: Wednesday, April 29, 2020
|
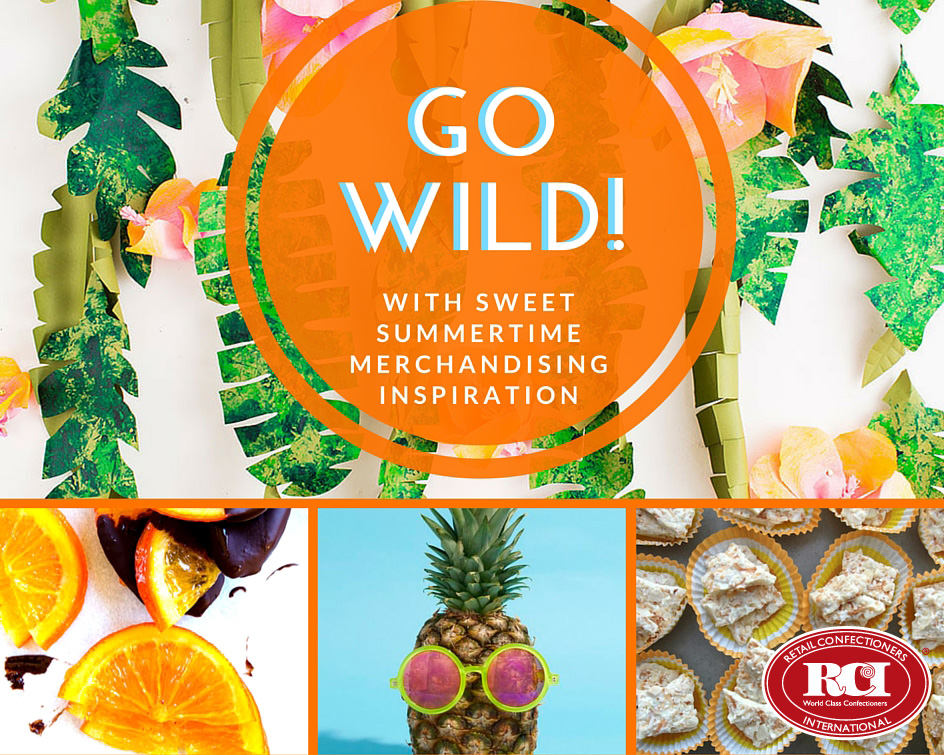
Once school is out for the summer, there is no doubt consumer’s social calendar will begin to fill up with pool parties, barbecues and family reunions. Impactful summer merchandising can help your business take advantage of opportunities for impulse purchases of your must-have summer treats!
An eye-catching, tropical summer-themed window display and photos shared through social media can encourage increased foot traffic in your store regardless of your location! Considering showcasing current products that incorporate tropical flavors, such as citrus, banana, pineapple, coconut and mango. Or introduce a limited edition of tropical-themed treats just for summer. Some options could be as simple as dried pineapple or mango dipped in dark chocolate or a tropical white chocolate bark made with toasted coconut, macadamia nuts and candied fruit, click here for a recipe courtesy of Shutterbean.com.
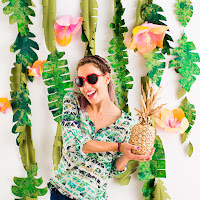
Don’t let your tropical ingredients hide out in the kitchen, let them shine in your retail space too! Pineapples, coconut and colorful citrus can be great, inexpensive props for your merchandising displays. Create a statement with a DIY tropical backdrop, click here for step-by-step instructions from Brit + Co.
Tags:
Bark
Candy Making
Creative Flavors
Idea Sharing
Merchandising
Seasonal
Summer
Permalink
| Comments (0)
|
|
|
Posted By RCI,
Tuesday, May 10, 2016
Updated: Wednesday, April 29, 2020
|
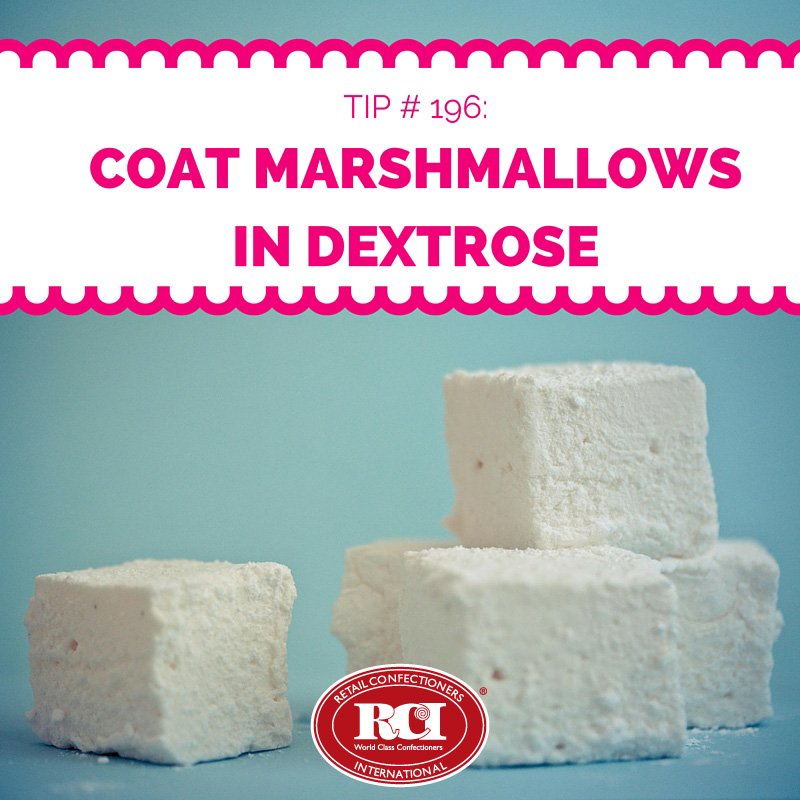
The season for s’mores is right around the corner. Variations of this classic summer treat continue to grow in popularity, but don’t let a rise in seasonal demand lead you rock-hard, dried-out marshmallows!
If you’re not enrobing the marshmallow, roll it in dextrose after it is cut to prevent it from drying out. For marshmallows bound for the enrober, adding a little dextrose to the top and bottom will also help the chocolate stick.
Some candy makers use powdered sugar for the same effect, however, the added sweetness from the powdered sugar may make your marshmallows too sweet.
Tags:
Candy Hacks
Candy Making
Marshmallow
Seasonal
S'mores
Permalink
| Comments (0)
|
|
|
Posted By RCI,
Tuesday, April 12, 2016
Updated: Wednesday, April 29, 2020
|
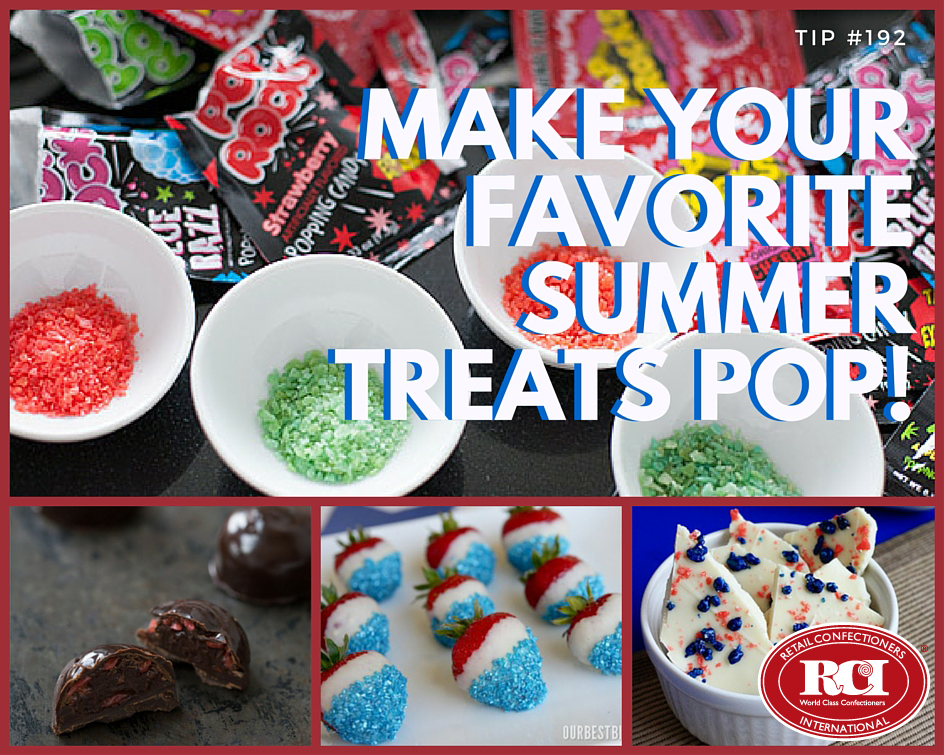
Get things poppin’ this summer with the surprising addition of Pop Rocks® to your favorite summer recipes! Put a little unexpected zing into your truffles or sprinkle on top of chocolate-covered potato chips, chocolate-covered strawberries, barks or really anything, by incorporating this fun and festive candy into your Memorial Day, 4th of July and Labor Day celebrations! The fun nature of the Pop Rocks makes these products great to sample during busy traffic days or promote on social media.
Keep in mind, Pop Rocks may react to the water content found in heavy cream or other ingredients used in the above recipes. To avoid this, simply coat the Pop Rocks in cocoa butter to protect the “pop” until it hits consumer’s mouths!
Tags:
4th of July
Bark
Candy Holidays
Candy Making
Holidays
Ideas
Labor Day
Memorial Day
Patriotic
Strawberries
Truffles
Permalink
| Comments (0)
|
|
|
Posted By RCI,
Tuesday, March 29, 2016
Updated: Wednesday, April 29, 2020
|
Suffer from sweaty sea salt caramels? Take tips from fellow candy makers and RCI members on how to avoid this common problem, as discussed through RCI’s member forum, List Serve.
“We are looking for a high-quality sea salt for our caramels. We experience problems when storing salted caramels in our cool room (50 degrees – 50% humidity). The sea salt seems to sweat or become clear on the caramel when stored.” - M. Mootz, Michael Mootz Candies, Inc.
“We do not store our sea salt caramels at a reduced temperature due to similar issues, we store [sea salt caramels] at factory room temperature.” – T. Hicklin, Candy House Gourmet
“Some salts are harder than others. Pink Himalayan sea salt is harder and more dense. It is less likely to absorb moisture.” – R. Hofberger, (retired)
“I would recommend dehumidifying to at least 40%. If that can’t be done, shrink wrap the boxes/cases. Completely enclose the product and then store. It works very well.” – Marty Lyp, Peterbrooke Chocolatier
Stay connected with RCI through Facebook for more tips and inspiration dedicated to the retail candy maker. Not a member?
Tags:
Candy Making
Caramel
Caramels
List Serve
Owning a Business
Problem Candy
Productivity
Quality Control
Permalink
| Comments (0)
|
|
|
Posted By RCI,
Tuesday, March 15, 2016
Updated: Wednesday, April 29, 2020
|
Pesky air bubbles often cause grief to chocolatiers, especially when using chocolate moulds. Tapping a filled mould by hand or using a shaker table or other equipment, can effectively release trapped air from the chocolate. The frequency of this motion can play a critical in forcing air to the chocolate’s surface.
Did you know that very high frequency pulses or taps to the mould can have the adverse effect by increasing the depth of the chocolate’s surface tension layer, trapping air and pushing it to the bottom of the mould? To the chocolatier’s dismay, unsightly hollow spots or huge bubbles will later appear on the face of the moulded chocolate.
For best results, experiment with tapping filled mold at rates between 5 and 20 times a second produce, depending on the viscosity of the chocolate and the mould’s shape.
Tags:
Candy Making
Chocolate Production
Moulds
Permalink
| Comments (0)
|
|
|
Posted By RCI,
Tuesday, March 1, 2016
Updated: Wednesday, April 29, 2020
|
Last week, twenty-seven chocolatiers participated in Retail Confectioners International’s Chocolate Boot Camp®. Although students in the course varied in age and experience, each of them graduated with a better understanding of working with chocolate.
“No matter what size your company is or how long you have been in business, there is always something to learn at Chocolate Boot Camp," says Michael Crudden, Vice President of Operations at Rosalind Candy Castle and 2016 course graduate.
We’ve snagged 3 quick tips from this popular course to share with you! Even if you’re a seasoned vet, you may be surprised to learn something that you can incorporate into your business.
Tip #1: Some centers need to be cooled in order to make them firm enough to hold their shape. If centers are too cold, they will cause the chocolate coating to crack and have a dull finish. Ideally, centers should be between 65-75 degrees Farenheit when coated in chocolate.
Tip #2: When using chocolate moulds, avoid bloom by making sure the moulds are 4 degrees Fahrenheit cooler than the chocolate.
Tip #3: If you don’t have a tempermeter, dip a knife blade into chocolate, leaving a thin film on the blade. If the chocolate is firm and not tacky in 5 minutes, at normal room temperature (65-68 degrees Farenheit), it is in good temper.
Not a member? Click here to learn how RCI can help you build your sweet business.
Tags:
bloom
Candy Hacks
Candy Making
Chocolate
Chocolate Boot Camp
Chocolate Production
crack
dull finish
Education
Moulds
temper
Permalink
| Comments (0)
|
|