|
|
Posted By RCI,
Tuesday, May 22, 2018
Updated: Monday, April 27, 2020
|
Is shaking out excess chocolate from your moulds leaving your work place a mess? Sure, you have parchment paper to catch the chocolate as it falls, but it probably still lands in other undesired places. Dennis Witzel with Linnea's Candy Supplies says a small or medium plastic storage bin can take care of this problem for less than $10. Simply set the tub on your work table and set your mould upside down on edges of the tub, so gravity can drain the chocolate. Be sure the bin has a wide enough opening at the top allowing your mould to easily fit into it. When you are ready to shake the excess chocolate from your mould, place the mould into the tub so as you shake it, all of the chocolate that flies out will land in the tub—not on you, the floor or the table.
Tags:
Chocolate
Chocolate Production
Cleaning
Moulds
Permalink
| Comments (0)
|
|
|
Posted By RCI,
Wednesday, April 18, 2018
Updated: Monday, April 27, 2020
|
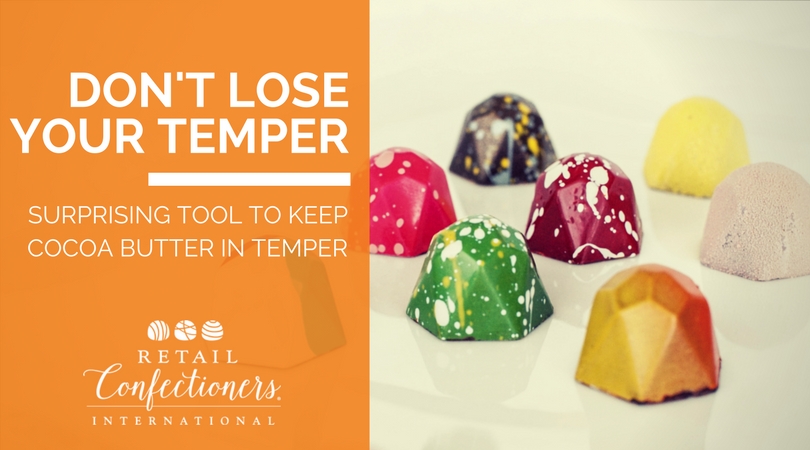
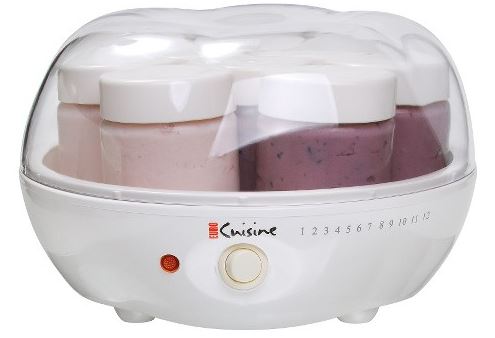
Using an airbrush to apply colored cocoa butter to your chocolate moulds can help create a dramatic effect. But if you are using several colors at once, it may seem like a juggling act to keep them all in proper temper.
RCI member, Brian Donaghy with Tomric Systems, Inc, says although colored cocoa butter usually arrives tempered, it is important to heat it slowly and then hold the cocoa butter in a 90℉ environment. Brian recommends using a yogurt maker to retain the temperature over time and help ensure the cocoa butter doesn't lose temper.
With lots of options available online, most ranging in price from $29-$60, this piece of equipment could prevent your airbrushed chocolates from having a dull finish or sticking to the moulds.
Tags:
Airbrush
Colored Cocoa Butter
Moulds
temper
Permalink
| Comments (0)
|
|
|
Posted By RCI,
Tuesday, December 26, 2017
Updated: Monday, April 27, 2020
|
As we prepare to bid farewell to 2017, we’ve pulled the topics most important to candy makers with the top five most-read tips from the year.
A little hazy on what’s causing the buildup of a film on the surface of your chocolate moulds? You’re not alone. Learn what causes this common problem and get preventative tips on how to avoid it.
Save money by finding new uses for old items to create eye-popping displays with “wow factor!” Old ladders, tables, or wooden crates can make for unexpected and memorable ways to display your confections.
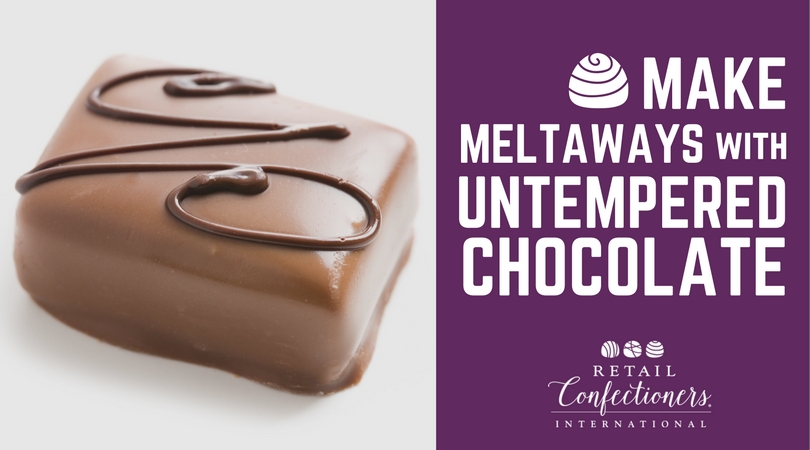
Consider this alternative method to making stable, smooth-textured meltaways with untempered chocolate.
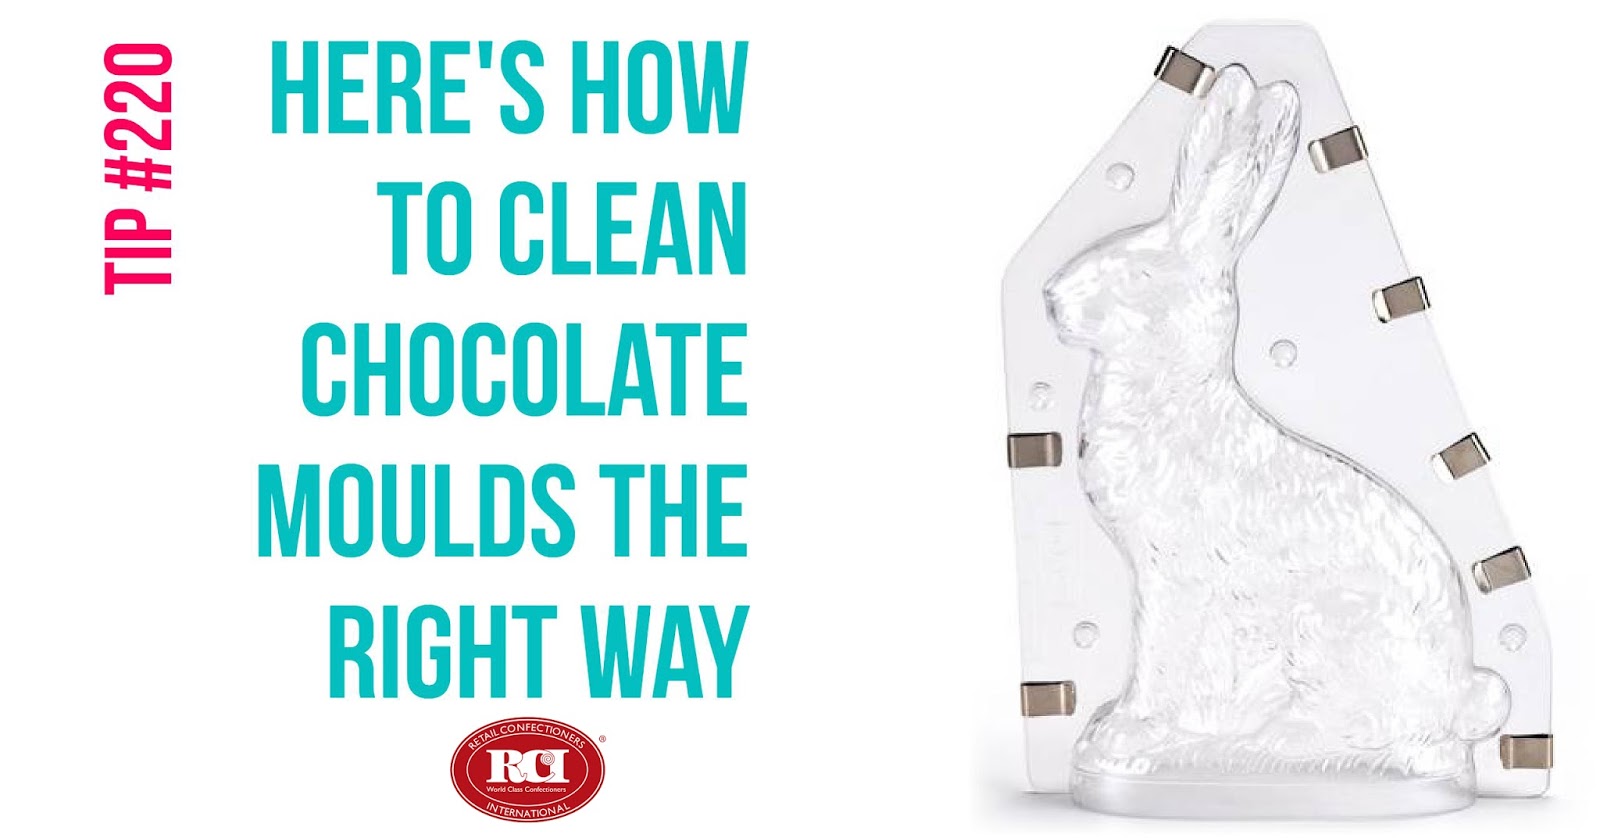
Did you know chocolate moulds that aren’t cleaned properly can cause chocolates to lose their desired smooth and glossy shine? Follow these five easy steps to ensure your plastic moulds are cleaned properly and produce perfectly glossy chocolate masterpieces every time.
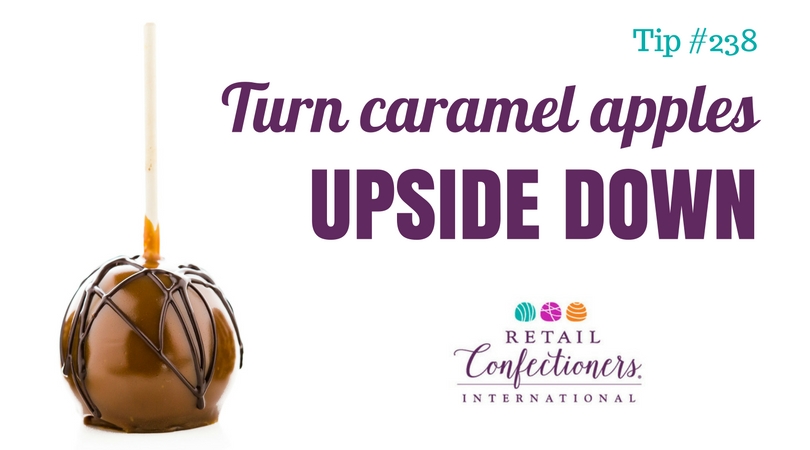
This simple tip is about to turn your world upside down, literally. Long-time RCI member, Fascia’s Chocolates started using this unconventional approach to caramel apples after practicing the traditional method for 53 years.
We look forward to bringing you more great tips to help you build your business in 2018! Wishing you a safe and happy New Year!
Tags:
Best of
Candy Hacks
Caramel Apple
Cleaning
Meltaways
Merchandising
Moulds
Permalink
| Comments (0)
|
|
|
Posted By RCI,
Tuesday, March 7, 2017
Updated: Wednesday, April 29, 2020
|
Are you a little hazy on what’s causing the buildup of a film on the surface of your chocolate moulds? You’re not alone. Learn what causes this common problem and get preventative tips on how to avoid it in this excerpt from RCI’s Mechanics of Chocolate Moulding course.
We all know the temperature of chocolate and, even, your workspace is important, but did you know the temperature of your moulds could also be affecting the quality of your chocolate?
Cold moulds can cause chocolate to stick to the surface of a mould because the chocolate has not had time to grow the proper crystals and shrink free of the surface. Moulds should be 75-80° F before coming into contact with chocolate. And, bonus, the solution to this problem is easy, because moulds within this temperature range will self clean. Repeated deposits will remove the buildup from the surface of the moulds.
Although cooking spray can work wonders for baking pans, never coat chocolate moulds with vegetable oil to prevent sticking. This may appear to help prevent buildup; but it will create early bloom on the surface of a moulded piece because of the incompatibility of the vegetable oil and the cocoa butter in chocolate. Compound coatings made with lauric fats, such as palm kernel oil, are even more susceptible to bloom than chocolate, if incompatible fats are mixed with them.
Now that you know your chocolate moulds like to be kept at a cozy 75-80° F, how do you check the temperature of a mould? An infrared thermometer "gun" will do the trick and can be found at any of your local home improvement stores. Click here to view best-selling infrared thermometers on Amazon. Prices range from $16 to $130.
Happy Moulding!
Tags:
Chocolate
Chocolate Production
Cleaning
Moulds
Problem Candy
troubleshooting
Permalink
| Comments (0)
|
|
|
Posted By RCI,
Thursday, February 9, 2017
Updated: Wednesday, April 29, 2020
|
Did you know chocolate moulds that aren’t cleaned properly can cause chocolates to lose their desired smooth and glossy shine? Follow these five easy steps from Tomric Systems, Inc. to ensure your plastic moulds are cleaned properly and produce perfectly glossy chocolate masterpieces every time.
- Wipe moulds with a soft cloth in clear, warm water.
- DO NOT use an abrasive cleanser. If moulds become coated with cocoa butter, wash with a mild, grease-cutting detergent. Use detergent sparingly and avoid scratching the inside surface of the moulds.
- Rinse in clear, cool water.
- Dry and store in a cool location.
- Use moulds at room temperature.
Although maintenance is minimal for plastic moulds, it is important to perform these simple steps at the end of each holiday season to get the most out of your chocolate moulds.
Tags:
Chocolate
Cleaning
Moulds
Permalink
| Comments (0)
|
|
|
Posted By RCI,
Tuesday, March 15, 2016
Updated: Wednesday, April 29, 2020
|
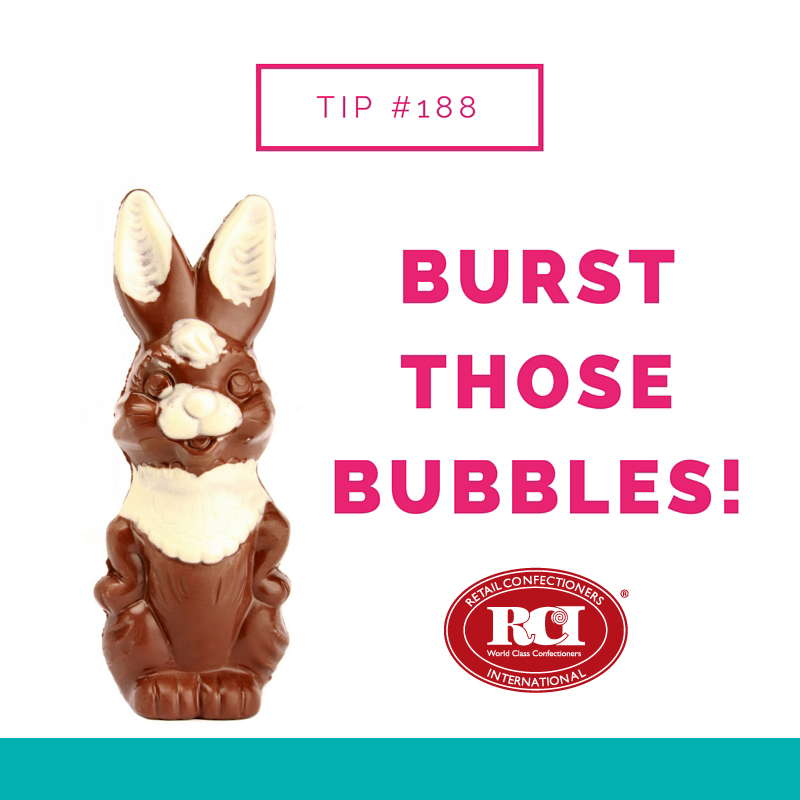
Pesky air bubbles often cause grief to chocolatiers, especially when using chocolate moulds. Tapping a filled mould by hand or using a shaker table or other equipment, can effectively release trapped air from the chocolate. The frequency of this motion can play a critical in forcing air to the chocolate’s surface.
Did you know that very high frequency pulses or taps to the mould can have the adverse effect by increasing the depth of the chocolate’s surface tension layer, trapping air and pushing it to the bottom of the mould? To the chocolatier’s dismay, unsightly hollow spots or huge bubbles will later appear on the face of the moulded chocolate.
For best results, experiment with tapping filled mold at rates between 5 and 20 times a second produce, depending on the viscosity of the chocolate and the mould’s shape.
Tags:
Candy Making
Chocolate Production
Moulds
Permalink
| Comments (0)
|
|
|
Posted By RCI,
Tuesday, March 1, 2016
Updated: Wednesday, April 29, 2020
|
Last week, twenty-seven chocolatiers participated in Retail Confectioners International’s Chocolate Boot Camp®. Although students in the course varied in age and experience, each of them graduated with a better understanding of working with chocolate.
“No matter what size your company is or how long you have been in business, there is always something to learn at Chocolate Boot Camp," says Michael Crudden, Vice President of Operations at Rosalind Candy Castle and 2016 course graduate.
We’ve snagged 3 quick tips from this popular course to share with you! Even if you’re a seasoned vet, you may be surprised to learn something that you can incorporate into your business.
Tip #1: Some centers need to be cooled in order to make them firm enough to hold their shape. If centers are too cold, they will cause the chocolate coating to crack and have a dull finish. Ideally, centers should be between 65-75 degrees Farenheit when coated in chocolate.
Tip #2: When using chocolate moulds, avoid bloom by making sure the moulds are 4 degrees Fahrenheit cooler than the chocolate.
Tip #3: If you don’t have a tempermeter, dip a knife blade into chocolate, leaving a thin film on the blade. If the chocolate is firm and not tacky in 5 minutes, at normal room temperature (65-68 degrees Farenheit), it is in good temper.
Not a member? Click here to learn how RCI can help you build your sweet business.
Tags:
bloom
Candy Hacks
Candy Making
Chocolate
Chocolate Boot Camp
Chocolate Production
crack
dull finish
Education
Moulds
temper
Permalink
| Comments (0)
|
|
|
Posted By RCI,
Tuesday, October 13, 2015
Updated: Wednesday, April 29, 2020
|
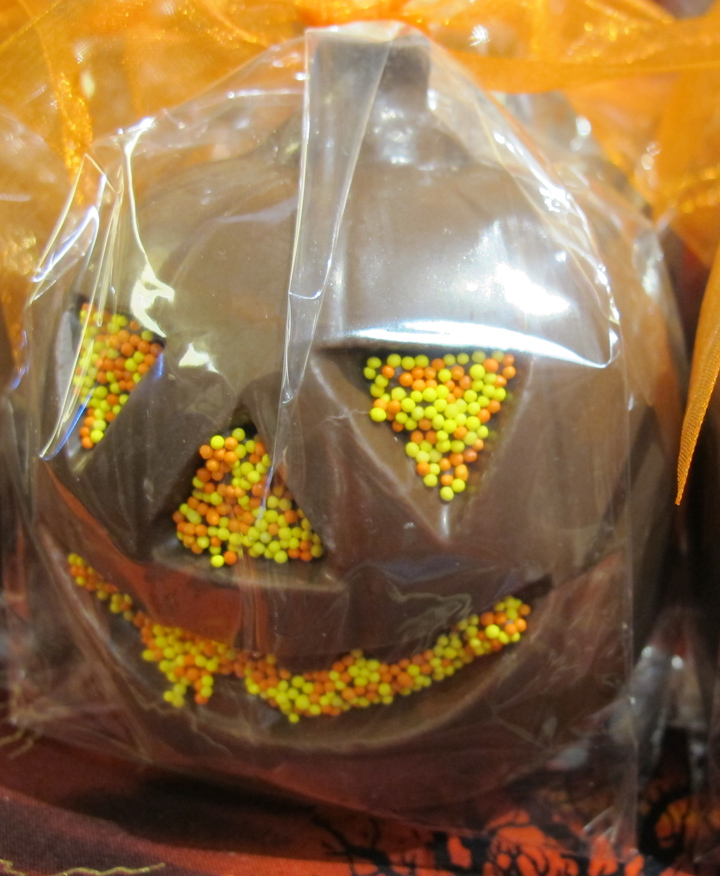
 |
Photo credit: Stever's Candies, Inc.
|
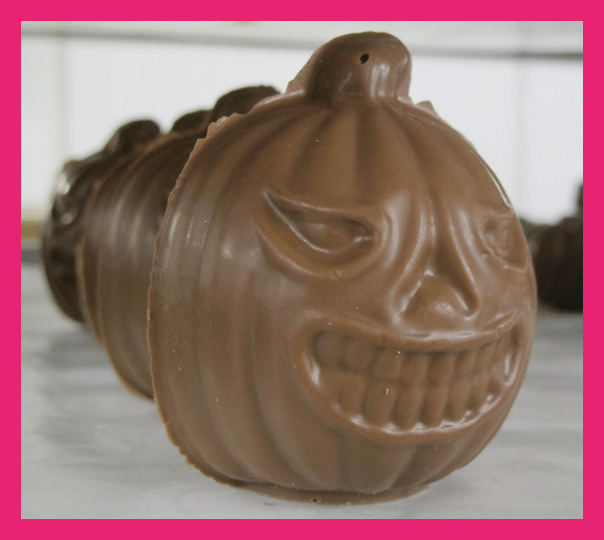
Looking for a new idea for your fall product lineup? How about a Smash Pumpkin?
Smash Pumpkins are simple hollow pumpkin or jack o’lantern moulds that are filled with goodies of your choice. Hence the name, customers get to “smash” the pumpkin open after purchase to see what’s inside.
Package your pumpkins in cellophane with beautiful bows and, perhaps, a small wooden mallet tied with a coordinating ribbon. Smash pumpkins can be a fun activity for parties or a welcome holiday gift.
At a glance, it may not be obvious that the pumpkins are filled with candy. For this reason, it is important to clearly communicate what’s inside the pumpkins, so the customer understands what they’re purchasing. Consider displaying packaged smash pumpkins around an over-sized, pre-smashed pumpkin with candy flowing out of the cracks and onto the table along. A small to mid-sized chalkboard with a brief product description should get the message across and create a fun display leading up to Halloween.
Tags:
Candy Holidays
Candy Making
Chocolate
Fall
gifts
Halloween
Holidays
Moulds
Permalink
| Comments (0)
|
|
|
Posted By RCI,
Tuesday, November 18, 2014
Updated: Wednesday, April 29, 2020
|
It is almost the season for making life-size chocolate Santas. Ok, we realize they aren’t really life-size but some of the pretty large ones could definitely be life-size for a child!
Either way, this week on the blog we have a small but useful tip to help you evenly distribute the chocolate in your life-size moulded Santa Claus. Since these huge moulds aren’t likely to fit on a mould spinner, most candy makers seem to have a special way of spinning and flipping the moulds to be sure the chocolate doesn’t all gather on one side as it hardens. To help with this process our tip is to make a rule for your staff that each time they walk by the mould they need to flip it.
Be sure every staff member knows and understands the reason for this rule is to evenly spread the chocolate inside the mould to help ensure they’ll follow it. Additionally, it would be wise to assign a staff member to be in charge of ensuring the mould is flipped on a regular schedule. For example, if it needs to be flipped every five minutes and no one walks by for 10 minutes, this staff person would be the one to flip it at the five minute mark. It would probably be helpful to have a pen and paper chart nearby for staff to initial and write the time when they flip the mould.
By involving all staff to flip your extra large moulds you’ll be creating a team environment where everyone pitches in, in addition to adding an element of quality control,
P.S. This tip came from our Mechanics of Chocolate Moulding education course held last fall. Attend RCI’s next education course, Chocolate Boot Camp®, by registering online today at retailconfectioners.org/bootcamp.
Tags:
Candy Making
Chocolate
Holidays
Moulds
Quality Control
Seasonal
Permalink
| Comments (0)
|
|
|
Posted By RCI,
Tuesday, September 2, 2014
Updated: Thursday, April 30, 2020
|
Looking for a new idea for your fall product list? How about a Smash Pumpkin?
Smash Pumpkins are simple hollow pumpkin or jack o’lantern moulds that are filled with additional goodies of your choice. Customers get to ‘smash’ the pumpkin open after purchase to see what’s inside.
Package your pumpkins in cellophane with beautiful bows and they become a gift of candies within a gift of chocolate! Be sure to explain on your packaging what this new product is and what’s inside so that customers understand what they’re purchasing. Have fun with it!
P.S. Next week RCI is exhibiting at the Philadelphia Candy Gift & Gourmet Show in Atlantic City. Be sure to stop by booth #512 and say hello if you’ll be there, too!
Tags:
Candy Making
Creativity
Holidays
Moulds
Photos
Seasonal
Permalink
| Comments (0)
|