Print Page   |   Sign In   |   Join RCI
RCI Blog
Blog Home All Blogs

How to Make Holographic Chocolate

Posted By RCI, Tuesday, September 19, 2023
Updated: Thursday, November 9, 2023


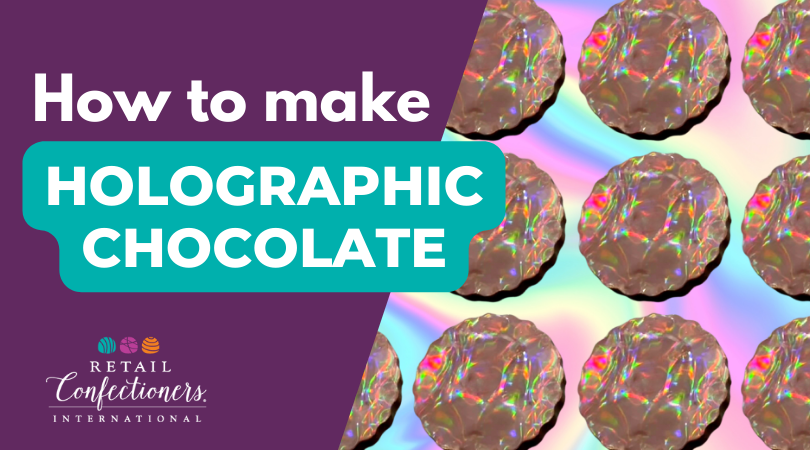
Upgrade your confections with a cool, glimmering hologram. For this week’s blog post, Cargill Cocoa & Chocolate shares a simple technique that gives chocolate a dazzling, rainbow effect without the use of colored cocoa butter or pigments.

How does it work?
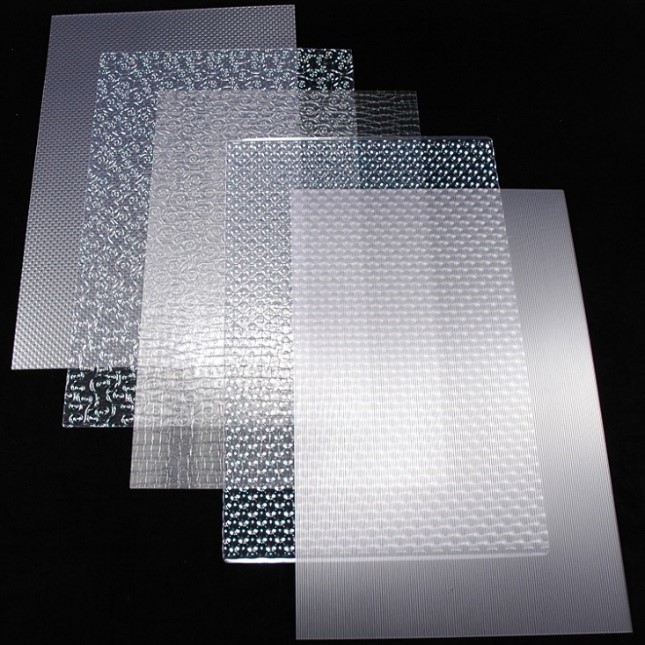
A diffraction sheet is made of plastic which consists of micro-etchings, which are tiny grooves that causes white light to disperse into a rainbow of colors. When liquid chocolate meets a diffraction sheet, the chocolate takes on the sheet’s micro etchings as it solidifies. These etchings in the chocolate replicate the dispersion effect of the sheet and separate white light into individual colors, which gives the lovely rainbow effect. When selecting a diffraction sheet (also known as a gradient sheet), the greater the number of lines, the more of an opportunity for the light to diffract and give a stronger iridescent look. Diffraction sheets can be found from a number of online retailers, such as Amazon.

How to do it?
There are a few ways to make this dazzling design.

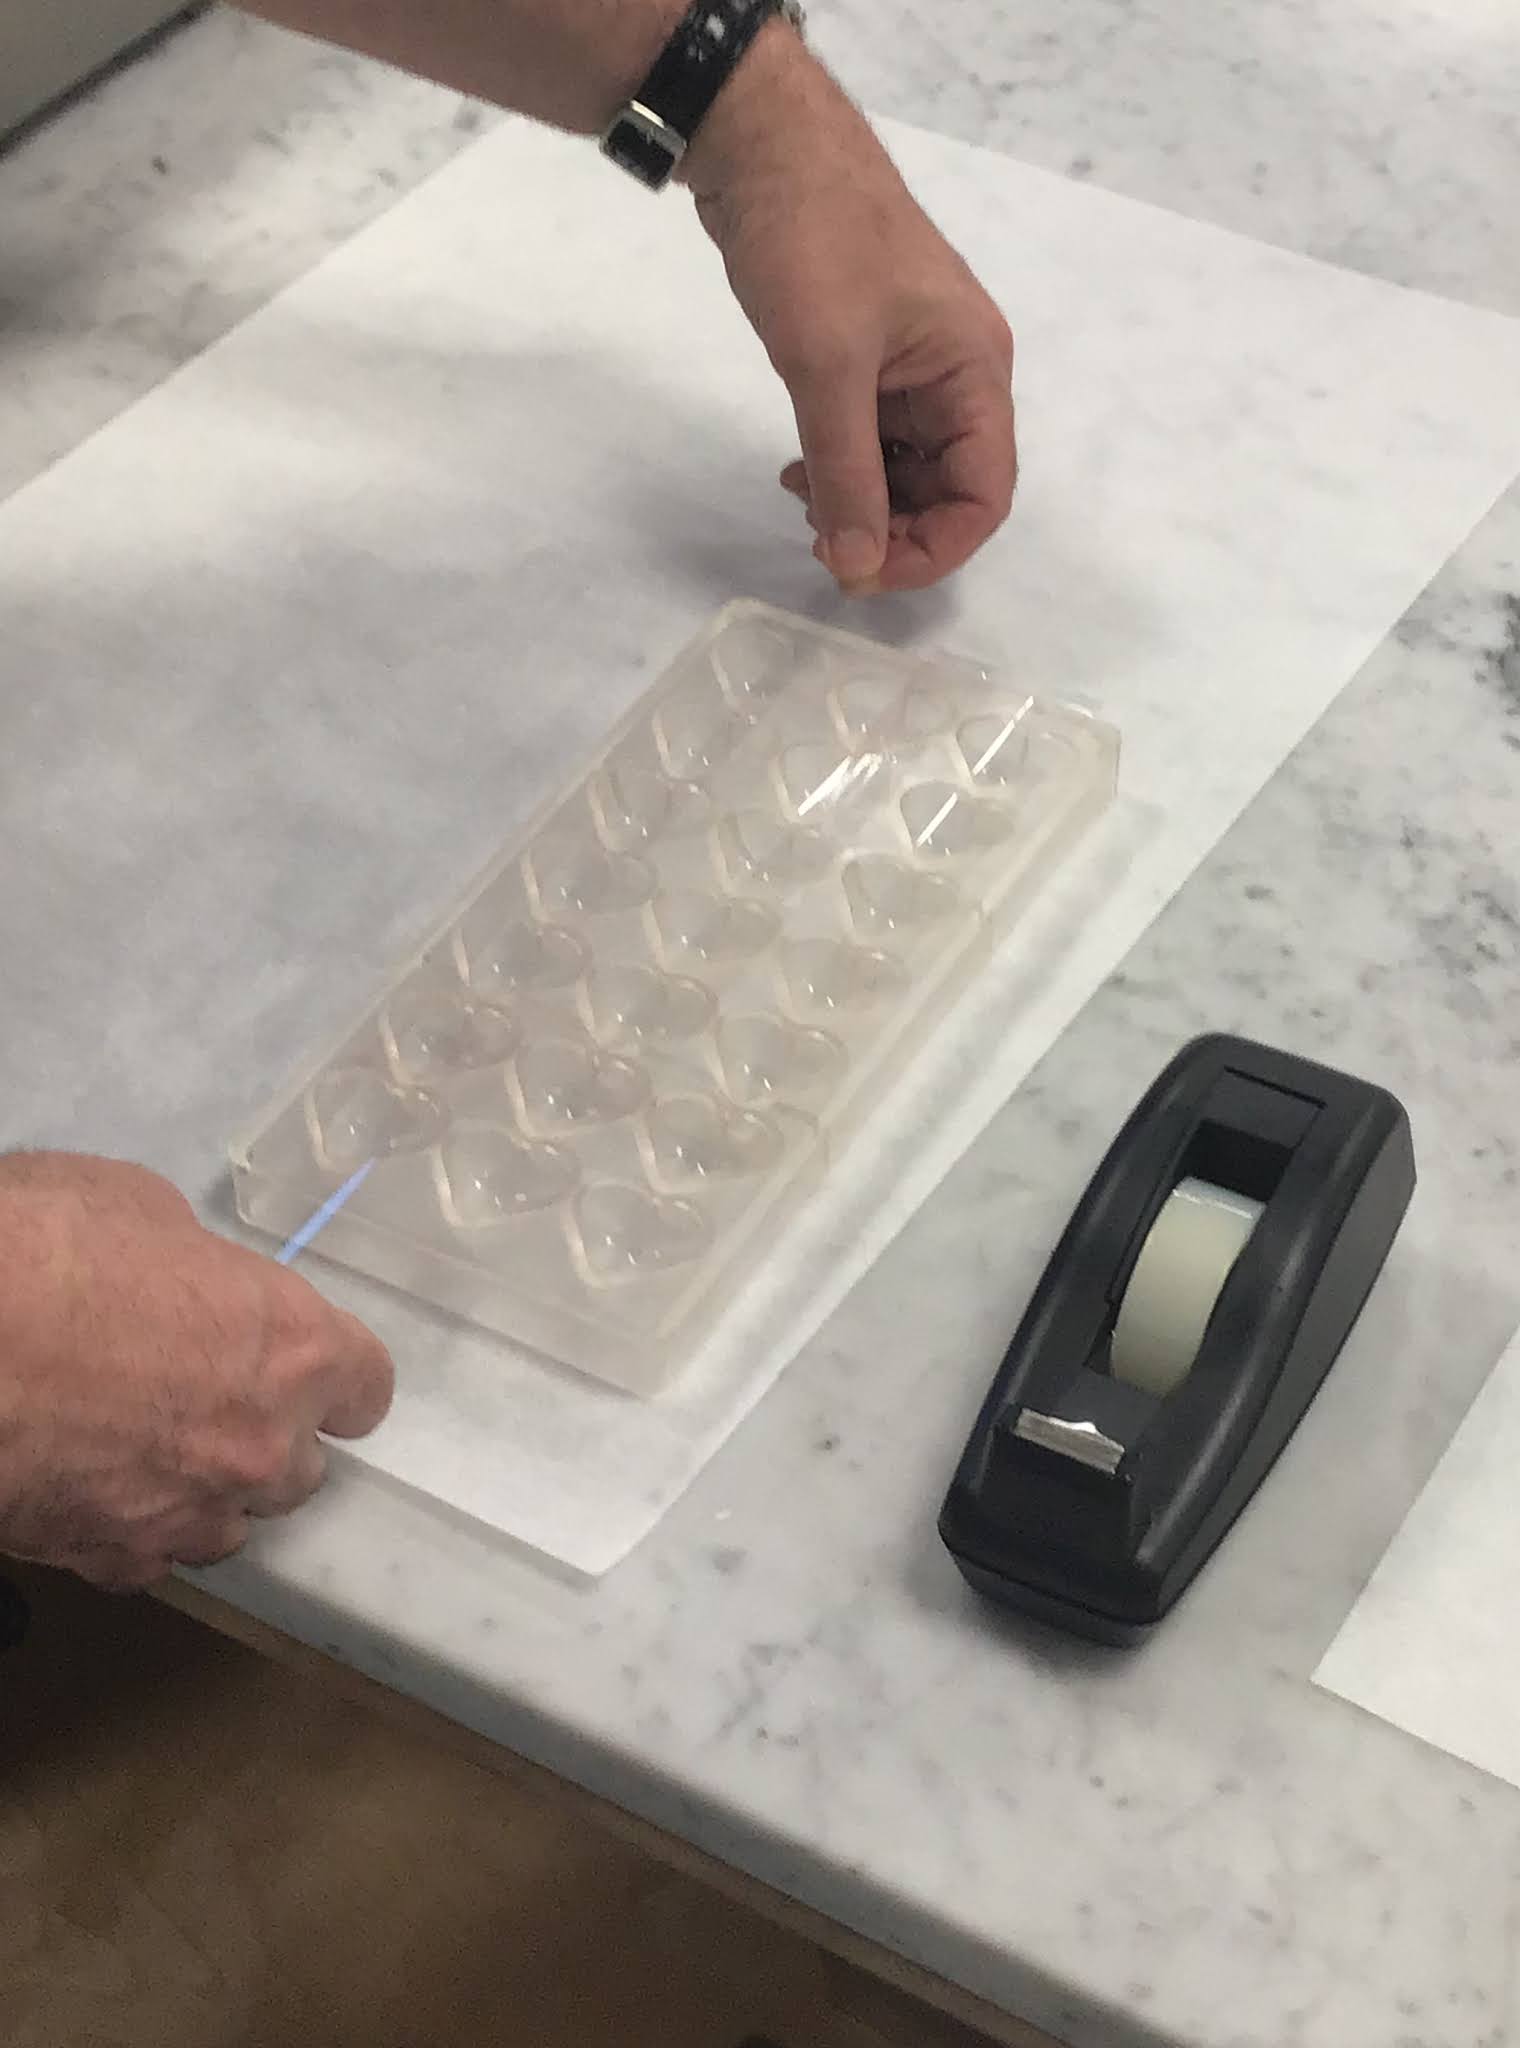
The first, is using a magnetic transfer mould. Place the diffraction sheet into your transfer mould, similar to how you would use cocoa butter transfer sheets or other traditional design applications. Once placed, proceed to pour tempered chocolate into your mould. Be sure to knock the air out of the mould to ensure a seamless transfer of the design. When the chocolate cools, the liquid will mould around the micro etchings allowing the rainbow shimmer to be present on your chocolate.

Another method is to apply chocolate directly to the diffraction sheet. The easiest way to utilize the sheets directly is to slightly melt the top of an already moulded or enrobed product, place the melted side onto the diffraction sheet and let it cool. This way you can design items that have already been completed, like chocolate chip bottoms or chocolate enrobed cookies. Chocolate can also be poured directly onto the gradient sheet. When slightly cooled, the diffraction sheet can be bent or curled to add a shimmer to chocolate curls or tubes.

As discussed above, you aren’t transferring the design but instead, transferring the grooves into the chocolate. Because of this, the sheets can be used multiple times. As long as the micro etchings are clear, the design can continue to be moulded onto the product. Gently wash the sheet with soap and water after use. Make sure that the sheet is completely dry before the next use. A dry wipe down can also be completed between batches.

How can it be applied?
There are an endless number of ways to apply this shimmering design. Moulded truffles, chocolate curls, and enrobed treats can be elevated with holographic effects. The possibilities are only limited to your glittering imagination!

Crave more?Click here  to subscribe and start receiving weekly tips, like this, delivered straight to your email inbox. RCI's blog is just one of the many resources we offer to help candy makers refine their craft and build upon their business and marketing practices.  Follow us on Facebook  for even more sweet inspiration.

Not a member? Click here to learn how RCI can help you build your sweet business .

Tags:  Chocolate  Decoration  Holographic Chocolate  Trends 

PermalinkComments (0)
 

Add Glam to Your Confections with Texture

Posted By RCI, Wednesday, January 26, 2022

Do you want to add an impressive finishing touch to your chocolate confections? Add dimension to your confections with the use of texture sheets.


Photo credit: Pastry Chef, Inc.


Texture sheets are made from embossed plastics and can be used over and over again. Designs range from checkerboard patterns, to snake skin, to swirls and everything in between. Full sheets can be cut to any size to suit your needs. They can be used in place of traditional cocoa butter transfer sheets, when used in conjunction with magnetic mould frames. Both sides of the texture sheet can be used to create concave or convex impressions.

Although thicker texture sheets can present a challenge with magnetic mould use, they can be used in other ways too. For example, experiment by painting a full texture sheet with tempered chocolate before adding inclusions, like dried fruit and nuts, to create a unique bark. The textured pattern can be showcased on one side, while the other side reveals the inclusions.


Photo credit: Martellato Chocolate


Another method for utilizing texture sheets involves cutting the sheet into small squares to be placed onto pieces as they exit an enrober. This works similarly to cocoa butter transfer sheets, where the texture sheet side coming into contact with the chocolate will transfer the design as it sets up.

Finally utilize your texture sheets by applying a thin layer of chocolate to texture sheet. Once chocolate has set, use a knife or cookie cutters to create shapes to adorn your confections.

See for yourself by experimenting with texture sheets to add interest and dimension to your confections.

Crave more?Click here to subscribe and start receiving weekly tips, like this, delivered straight to your email inbox. RCI's blog is just one of the many resources we offer to help candy makers refine their craft and build upon their business and marketing practices. Follow us on Facebook for even more sweet inspiration.

Not a member? Click here to learn how RCI can help you build your sweet business.

Tags:  Creativity  Decoration  Texture Sheets 

PermalinkComments (0)
 

5 Questions About Colored Cocoa Butter Answered

Posted By RCI, Tuesday, April 13, 2021
Updated: Friday, August 20, 2021


Using colored cocoa butter is a great way to add detail and pops of color to your chocolate confections. This week Tomric System's Chef Brian Donaghy shares the basics of using colored cocoa butter and answers five common questions that he gets asked all the time.

Since Chef Brian first learned how to use colored cocoa butter with chocolate confections in a master class taught by Norman Love of Norman Love Confections in 2002, colored cocoa butter products have improved and the techniques have exploded exponentially. The process, however, is still fundamentally the same: (1) an emulsion of fat- soluble color and cocoa butter is applied to the inside of a mould (2) the cocoa butter is allowed to partially crystallize (3) tempered chocolate is placed in the mould and the chocolate and cocoa butter crystallize together, so when the chocolate piece is unmoulded it has shine and color. The process is fairly simple, but requires a process.


What equipment do you use? “I use an Iwata Smart Jet airbrush compressor set to around 50 psi and Badger 250 airbrushes and I use separate airbrushes for each color. A laser thermometer is another “essential” tool for this process.”

How do you temper cocoa butter? “I melt my cocoa butters to 93° F/ 33.9°C and then seed them with cocoa butter "silk" from my EZ Temperer.”

How do you achieve an even layer of colored cocoa butter?

“Prior to spraying in the mould, I always spray away from the mould first—this ensures that the cocoa butter is spraying correctly.”


What’s an easy method for taking your airbrush technique to the next level? “I have taken to masking my moulds so that the color does not coat the entire mould—this makes for an interesting effect.”


How do you make colors pop against chocolate? “Spray white colored cocoa butter last to ensure that we can see the colors in dark chocolate. For some colors, like red, I will spray black last, because it creates a beautiful finish.”

Whether you’re interested in using colored cocoa butter for the first time or you’ve already perfected your techniques, we hope this post helps inspire you to take your decorating skills to the next level.

Crave more? If you like what you read here, look for the "Subscribe now" box on the right to enter your email address and start receiving weekly tips, like this, delivered straight to your email inbox. RCI's Tip of the Week blog is just one of the many resources we offer to help candy makers refine their craft and build upon their business and marketing practices. Follow us on Facebook for even more sweet inspiration.

Tags:  Chocolate  Chocolate Production  Colored Cocoa Butter  Creativity  Decoration  Inspiration 

PermalinkComments (0)