|
|
Posted By RCI,
Tuesday, October 18, 2016
Updated: Wednesday, April 29, 2020
|
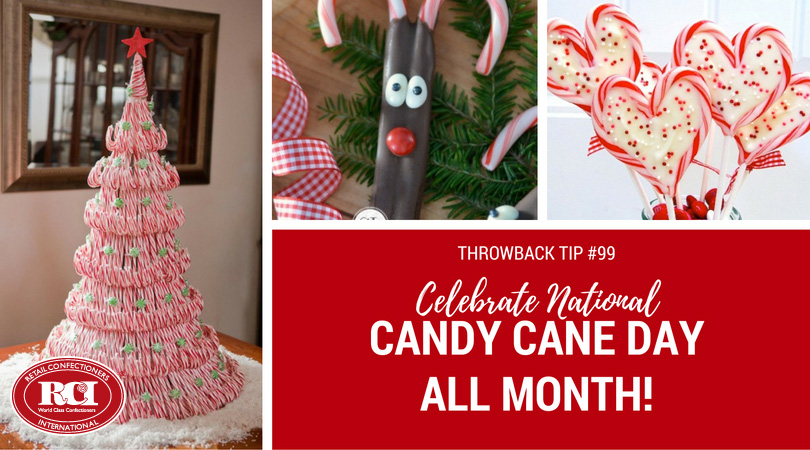
Did you know the day after Christmas is National Candy Cane Day? But don’t wait until December 26, celebrate this iconic holiday treat all month! In this throwback tip from 2013, we’ve shared five creative and easy ways (plus a couple new ideas) to incorporate candy canes into your product mix and presentation for the holidays.
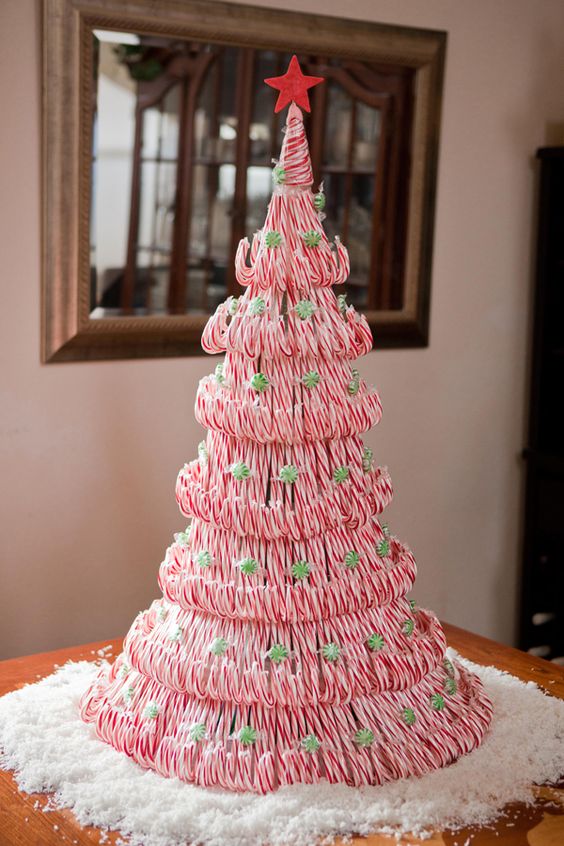
Candy Cane Tree
Forty-four boxes of candy canes were used to make this impressive candy cane tree! Make an impact in your holiday window display or size it down for an eye-catching centerpiece for a tabletop display. Click here to view a step-by-step tutorial.
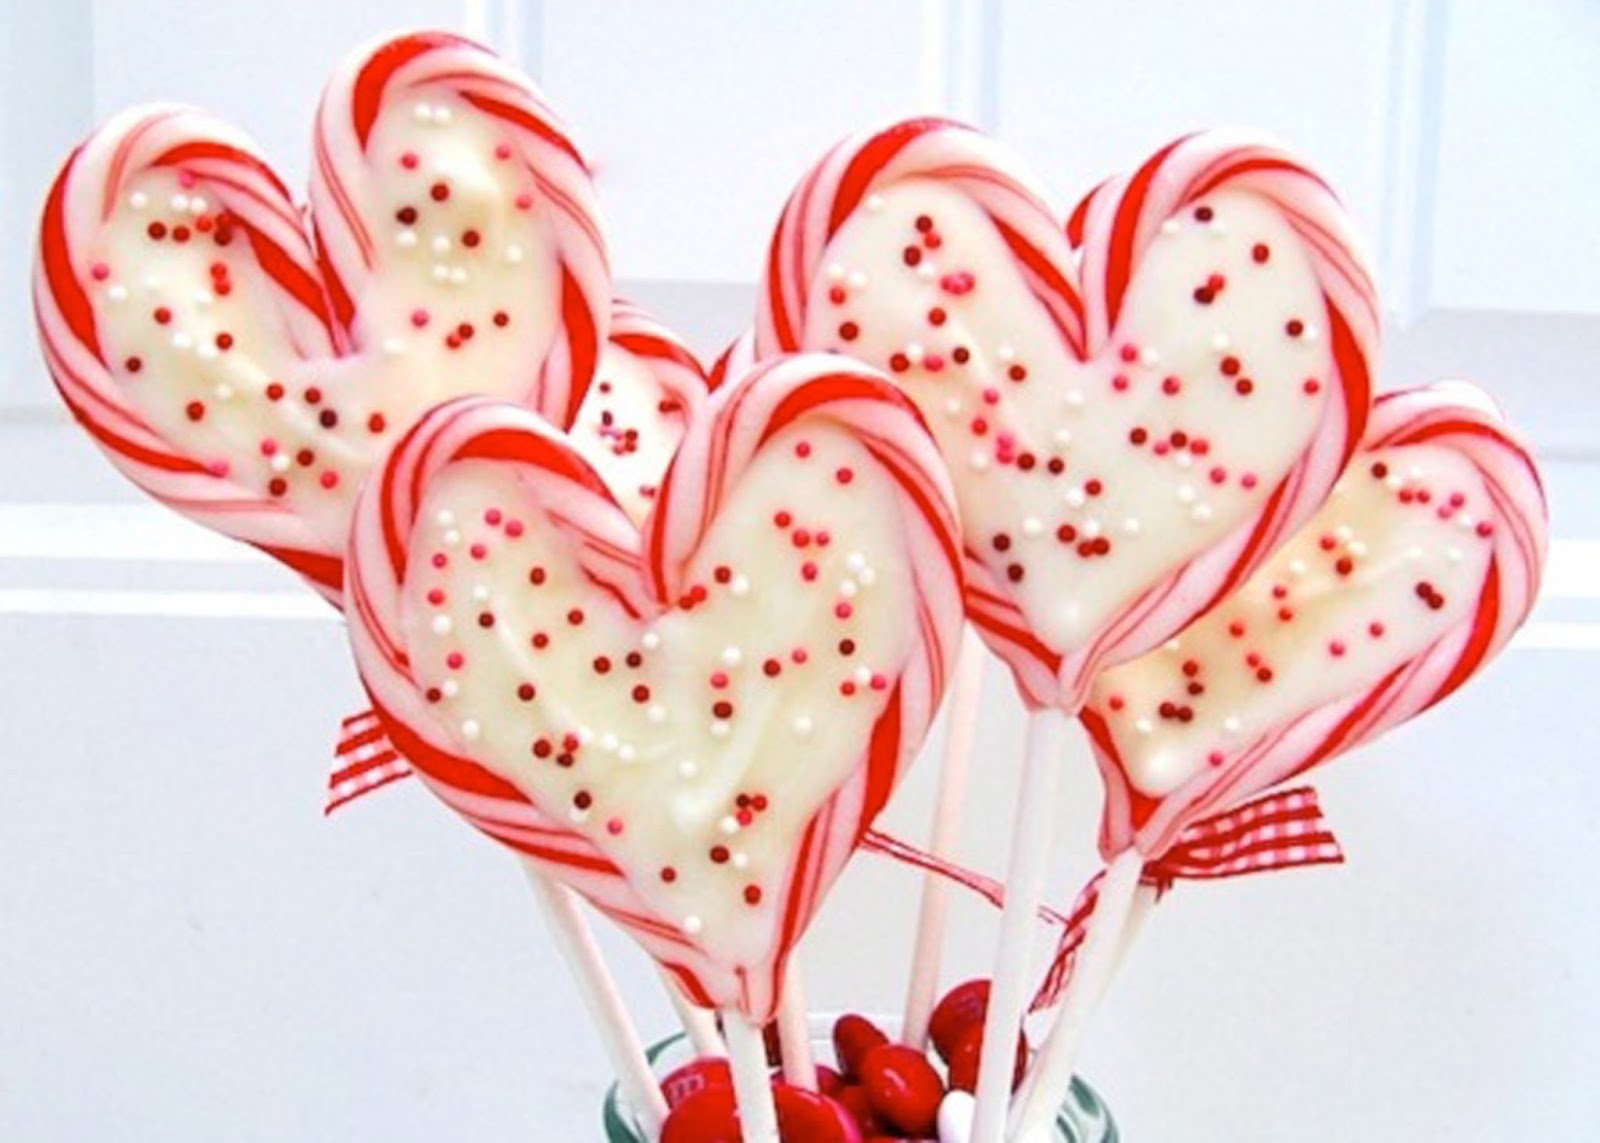
Candy Cane Sweetheart Pops
With a box of mini candy canes, a lollipop stick and a bit of added heat, mould candy canes into hearts to frame your favorite holiday bark or dark chocolate. Plus, with the right color ribbon, this could easily double as a Valentine treat and a good way to use up leftover candy canes. Click here to view recipe.
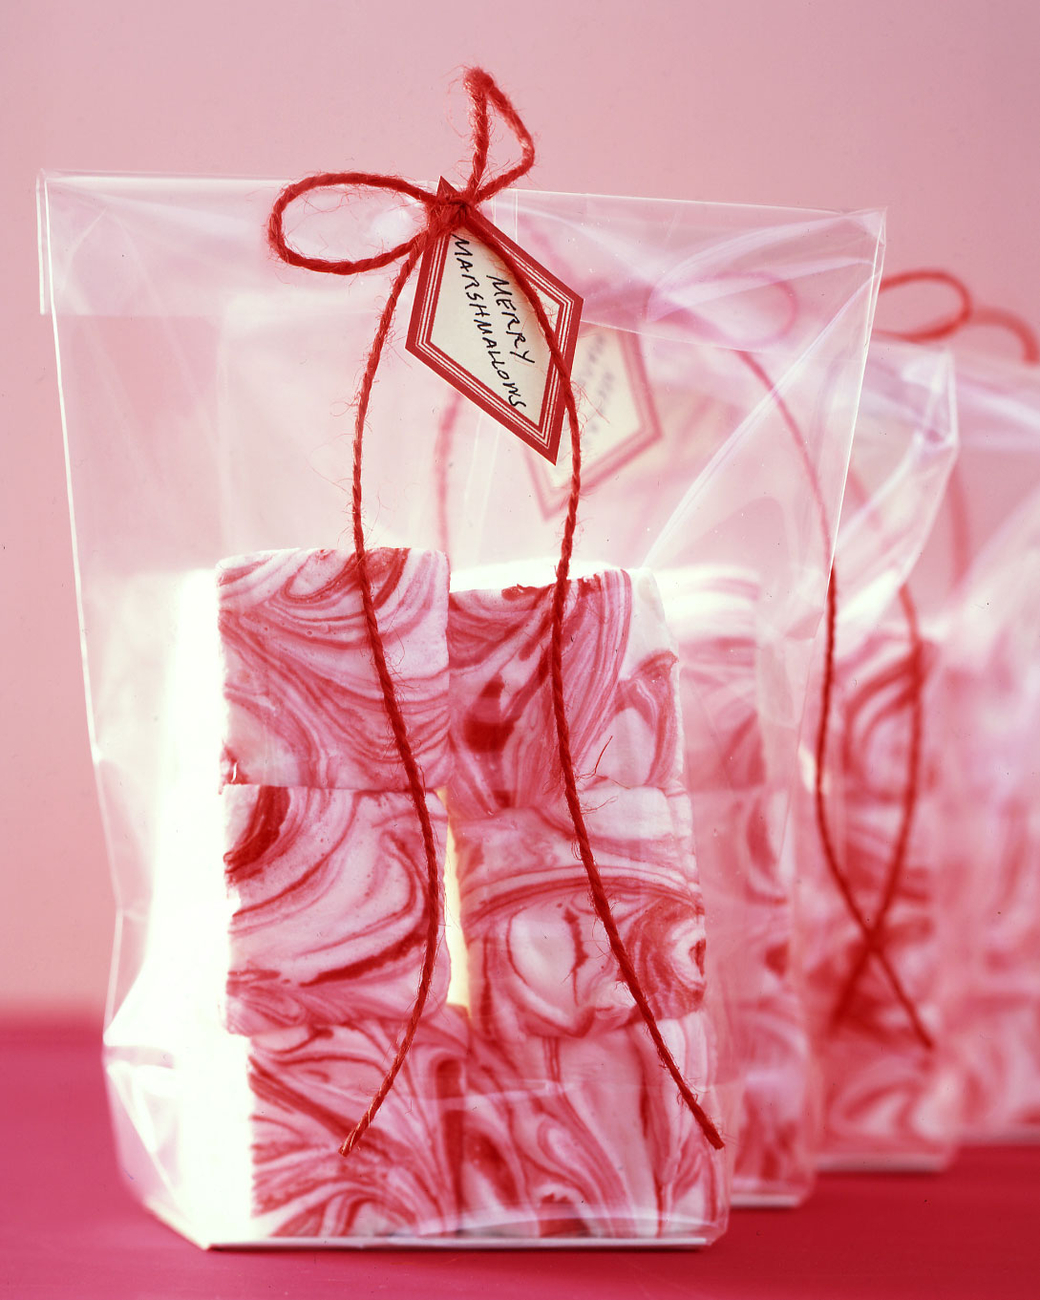
Candy Cane Marshmallow
Sold separately or aside your own blend of hot cocoa mix, these festive peppermint marshmallows would add a pop of color to your shelf when packaged in clear candy bags. Click here to view recipe.
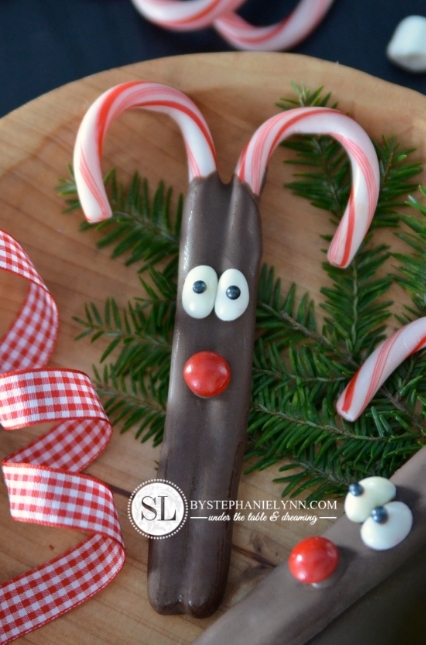
Candy Cane Rudolph
Embellish these antlered treats with white jelly beans and black sugar pearls for eyes and red Skittles for Rudolph’s signature red nose.
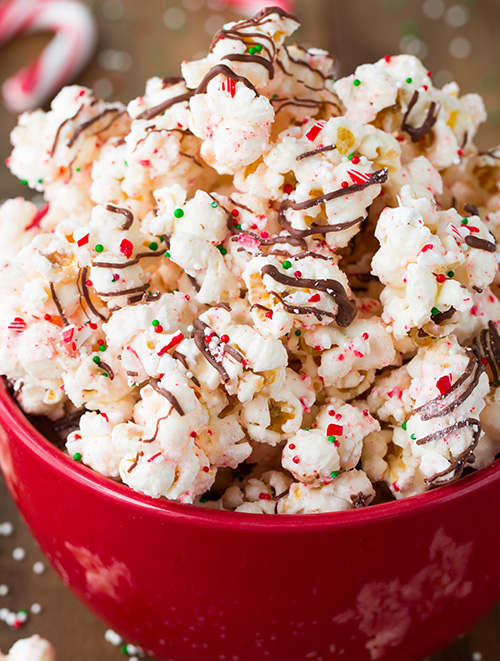
Candy Cane Bark Popcorn
Save the plain popcorn for decorating the Christmas tree! Give out samples of candy-sweet popcorn bark to your guests and watch it pop off the shelf! Click here for more details.
If you have creative candy cane ideas to share, leave us a comment below!
Tags:
Bark
Candy Canes
Candy Holidays
Candy Making
Chocolate
Creativity
Displays
Holidays
Ideas
Marshmallow
Merchandising
Peppermint
Popcorn
Recipe
Seasonal
Permalink
| Comments (0)
|
|
|
Posted By RCI,
Tuesday, October 11, 2016
Updated: Wednesday, April 29, 2020
|
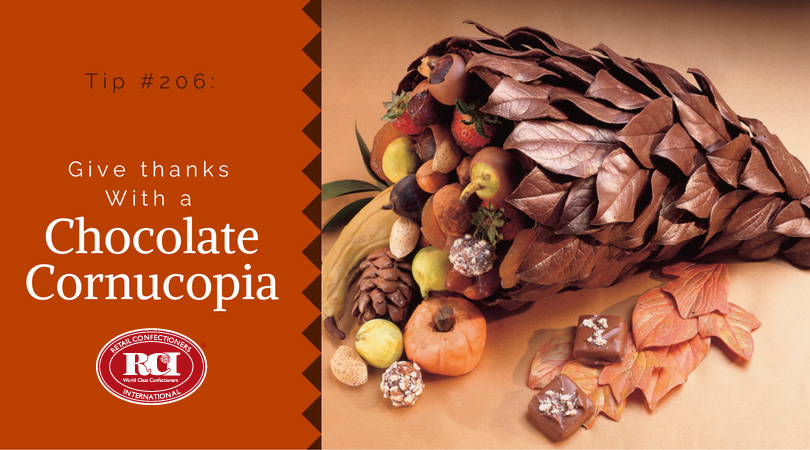
Turn heads with this bountiful display, which can be filled with chocolates, chocolate-dipped fruits and other fall favorites. Remind shoppers through merchandising that this tasteful cornucopia would make for the perfect dressing for their holiday table or a welcome and thoughtful hostess gift.
Chocolate Cornucopia
Materials needed:
• (1) 12” wicker cornucopia
• (1) one-gallon plastic storage bag
• roll of tape
• pastry brush or latex glove
• vegetable brush
Ingredients:
• Peter’s Lenoir™ semisweet chocolate
• non-toxic, fresh salal leaves*
• gold and copper luster dust (optional)
*Commonly known as lemon leaves. Available through floral supply shops.
Directions:
Cornucopia
Cover outside of 12” wicker cornucopia with a one gallon plastic storage bag, fitting snugly; secure with tape. Using a pastry brush or latex-gloved hand, apply three thick coats of Peter’s Lenoir™ semisweet chocolate over the surface, allowing each application to dry before adding the next. Remove wicker cornucopia; peel away and discard bag.
Chocolate Leaves
Scrub non-toxic fresh salal leaves* with vegetable brush; rinse thoroughly and air dry. Use a small metal spatula to coat the back side of leaves with Peter’s Lenoir™ semisweet chocolate. Clean edges of excess chocolate. Chill until dry. Grasp leaf near the stem, gently pulling it away.
Decorating the Cornucopia
Trim ragged edge of the open end. Attach large chocolate leaves along open end, overlapping and extending them slightly over the edge. Use increasingly smaller leaves until entire top and sides of cornucopia are covered. Brush with gold and copper luster dust (optional).
Learn techniques like this and others at RCI’s Chocolate Boot Camp in Waterbury, Connecticut February 20-23, 2017. Register now at retailconfectioners.org/bootcamp.
Tags:
Chocolate
Chocolate Boot Camp
Creativity
Displays
Education
Fall
Holidays
Ideas
Merchandising
Photos
Recipe
Seasonal
Thanksgiving
Permalink
| Comments (0)
|
|
|
Posted By RCI,
Wednesday, July 6, 2016
Updated: Wednesday, April 29, 2020
|
A tower of truffles or “truffle tree” is a stylish way for your customers to serve truffles to a large group. The Truffle Tree also makes for an eye-catching merchandising display for your retail shop. It is a big ticket item that can add nice revenue to your store’s sales. With a little advance planning, building the tree can be relatively easy to execute.
Here you will find a list of materials needed and step-by-step instructions for creating this showpiece as provided by RCI member, Annedore's Fine Chocolates. RCI members: Click here to log on to RCI’s member site and view three variations of ganache recipes on page 9 of 2014’s 3rd quarter issue of Kettle Talk.
For ease of construction, un-dipped ganache balls may be stored in the freezer. Simply follow the instructions below for thawing and dipping the ganache balls and you are ready to build a tree on demand.
Materials Needed:
- Truffles (see recipes below)
- Silicone mats
- Plastic wrap
- Foam block
- Parchment paper or aluminum foil (optional)
- Round toothpicks
- Tempered chocolate
- Foam cone
- Wrapping paper or fabric (preferably coordinating with the color of your truffles)
- Flathead pins
- Scissors
- Ribbon or tree topper (optional)
Step-By-Step Instructions
- Prepare truffle centers using your own ganache recipe or see recipes below. Pipe ganache onto silicone mats. Cover the mats with plastic wrap and refrigerate for 12 hours. Transfer mats to the freezer for 12 hours. Remove mats from the freezer and pop out ganache balls (Note: Balls may be returned to the freezer for future use). Cover balls with plastic wrap and allow them to come to room temperature.
- Cover a foam block with parchment paper or aluminum foil, so it can be reused. Glue a toothpick into each ganache ball by, first, dipping one end of the toothpick into tempered chocolate and then inserting that end into the center of the flat side of the ganache ball. Allow toothpick to set up firmly in the ganache ball.
- Once the toothpick is firmly set in the ganache ball you are ready to dip each ganache ball in tempered chocolate. Dip each ball carefully and then insert tooth-picked end of the ball into the block of foam. This will allow for perfect-looking, uniform truffles to create your truffle tree. Allow chocolate to set up. Truffles may be decorated while standing in the block of foam.
- Before you begin to build your tree, first, wrap the foam cone completely with wrapping paper or fabric – secure with flathead pins, as needed.
- Beginning at the bottom of the cone, push the tooth-picked truffles into the cone working your way around the cone to create the first row. On the second row, stagger the truffles by placing them in the open spaces created by the first row. Carefully work your way up the cone row by row until the entire cone is covered in truffles. Toothpicks may need to be cut as you reach the top of the cone.
- Crown the top of your tree by inserting a tooth-picked truffle vertically on the top of the cone. Experiment with different tree toppers, such as a large bow or a chocolate initial or number (birthday idea). Use your imagination.
Tags:
Candy Making
Chocolate
Creativity
Displays
Idea Sharing
Ideas
Merchandising
Photos
Trends
Truffles
Tutorial
Permalink
| Comments (0)
|
|
|
Posted By RCI,
Tuesday, February 9, 2016
Updated: Wednesday, April 29, 2020
|
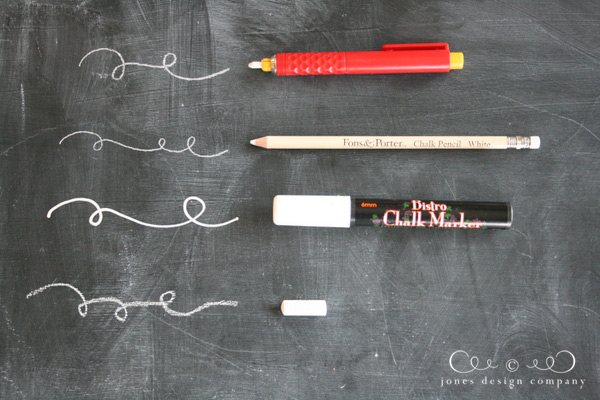
Even if you aren’t a skilled artist, creating beautiful and trendy chalkboard signs can be achieved with these 5 tips and tricks from the pros.
- Use a Level and a ruler for straight lines and even spacing
- Pick your tool – mechanical chalk pencil, chalk pencil (intended for marking fabric when sewing), chalk marker or real chalk.
- A damp cloth and a handful of Q-Tips can work wonders when it comes to correcting mistakes and cleaning up smudges.
- DIY stencils – If you plan to use an image more than once (your logo or a chocolate truffle with a swirl) make your own stencil with vellum paper. You can easily trace any printed image by placing vellum over the print.
Tags:
Creativity
Displays
Events
Hacks
Ideas
Marketing
Merchandising
Owning a Business
Trends
Tutorial
Permalink
| Comments (0)
|
|
|
Posted By RCI,
Tuesday, September 29, 2015
Updated: Wednesday, April 29, 2020
|
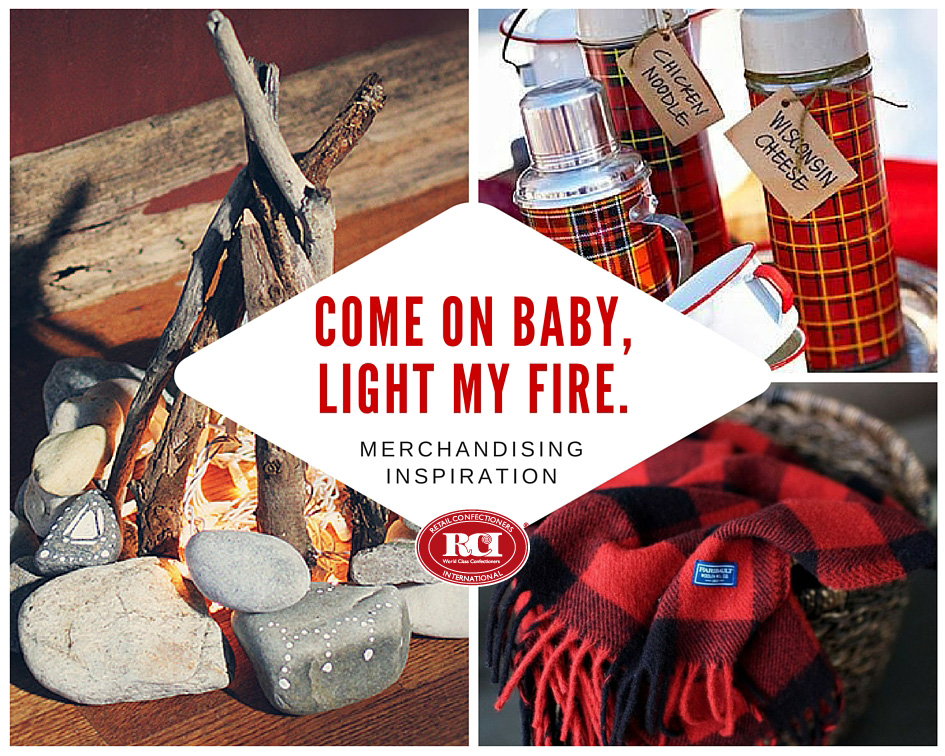
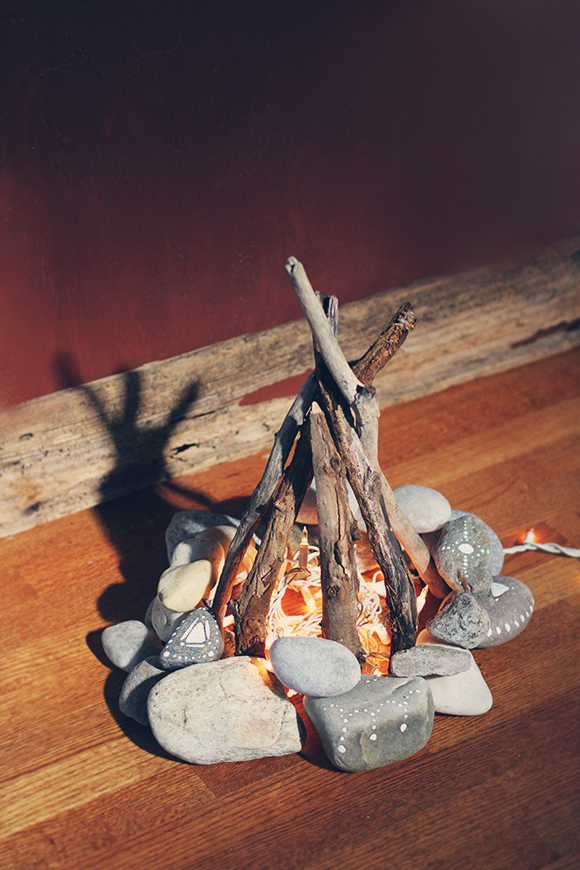
Strategic merchandising is an important to component to increasing sales. Thoughtful merchandising can grab attention, stimulate emotions and give buyers a reason to make a purchase and feel good about doing so. Fall is the perfect time to create a warm and cozy environment in your store. A fun, bonfire themed display could be seen as a welcome shelter from the cold.
Spark buyers’ interest with a bundle of fire wood, cozy flannel fabrics and an old tin thermos overflowing with goodies. This makes for a great space to sell DIY s’more kits, luscious caramel apples, various barks featuring cozy fall flavors and chocolate-covered pretzel rods. Candy House Gourmet of Joplin, Missouri makes “Walking Sticks” out of large pretzel rods dipped in caramel and pecans, then drizzled with milk, dark and white chocolate for a decadent snack on-the-go.
Interested in creating a darling flameless fire pit? Click here to view a step-by-step tutorial by Free People.
Tags:
Displays
Fall
gifts
Merchandising
Tutorial
Permalink
| Comments (0)
|