|
|
Posted By RCI,
Tuesday, September 4, 2018
Updated: Monday, April 27, 2020
|
We have a quick Good Manufacturing Practices tip for you this week. When you receive pallets of chocolate or the ten-pound bars of chocolate from your chocolate supplier, you need to break them into smaller pieces to melt down and create your confections. How do you go about doing that?
Many candy makers will break the chocolate into smaller pieces by smashing it with a hammer. However, if you are using a hammer with a wooden handle, you risk the wood chipping off in the process and small shreds of wood landing in your chocolate. Additionally, if you are using a hammer with a rubber handle, it likely has small crevices that can easily hold chocolate and create bacteria.
Lessen your risk with this week’s tip! Pitch the old hammer and replace it with a stainless steel or titanium crowbar to break your chocolate into pieces for melting. Of course, it is still a good idea to clean the crowbar on a regular basis. With no other elements such as wood and rubber on the bar, it is much easier to clean and sterilize so it is ready for safe use with food.
For $15 or less, you can create a more food safe candy kitchen. Now that’s cost effective! Do you have a quick and easy tip to improve food safety in your business? If so, please share in the comments below.
RCI's Tip of the Week blog is just one of the many resources we offer to help candy makers refine their craft and build upon their business and marketing practices. Review past blog posts for quick and actionable tips to apply to your business. Look for the "Subscribe now" box on the right to enter your email address and start receiving weekly tips, like this, delivered straight to your email inbox.
Not a member? Click here to learn how RCI can help you build your sweet business.
Tags:
Candy Hacks
Cheap Fix
Chocolate
GMP's
Tools
Permalink
| Comments (0)
|
|
|
Posted By RCI,
Tuesday, August 14, 2018
Updated: Monday, April 27, 2020
|
Not only do roasted nuts add satisfying crunch and crave-worthy sweet and salty flavors to chocolate confections, the pungent aroma of freshly roasted nuts, alone, can lure nearby shoppers into your candy store. This week’s brief tip, shared during RCI’s Chocolate Boot Camp®, is a must for candy makers who roast their own nuts.
REDUCE THE RISK OF BLOOM
To reduce the risk of fat bloom, due to fat migration, wait at least 48 hours to coat roasted nuts with chocolate. This practice allows the oils to reabsorb into the nuts. Keep in mind, dry roasted and whole nuts will have less free fat than those that are oil roasted.
STOP CRACKS IN THEIR TRACKS
Waiting to enrobe roasted nuts will also help lessen the chances of unwanted cracks in these chocolate-covered morsels. Quick and easy tips like these will help ensure your nutty delights look and taste as good as they smell!
Tags:
bloom
Candy Hacks
Chocolate Boot Camp
Chocolate-Covered Nuts
Cracks
Nuts
Permalink
| Comments (0)
|
|
|
Posted By RCI,
Tuesday, December 26, 2017
Updated: Monday, April 27, 2020
|
As we prepare to bid farewell to 2017, we’ve pulled the topics most important to candy makers with the top five most-read tips from the year.
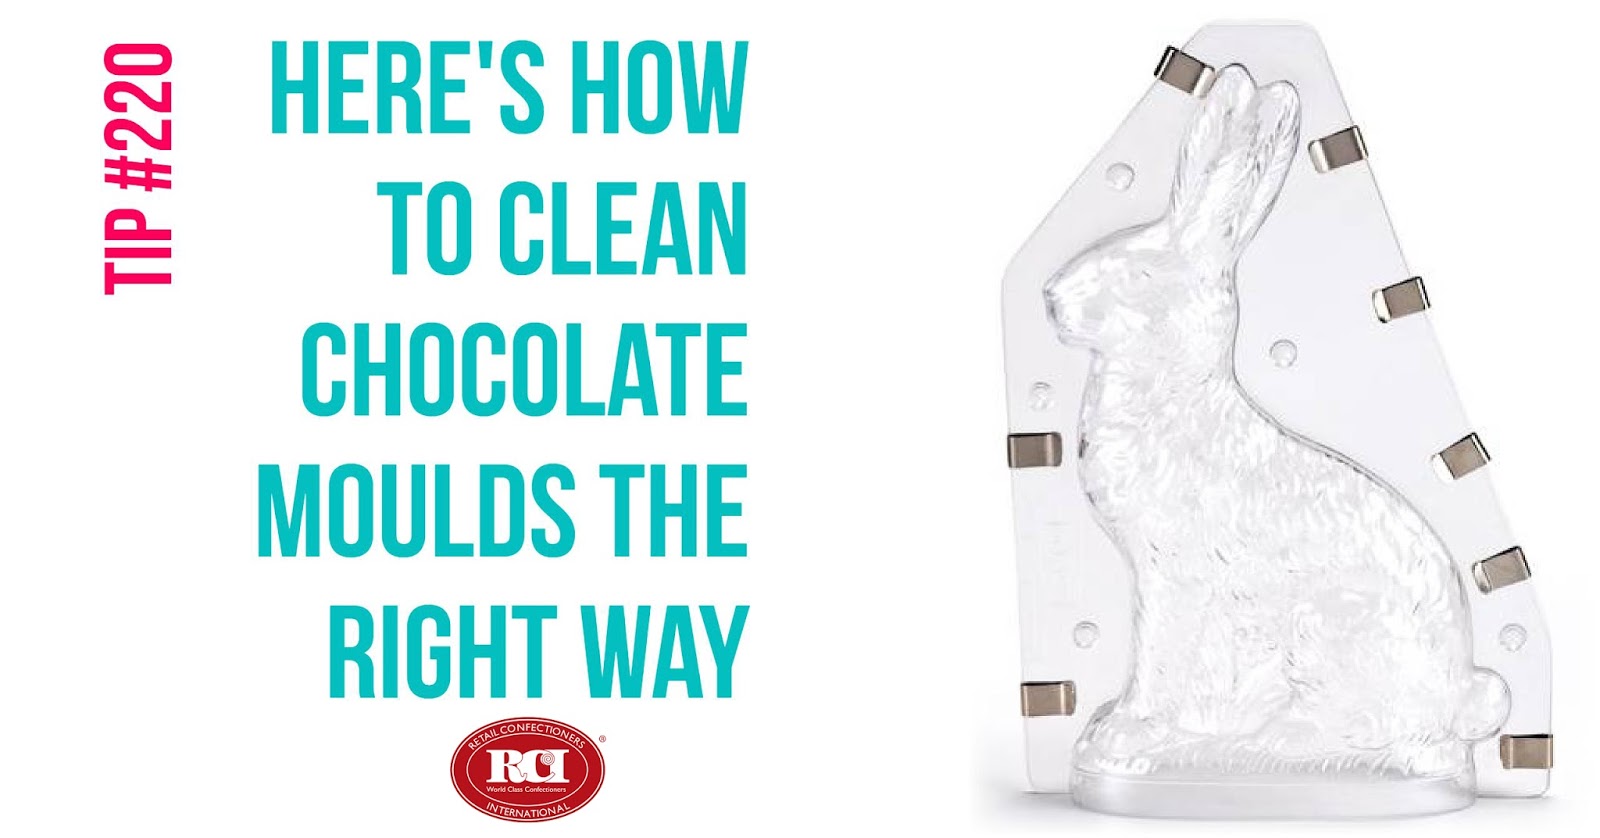
A little hazy on what’s causing the buildup of a film on the surface of your chocolate moulds? You’re not alone. Learn what causes this common problem and get preventative tips on how to avoid it.
Save money by finding new uses for old items to create eye-popping displays with “wow factor!” Old ladders, tables, or wooden crates can make for unexpected and memorable ways to display your confections.
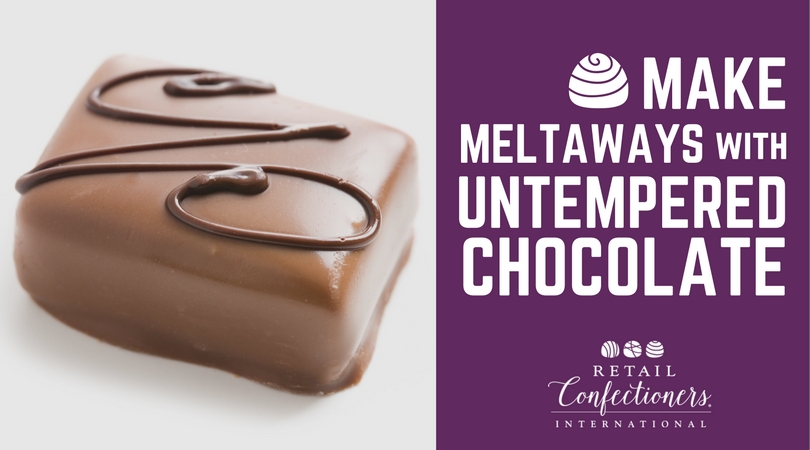
Consider this alternative method to making stable, smooth-textured meltaways with untempered chocolate.
Did you know chocolate moulds that aren’t cleaned properly can cause chocolates to lose their desired smooth and glossy shine? Follow these five easy steps to ensure your plastic moulds are cleaned properly and produce perfectly glossy chocolate masterpieces every time.
This simple tip is about to turn your world upside down, literally. Long-time RCI member, Fascia’s Chocolates started using this unconventional approach to caramel apples after practicing the traditional method for 53 years.
We look forward to bringing you more great tips to help you build your business in 2018! Wishing you a safe and happy New Year!
Tags:
Best of
Candy Hacks
Caramel Apple
Cleaning
Meltaways
Merchandising
Moulds
Permalink
| Comments (0)
|
|
|
Posted By RCI,
Tuesday, November 28, 2017
Updated: Monday, April 27, 2020
|
The most common way to make a meltaway is to combine tempered chocolate with melted coconut oil until it is smooth. Because coconut oil is a lauric fat, it must be added at a lower temperature so not to throw the chocolate out of temper. If the chocolate becomes untempered (or was never tempered to start with) the nice, smooth texture of the meltaway will eventually be replaced with an unpleasant mouthfeel due to the formation of fat globules.
Mixing Things Up
Consider this alternative method to making stable, smooth-textured meltaways with untempered chocolate. Instead of adding fat to tempered chocolate, combine untempered chocolate and coconut oil in a mixer. Mix at a slow speed until the temperature is below 78º F and has visibly thickened. Referred to as the “mixer method” in curriculum shared at RCI’s Chocolate Boot Camp®, it achieves the same desired stability and texture the meltaway is revered for, without the hassle of keeping temper.
Newcomers and veterans alike are invited to learn techniques of chocolate making, like this, during RCI’s Chocolate Boot Camp February 19-22, 2018 in Waterbury, CT at Fascia’s Chocolates. This popular hands-on course covers topics such as:
- Tempering
- Moulding
- Enrobing
- Chocolate Artistry
- and more!
SPACE IS VERY LIMITED! This course is expected to sell out! For complete information and to register online, visit retailconfectioners.org/bootcamp.
Tags:
Candy Hacks
Candy Making
Chocolate
Chocolate Boot Camp
Coconut Oil
Meltaways
temper
Permalink
| Comments (0)
|
|
|
Posted By RCI,
Tuesday, November 14, 2017
Updated: Monday, April 27, 2020
|
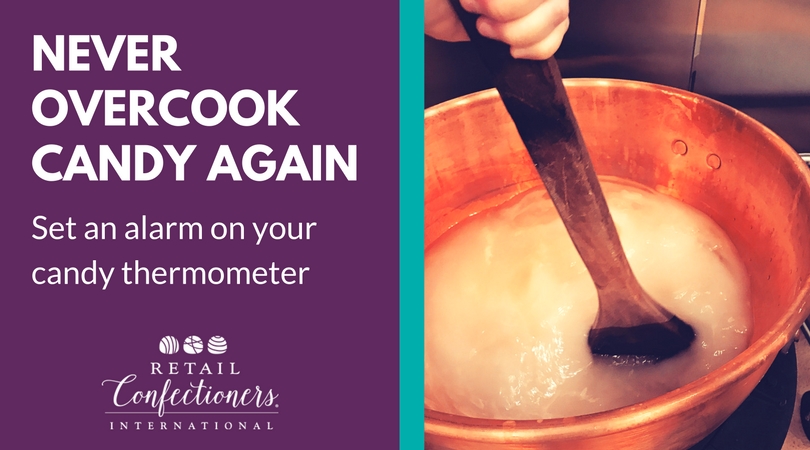
This week’s tip helps you manage your time and maintain the quality of your candies, which is especially important with the busy holiday season ahead.
Set your candy thermometer with an alarm for one or two degrees lower than your cooking time to ensure you don't overcook.
When you start a batch of caramel and walk away to work on packaging, you’ll be alerted to the candy cooking process with enough time to remove it or begin the next step before it gets even one degree too high.
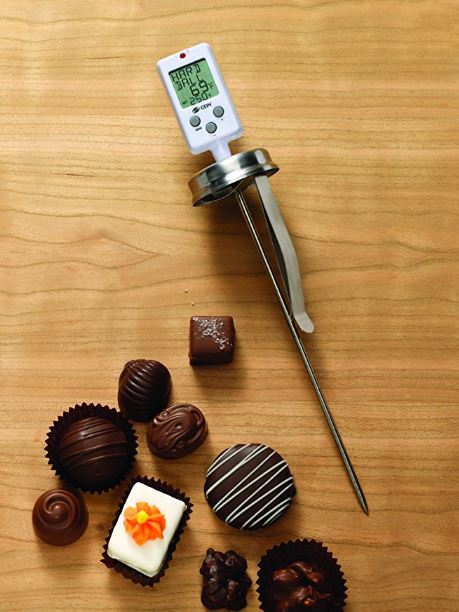
Programmable candy thermometers like the one pictured on the left are available on Amazon starting at $21.99.
Looking for other supplies? From thermometers to taffy. Chocolate to caramels. Moulds to mixers and peanuts to packaging solutions, RCI's Buyer's Guide is your all-in-one resource for products and services needed to run your business. Remember, RCI members can login to access RCI Buyer’s Guide on the member side of the website or call the RCI office to be connected to a supplier.
Tags:
Buyer's Guide
Candy Hacks
Candy Making
Caramel
overcooked
Thermometer
Permalink
| Comments (0)
|
|
|
Posted By RCI,
Monday, September 18, 2017
Updated: Wednesday, April 29, 2020
|
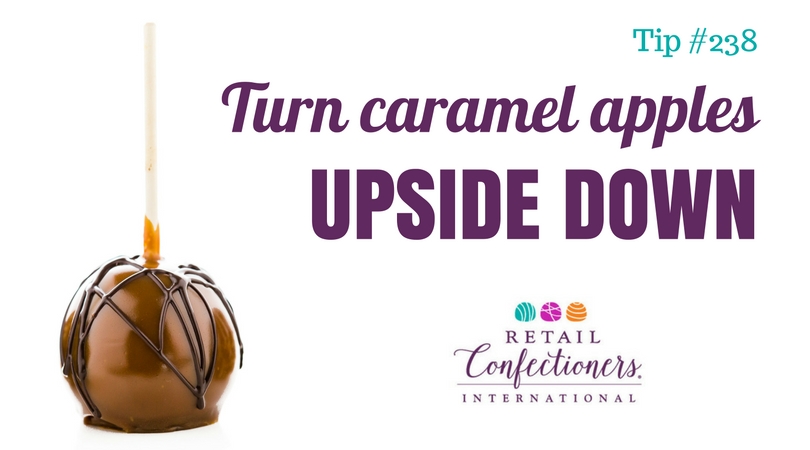
If you love caramel apples, but you hate how apples don’t always set straight and level, then this super simple tip of the week is about to turn your world upside down, literally.
Instructors at RCI’s Caramels, Toffees & Brittles course, recommend turning apples upside down before inserting caramel apple sticks into the base of the apple.
Thanks to this tip, long-time RCI member, Fascia’s Chocolates of Waterbury, Connecticut, started flipping their apples after 53 years of practicing the traditional method of inserting sticks through the top of the apple, near the stem. Carmen Romeo, of Fascia’s Chocolates, says their apples now set more steadily and less caramel seems to gather on the bottom.
Try this tip yourself and let us know which method you prefer in the comments below.
Tags:
Candy Hacks
Caramel Apple
Permalink
| Comments (0)
|
|
|
Posted By RCI,
Tuesday, January 17, 2017
Updated: Wednesday, April 29, 2020
|
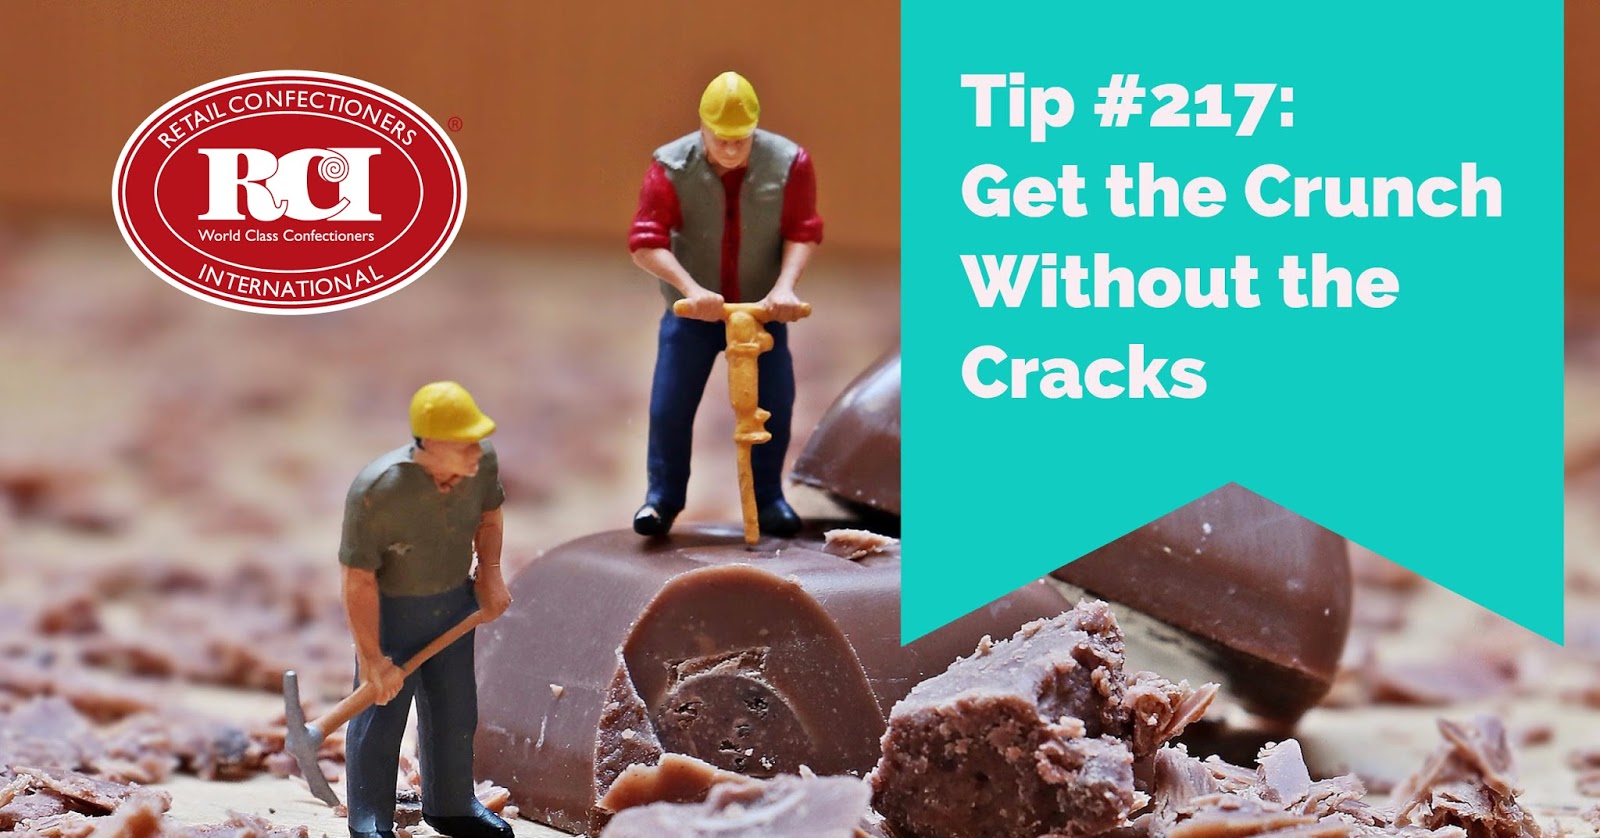
Randy Hofberger of R&D Candy Consultants, LLC, is an active member of RCI and the lead instructor for RCI’s Chocolate Boot Camp®. This week’s post is an excerpt from his article “Crunch Without the Cracks,” which offers eight tips to reduce cracking in chocolate-covered pretzels, cookies and crackers.
Texture is so very important in our foods and is a large part of the eating experience. Many of our most popular confections have a crunchy texture and using baked goods such as cookies, crackers and pretzels is one way to provide this. When coated with chocolate, however, there is a chance the finished product will crack, making it less appealing to consumers.
What cause these fissures to develop? While it may seem that there are little micro earthquakes occurring on your pretzels or gremlins attacking the chocolate-covered cookies, one of the main culprits can be moisture entering these dry baked goods and causing them to expand. To prevent moisture from coming in contact with the finished product, one of the most obvious solutions is to use packaging with a good moisture barrier. While this will solve many of the cracking problems, there are other factors that can cause cracking. Also, this will not help any of your products that are open to the atmosphere in your display cabinets.
Other suggestions to reduce cracking in chocolate covered pretzels, cookies and crackers include the following:
- Have a uniform coating. Unequal coverage will cause different contraction rates and, thus, cracking.
- Thicker coating is a stronger coating and a better moisture barrier. Coverage should be complete without pin holes, air bubbles or thin spots.
- Using a chocolate formulated to be softer will be less prone to cracking.
- Enrobed baked goods will generally have less of a heat load and will require a gentler (less) cooling. Good cooling tunnel conditions will have little or no air movement at the tunnel entrance and a temperature of approximately 65ºF. Air velocity may be gradually increased to about 700 CFM until the chocolate is set – at which time velocity may be increased to 1200 CFM. Coldest tunnel temperatures exceed the low 50sºF. Total tunnel time should be a minimum of eight minutes, but 12 minutes is better.
If your operation requires you to maintain consistent tunnel settings because of various product mixes, increasing the tunnel belt speed will give less total cooling and more line production.
- Enrober/tunnel/feeding area relative humidity should not exceed 55%.
- Pieces to be enrobed should be room temperature or warmer (up to 78ºF).
- Pretzel and cookie packages can be opened the evening prior to enrobing. This will help them equilibrate to the atmospheric conditions.
- Rough-surfaced centers reduce cracking and the loss of the chocolate shell, e.g., salted pretzels are better than unsalted pretzels.
Tags:
Candy Hacks
Candy Making
Chocolate
Chocolate Boot Camp
Chocolate Production
crack
Problem Candy
Permalink
| Comments (0)
|
|
|
Posted By RCI,
Tuesday, December 27, 2016
Updated: Wednesday, April 29, 2020
|
We've curated the most-read tips from 2016, to pinpoint topics that are most important to candy makers.
From troubleshooting tips to sky-high merchandising inspiration, plus a customer service must-read, the following posts deliver quick and easily executed tips to simply the lives of confectioners, like you!
Suffer from sweaty sea salt caramels? Take tips from fellow candy makers and RCI members on how to avoid this common problem.
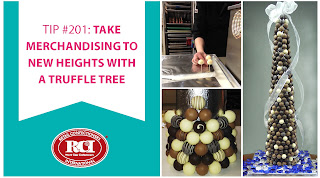
Get step-by-step instructions for creating this eye-catching truffle tree.
RCI MEMBER BONUS: Click here to login to RCI’s member site and snag three variations of ganache recipes on page 9 of RCI’s Kettle Talk magazine.
Nobody likes hard, dried-out marshmallows! Keep your ‘mallows soft and pillowy all year long with this popular tip of the week.
An oldie, but a goodie, this throwback from 2012 covers four customer service basics that are too important not to review with your team on a regular basis.
Bloom is easily identified as one of the most common problems facing candy makers. No surprise, this post tops the list with common causes of chocolate bloom, as well as simple solutions.
Tags:
bloom
Candy Hacks
Candy Making
Caramel
Chocolate
Chocolate Production
Customer Service
Employee Management
Idea Sharing
Marshmallow
Merchandising
Problem Candy
Recipe
temper
Truffles
Tutorial
Permalink
| Comments (0)
|
|
|
Posted By RCI,
Tuesday, November 29, 2016
Updated: Wednesday, April 29, 2020
|
You wouldn’t throw your Thanksgiving turkey away if you could use the leftovers to make turkey sandwiches for the next two weeks, right? Then why would you throw away the unpopped kernels at the bottom of the popcorn bowl?
Most would consider the popcorn kernels that fail to pop (also known as old maids), to be the duds that remain seemingly unaffected at the bottom of the popcorn bowl. Did you know, allowing “old maids” to absorb moisture can actually rejuvenate them?
David Woodside, author of What Makes Popcorn Pop?, suggests filling "a one-quart jar three-quarters full of popcorn and adding one tablespoon of water. Cover the jar with an airtight lid and give it a few good shakes every few minutes until the popcorn has absorbed all the water. Store the jar in a cool place."
After two or three days, test-pop the “rejuvenated” batch of kernels. Extra stubborn old maids may need a few more drops of water if they fail the test. After adding more water to the jar, shake it, and let it sit for a few more days.
This process takes very little time and could help you reduce waste and save money if you pop a lot of popcorn.
Tags:
Candy Hacks
Hacks
Popcorn
Permalink
| Comments (0)
|
|
|
Posted By RCI,
Tuesday, June 14, 2016
Updated: Wednesday, April 29, 2020
|
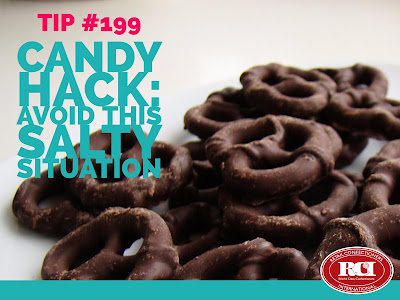 |
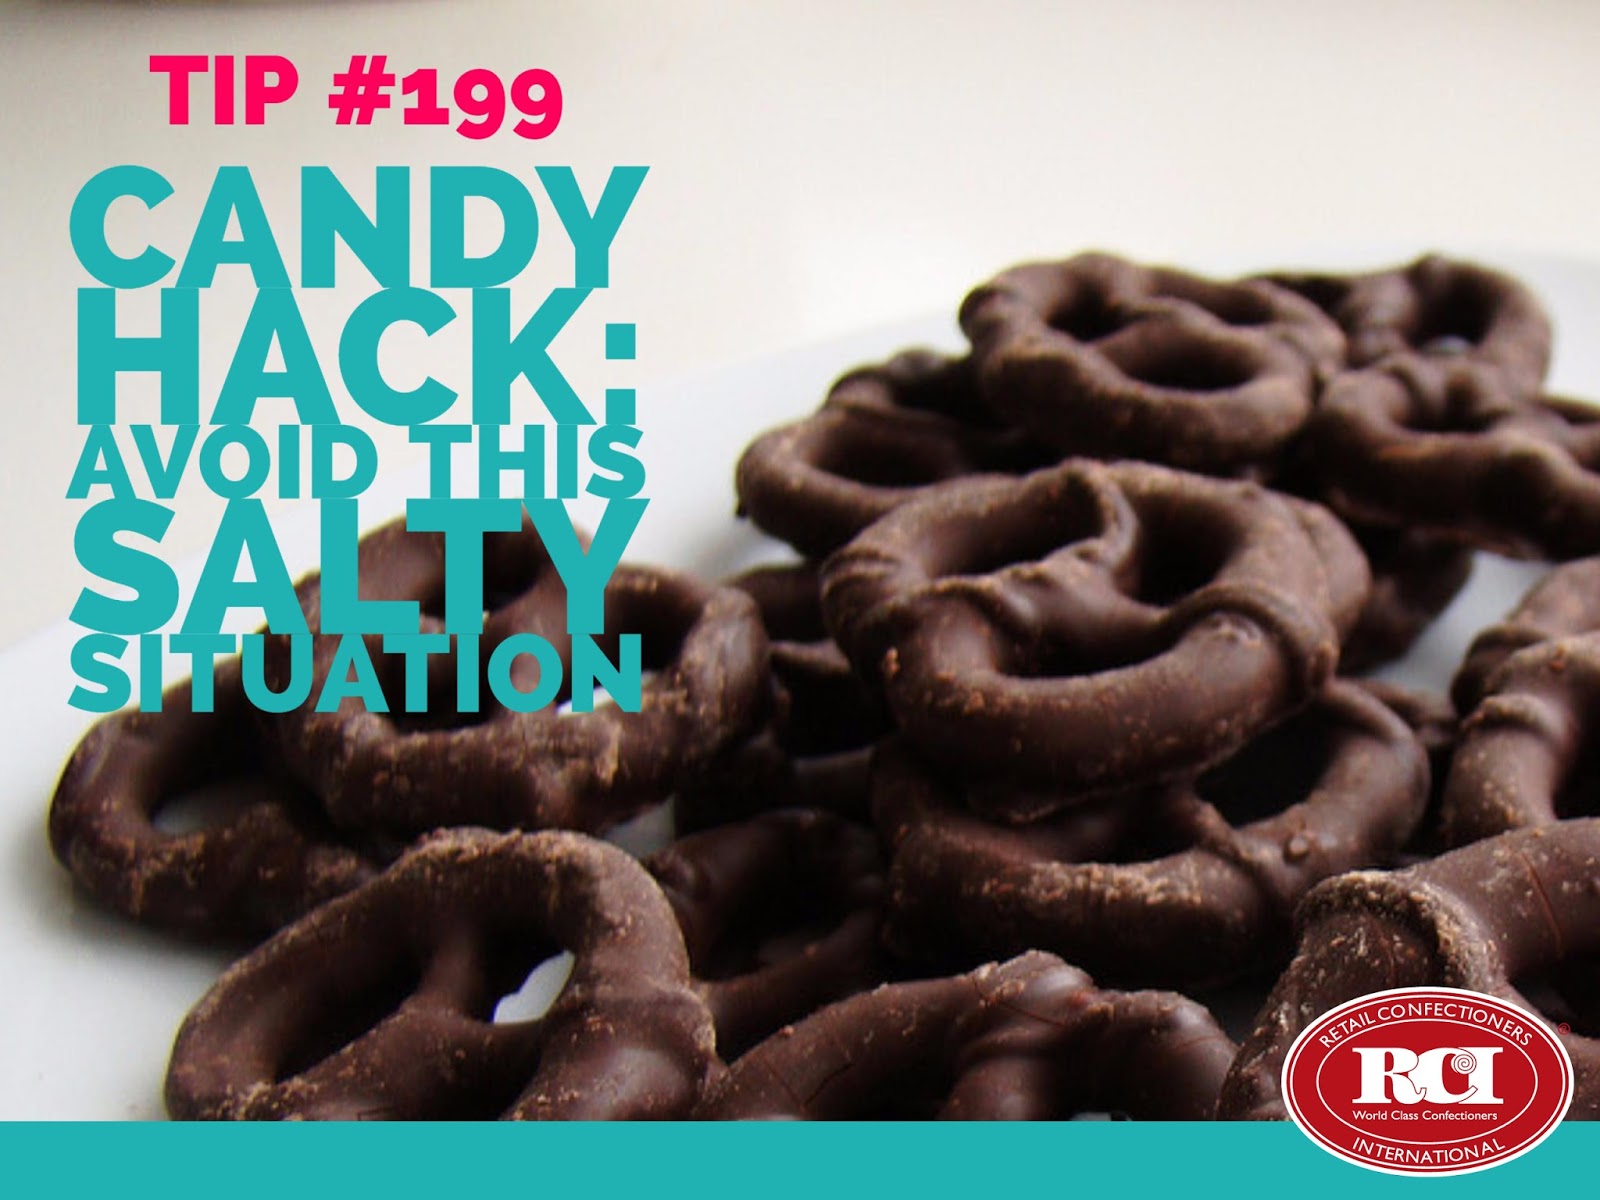
| Image courtesy of Flickr andVegan FeastCatering |
The combination of salty and sweet makes chocolate-covered pretzels a popular treat any time of the year. Save yourself from creating a salty mess in your chocolate and in your cooling tunnel. Before enrobing pretzels in chocolate, dump them on a cooling rack, placed over a tray, to catch the excess salt. This simple tip will save time and money from extra cleaning needed for your equipment as well as the need to replace salty chocolate.
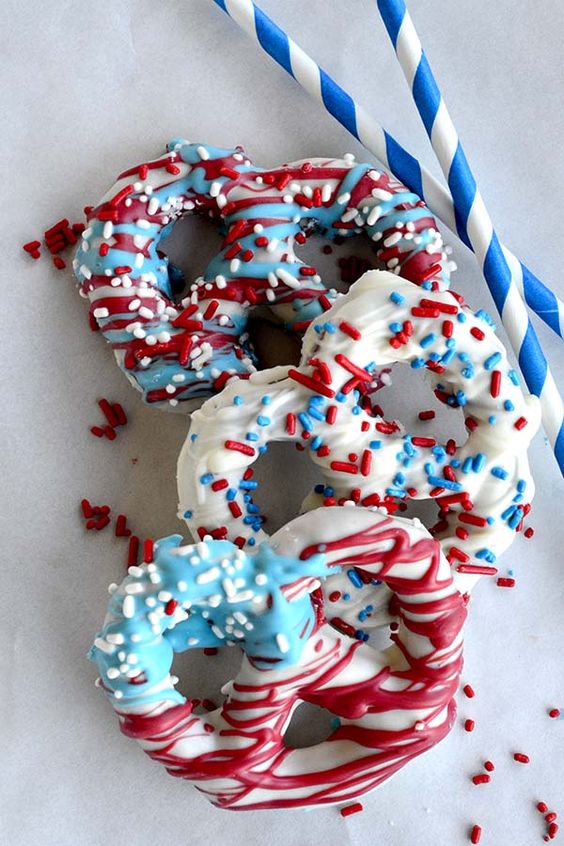
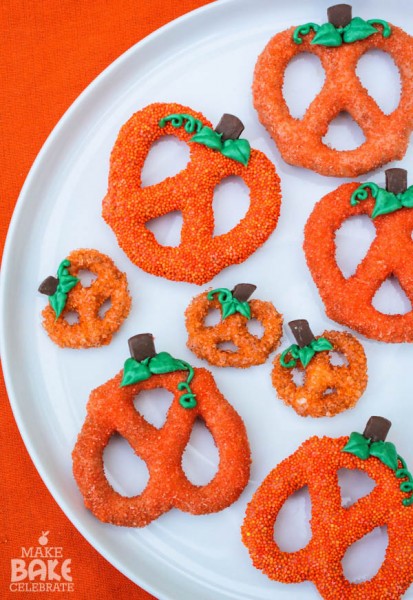
Encourage seasonal interest by adding nonpareils or colored coatings to tie in with a merchandising display or holiday theme. Add a punch of patriotism for 4th of July and Labor Day with red, white and blue sprinkles and colorful striping with red and blue confectionery coatings.
Just as easy as changing the colors of your sprinkles, you can switch gears for fall by incorporating these chocolate-covered pumpkin pretzels into your product lineup. These festive pretzels are almost too cute to eat!
Looking for more inspiration for your chocolate-covered pretzels? Try HalfBakedHarvest.com’s recipe for Chocolate-Covered Cinnamon Sugar Pretzels and take salty and sweet next level! However delicious it may be, you will definitely want to use this week’s tip on this recipe!
Tags:
4th of July
Candy Hacks
Chocolate
Fall
Halloween
Patriotic
Recipe
Permalink
| Comments (0)
|