|
|
Posted By RCI,
Tuesday, April 18, 2017
Updated: Wednesday, April 29, 2020
|
During an RCI candy making course in 1971, the instructor discovered two students, although using identical formulas for rolled creams, were achieving vastly different results due to a variation in their cooking time. Keep reading to ensure your cooking time isn’t compromising the quality of your creams and other products.
Cooking Time for Rolled Creams, By Fred Janssen, SuCrest Corp.
While teaching at the RCI Short Course on Retail Candy Making, it was interesting to learn the following from two of the students who were trying to make the same type of candy. In this case, rolled creams. After questioning the students, an interesting fact was revealed. In one case, the cooking time of the batch was 8 minutes and in the other, 45 minutes. Both were using the identical formulas as suggested by many in the trade and it was quite evident that the student who took the longer cooking time was not getting good results. There was a great deal of variation in the type of product that he was trying to make.
Rolled creams are dependent upon the crystalline structure or the sugar remaining in the cream and with the longer cooking time, excessive inversion took place which reduced the percentage or amount of sugar remaining in the cream, thereby causing a great deal of difficulty for the candy maker.
A good rule to follow in any cooking operation is that all batches should be cooked to its final temperature within 20 minutes. If this is not possible on the equipment, the size of the batch should be reduced so that this cooking time can be accomplished. If larger batches are necessary, consideration should be given to making changes by obtaining better cooking equipment.
It's important to be mindful of cooking times, and not just ingredient formulations, when adjusting batch sizes. The 20-minute rule can help candy makers keep their cooking times in check and prevent excessive inversion.
Tags:
Candy Making
Creams
From the Archives
troubleshooting
Permalink
| Comments (0)
|
|
|
Posted By RCI,
Wednesday, March 15, 2017
Updated: Wednesday, April 29, 2020
|
In celebration of RCI’s 100th anniversary, we have pulled favorite articles from the “archives.” In this excerpt from an issue of Kettle Gossip published in 1972, Dave Faurer of Wilbur Chocolate Co., shared Easter merchandising tips for candy makers. Although it's fun to reflect on how things (especially prices) have changed since 1972, many of Faurer's tips can be applied by today's retail confectioner. However, we've included some suggestions for updates to his merchandising ideas below.
Easter Merchandising
For most confectioners, Easter ranks second only to Christmas as a candy merchandising occasion. In some areas the Easter volume exceeds Christmas. As an occasion for the retail manufacturing confectioner to show his real skill in the art of candy making, Easter leads the list by far.
Timing – Easter falls on Sunday, April 2 this year (in 1972). Many merchants start showing some of their Easter items right after Washington’s birthday. Items like small chocolate-covered Easter eggs and 10, 15 and 25 cents eggs can be displayed or sold even earlier. This will include jelly eggs, marshmallow eggs, butter cream mix, etc.
About four weeks before Easter, your full line of Easter items should be on display. These would include your more expensive gift items, large eggs, gift baskets, etc.
Displays – The very nature of the items in your Easter line makes them easy to display. In themselves, they are so colorful that very little in the way of display material need be added. Basic colors for your display should be in the pastel shades. Usual color combinations are orchid and yellow, green (light) and yellow or pink and green.
It is extremely important that all signs are selected very carefully. To make sure that your signs stand out from the merchandise, you should choose the strongest colors in your display for the sign background. Good eye catchers are a super-large chocolate egg or a chocolate bunny or even an extra large size plush bunny.
Here are a few ideas which may help to create better and more effective Easter displays:
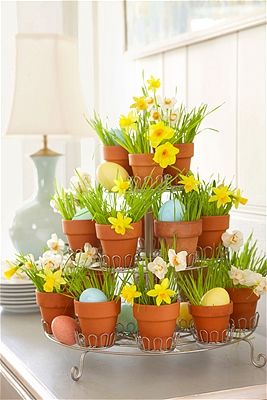
1972: A border of artificial daffodils and tulips can be very effectively arranged around the front of your windows
Now: For a more current take on this idea, use a cupcake stand,terra cotta pots and fresh daffodils to create a visually interesting Easter display.Photo from living.msn.com
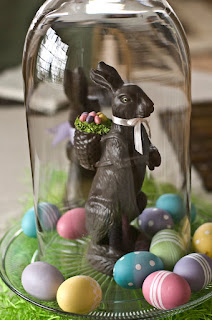
1972: A good way to show your moulded eggs and rabbits is to use a large round glass, covered with either amber or green cellophane grass. Use a separate piece of glass for each group. Place the largest item in the center and surround with the smaller sizes.
 |
Now:Consider purchasing real or artificial wheatgrass, which can be used to nestleproductsand décor for fresh and colorful merchandising throughout spring and summer.Photo frombestorganicwheatgrass.com
1972:When displaying your eggs, cut one very carefully, cello wrap so customer can see what the egg is like inside. This is especially true of the fruit and nut centers.
|
 |
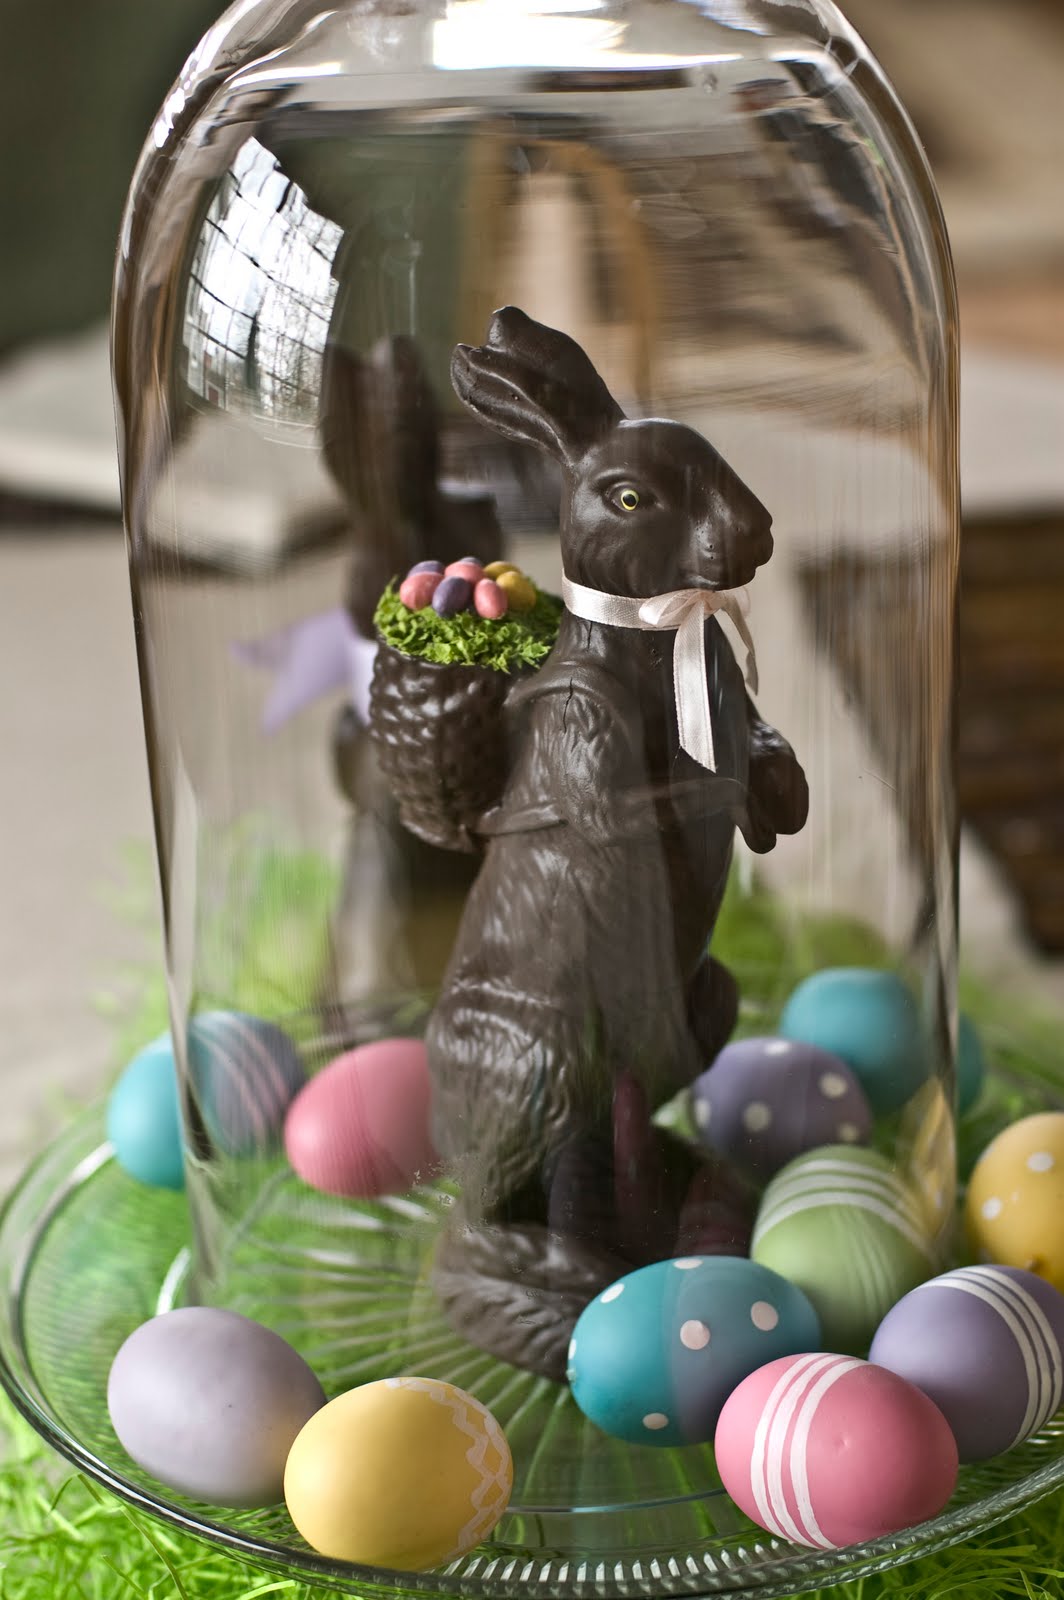
Now:What’s on the inside counts, right? Instead of wrapping a cut-chocolate in cello wrap, consider displaying cut pieces on a glass dish or cake stand, topped with a glass dome. Glass domes of all shapes and sizes are super trendy right now and are relatively inexpensive at your local craft and hobby shop. And don’t think you have to splurge on a big, pricey dome. Even small and dainty domes can create an elegant display. Photo courtesy ofkimborup.blogspot.com/au
In conclusion, Easter is one of the most fascinating (and exasperating) periods of the candy year. By careful thought in selecting items and merchandising them properly, you can capture the Easter market in your town.
|
Tags:
Easter
From the Archives
Ideas
Merchandising
Permalink
| Comments (0)
|
|
|
Posted By RCI,
Tuesday, January 31, 2017
Updated: Wednesday, April 29, 2020
|
Retailers have been using mass displays as a successful visual merchandising technique for many years. According to Chron.com, “mass displays group a large quantity of merchandise together in one place to attract attention to it.” You may see this technique used in grocery stores and in other retail settings today, because it attracts attention and can be used to create a sense of urgency. If you’ve been in the business for any length of time, creating a sense of urgency is important considering many shoppers will wait until the last-minute to purchase gifts for their loved ones.
In 1960, RCI published an article written by Harry P. Cole, a sales associate for Paper Goods Company, featuring the surprising results this merchandising technique had on one of his retail clients.
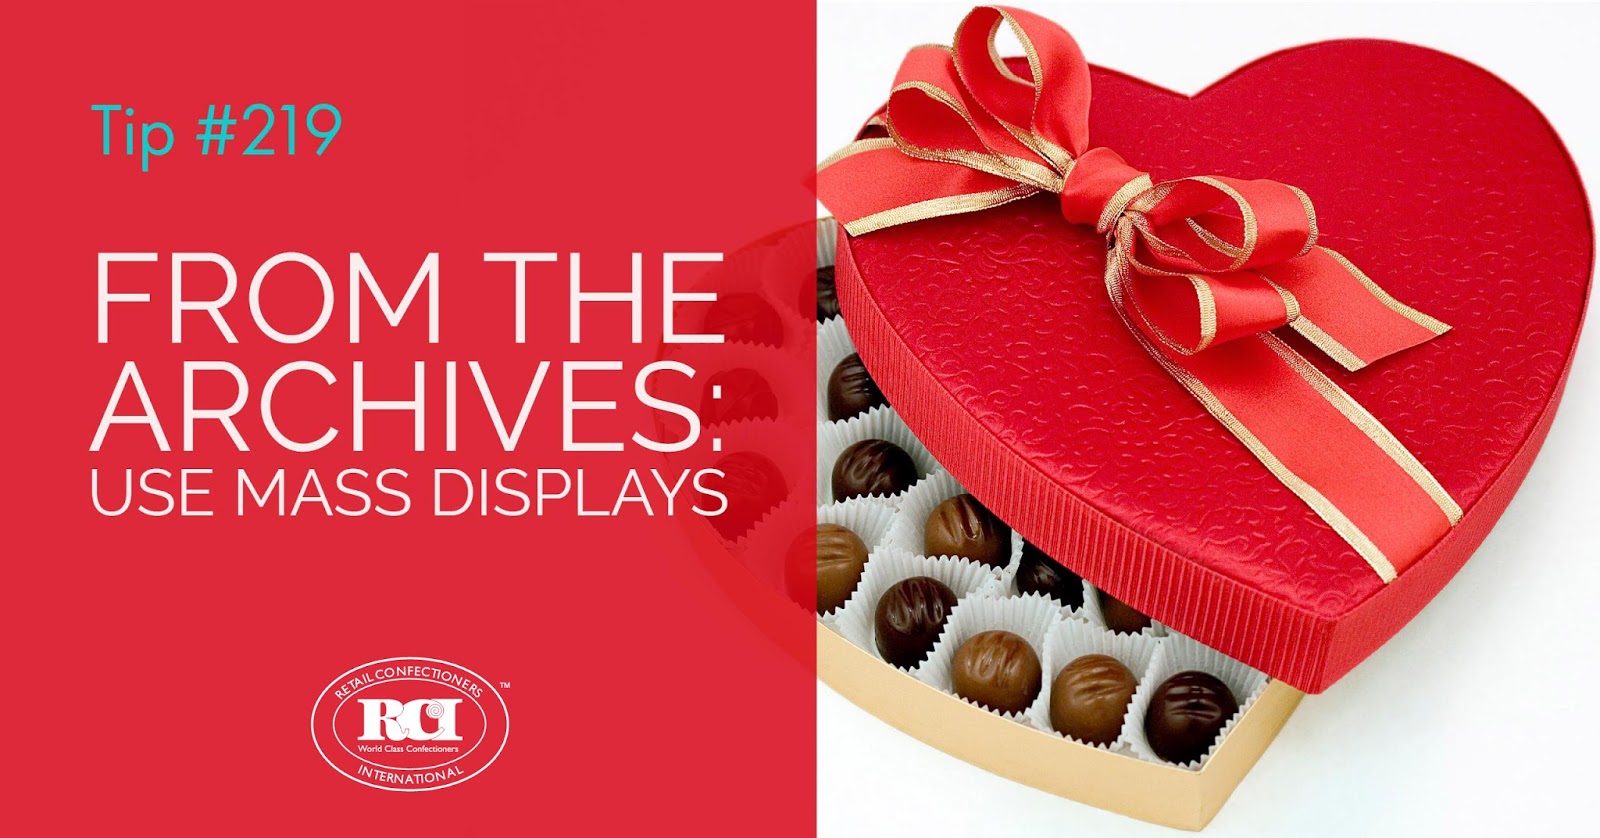
Use Mass Displays
In making displays of your candy, both in the store and in your show windows, try using mass displays. Last February, one of our good roadside customers was unfortunate enough to have to go to the hospital and he was out for about five weeks starting January 15. The manager of this particular store, quite a smart, bright young lady, always wanted to make big displays of Valentine’s Day hearts. This was her opportunity. Instead of having hearts distributed all over the store in various places singly, she had large groups of them on tables. Each type was packed one on top of another with the top heart opened on a display stand to show the contents, prices and weight. Her boss was an old timer and when he came back shortly after Valentine’s Day and learned of the type of displays that were made, he started to raise the devil, but when he saw the figures he sang a different tune. The Valentine’s Day sales in that store were 20 percent over the previous year and the average in the area was only about a five percent increase.
Since making their debut shortly after Christmas, your Valentine’s Day displays may have seen shoppers come and go for a little over a month. Consider making some space for a fresh, new, attention-grabbing display, grouping your inventory of beautiful heart-shaped boxes near the front of the store or near the register. Keep in mind, the location of a mass display is important. This merchandising technique will be much more successful in a highly visible area of your retail space. If your space or inventory doesn’t allow for a mass display this Valentine’s Day, it’s not too late to incorporate one into your Easter and Mother's Day. Here's wishing you a successful Valentine's Day!
Learn more about how to build your sweet business and help us celebrate our 100th anniversary at RCI's Annual Convention & Industry Expo in Chicagoland, Illinois June 12-16, 2017. Click here if you would like us to send you an email notification when registration opens. Not a member? Learn what makes membership with RCI so sweet!
Tags:
Displays
From the Archives
Holidays
Marketing
Merchandising
Valentine's Day
Permalink
| Comments (0)
|
|