Give your products new life by grouping them together in an eye-catching gift basket. According to Gift Shop magazine, “gift baskets are a convenient way to improve store sales and even turn clearance items into fresh, full-priced, saleable items.”
Not only are gift baskets fun and interactive for the recipient, as they discover each different element carefully tucked inside, but for the retailer they encourage increased customer spending and create for beautiful merchandising displays.
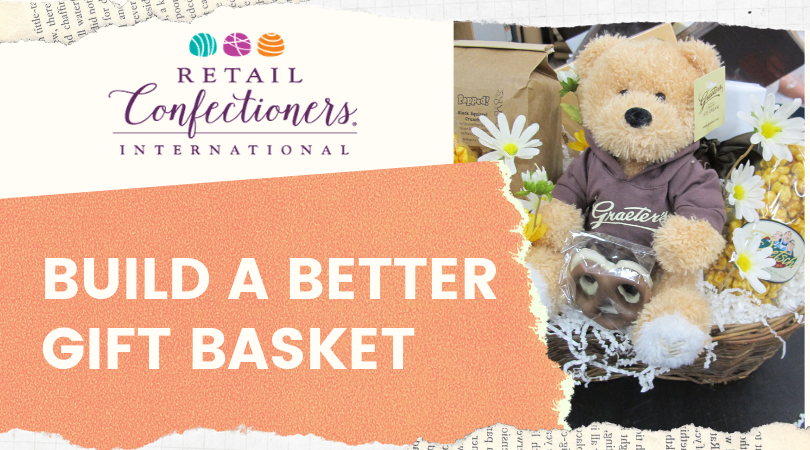
Rebecca Craig of Marie's Candies, an RCI member and the Third Vice President of RCI’s board of directors, shared the following “recipe” for the perfect gift basket as an instructor for RCI’s past Merchandising Essentials course.
MATERIALS NEEDED:
- Gift basket or container
- Various boxes or bags of your product (depending on size of basket)
- Themed gift item(s) (e.g., promotional items, plush animals, holiday ornaments, baby bottles, etc.)
- Filler (e.g., tissue paper or shredded paper)
- Cello wrap
- Shrink wrap (for shipping)
- Ribbons and bows
- Adornments and decorations
- Merchandising tag
DIRECTIONS: Place crumpled tissue paper and/or shredded paper in the bottom of the basket, so the contents are raised just below the edge of the basket for best visibility.
Method #1: Focal Point
Position the tallest item in the center of the basket. Arrange smaller items around the center, from the next tallest to the shortest. Contents should face the outer edge of the basket. This method should look balanced from every angle, making it a great focal point for your merchandising display.
Method #2: Back to Front
Position taller items in the back and shorter items in the front. All contents should face the front of the basket. This method will give the basket a front and back, but it may be assembled more quickly.
With either method, it is important to have plenty of filler to fill in gaps between items and provide stability to the contents of the gift basket. If items need additional support, consider using skewers or double-sided tape. A piece of Styrofoam can also be glued to the bottom or side of the basket to offer even more support.
Offering customers the opportunity to ship your gift baskets to friends, family and clients, will open up even more sales potential. Now that you know how to build the perfect gift basket, how do you ship them like a pro?! Click here to read our post “Ship Gift Baskets Like A Boss,” to pick up more of Rebecca’s pro-tips on shipping gift baskets.
Crave more? If you like what you read here, look for the "Subscribe now" box on the right to enter your email address and start receiving weekly tips, like this, delivered straight to your email inbox. RCI's Tip of the Week blog is just one of the many resources we offer to help candy makers refine their craft and build upon their business and marketing practices.